I make many kinds of sourdough bread on my YouTube channel. This is my low FODMAP sourdough bread recipe. It follows the traditional sourdough bread process of long, slow fermentation, and it contains a touch of whole grain spelt flour, which many people with IBS can tolerate better than wheat flour. This is the perfect homemade bread recipe for you if you if you’re following a low FODMAP diet. Let’s get to the details!
What is a low FODMAP diet?
As a general rule, a low FODMAP diet is one that tries to limit the the number of fermentable carbohydrates that you eat during one sitting. This diet is intended to prevent symptoms of IBS. Fermentable carbohydrates can be found in foods like wheat, dairy, fruit, and vegetables. The acronym FODMAP stands for Fermentable Oligosaccharides, Disaccharides, Monosaccharides And Polyols (all types of fermentable carbohydrates).
What is low FODMAP sourdough bread?
Low FODMAP sourdough bread is a type of bread that is made specifically with the intention of lowering the quantity of fermentable carbohydrates per loaf of bread. Since the traditional sourdough bread process takes advantage of natural fermentation, sourdough bread is naturally easier on your stomach than commercially made yeasted breads.
Check out this quote from FODMAPeveryday.com:
Sourdough bread is of particular interest to FODMAPers because traditionally prepared sourdough versions made from spelt, wheat and other flours high in fructans (from the “O” FODMAP group) can be much lower in FODMAPs than regular bread made with the same flour.
FODMAPeveryday.com
As sourdough bread rises (ferments), the natural yeasts and bacteria present in the sourdough starter break down the carbohydrates in the dough. Many people following low FODMAP diets have found that a few slices of traditionally made sourdough bread can be a great addition to their diets, with minimal intenstinal troubles.
Is all sourdough bread low FODMAP?
As a general rule, not all bread that is labeled “sourdough” is low FODMAP. Many store-bought sourdough breads don’t follow traditional sourdough bread processes, and therefore are high in fructans. If you’re following a low FODMAP diet, look for sourdough breads that only contain flour, water, salt, and sourdough starter. You can also make your own sourdough bread at home.
That’s what we’re talking about today – making our own sourdough bread at home!
RECIPE – Low FODMAP Sourdough Bread
To make my low FODMAP sourdough bread recipe, you will need a mature sourdough starter. If you know someone who has a starter, ask if you can have a little bit of theirs! Trust me, they won’t mind sharing. But, it’s also really easy to make your own sourdough starter from scatch with just spelt flour and water. It only takes about 72 hours from start to finish. Check out my complete guide to making a sourdough starter with spelt flour here.
Tools Needed
- Wooden Spoon
- Mixing Bowl
- Digital Scale
- Non-Stick Loaf Pan
Ingredients
- Bread Flour – 300 grams
- Whole Grain Spelt Flour – 150 grams
- Water – 300 grams
- Sourdough Starter – 50 grams
- Salt – 9 grams
Feeding the Starter
- Feeding the starter: Take 25 grams of sourdough starter out of your fridge. Mix the 25 grams of starter with 25 grams of whole grain spelt flour and 25 grams of water in a glass jar. Stir everything together until no dry bits of flour remain. Cover up the jar and mark the top of the starter with a marker or a rubber band. Let the starter sit at room temperature for 4-12 hours until it doubles in size. (I usually feed my starter in the evening before bed and then it has doubled in size by the morning).
The First Rise
- Mixing the dough: Once your starter has doubled in size, measure out all of your ingredients and put them in a medium-sized mixing bowl – both of the flours, the water, the salt, and 50 grams of sourdough starter. You should have about 25 grams of sourdough starter left over in the jar. Save this in the fridge for the next time you want to bake. Now, stir the ingredients together with a wooden spoon until no dry bits of flour remain. If for some reason the dough is still dry after a few minutes of stirring, add a spoonful of water (about 10 grams or so) and see if that helps the dough come together. Certain brands of spelt flour will absorb more water than others, so don’t worry if you need to add extra water. Cover up the dough and let it rest for 30 minutes on the counter.
- The first rise: The dough has officially begun its first rise, or the bulk fermentation. The dough will slowly start fermenting, building flavor, puffing up with air, and doubling in size over the next 10 hours or so. During the first few hours, you’re going to give the dough three (3) sets of stretch and folds, with a 30 minute rest in between each one.
Stretch and Folds
- Stretch and folds: After the initial 30 minute rest, uncover the dough and perform the first set of stretch and folds. Grab an edge of the dough (the “north” side, furthest away from you) and stretch it up and fold it over the top of the dough. Then take the “south” side which is closest to you and stretch it up and fold it over the dough. Now do the same with the “east” side on the right, and the “west” side on the left. Now each of the four corners of the dough have been stretched and folded. This helps to build strength and structure in the dough so that the final bread will hold its shape better while it bakes. Let the dough rest for another 30 minutes, then do another set of stretch and folds. Then let it rest for another 30 minutes, and do the third and final set of stretch and folds.
- Doubling in size: Once the stretch and folds are complete, cover up the dough and let it rise at room temperature on the counter until it roughly doubles in size. This should take anywhere between 5-10 more hours depending on the temperature in your kitchen.
Shaping

- The Preshape: When your dough has officially doubled in size, it’s time to shape it for the loaf pan. Start by “pre-shaping” the dough into a ball. Sprinkle some flour on top of the dough and flip the dough out onto the counter with the floured side down. Then, flip the dough over so that the sticky side is against the counter. Pull on the edges of the dough with your hands in order to shape the dough into a ball. Once you’ve got a ball, let the dough rest, uncovered, for about 20-30 minutes on your counter.
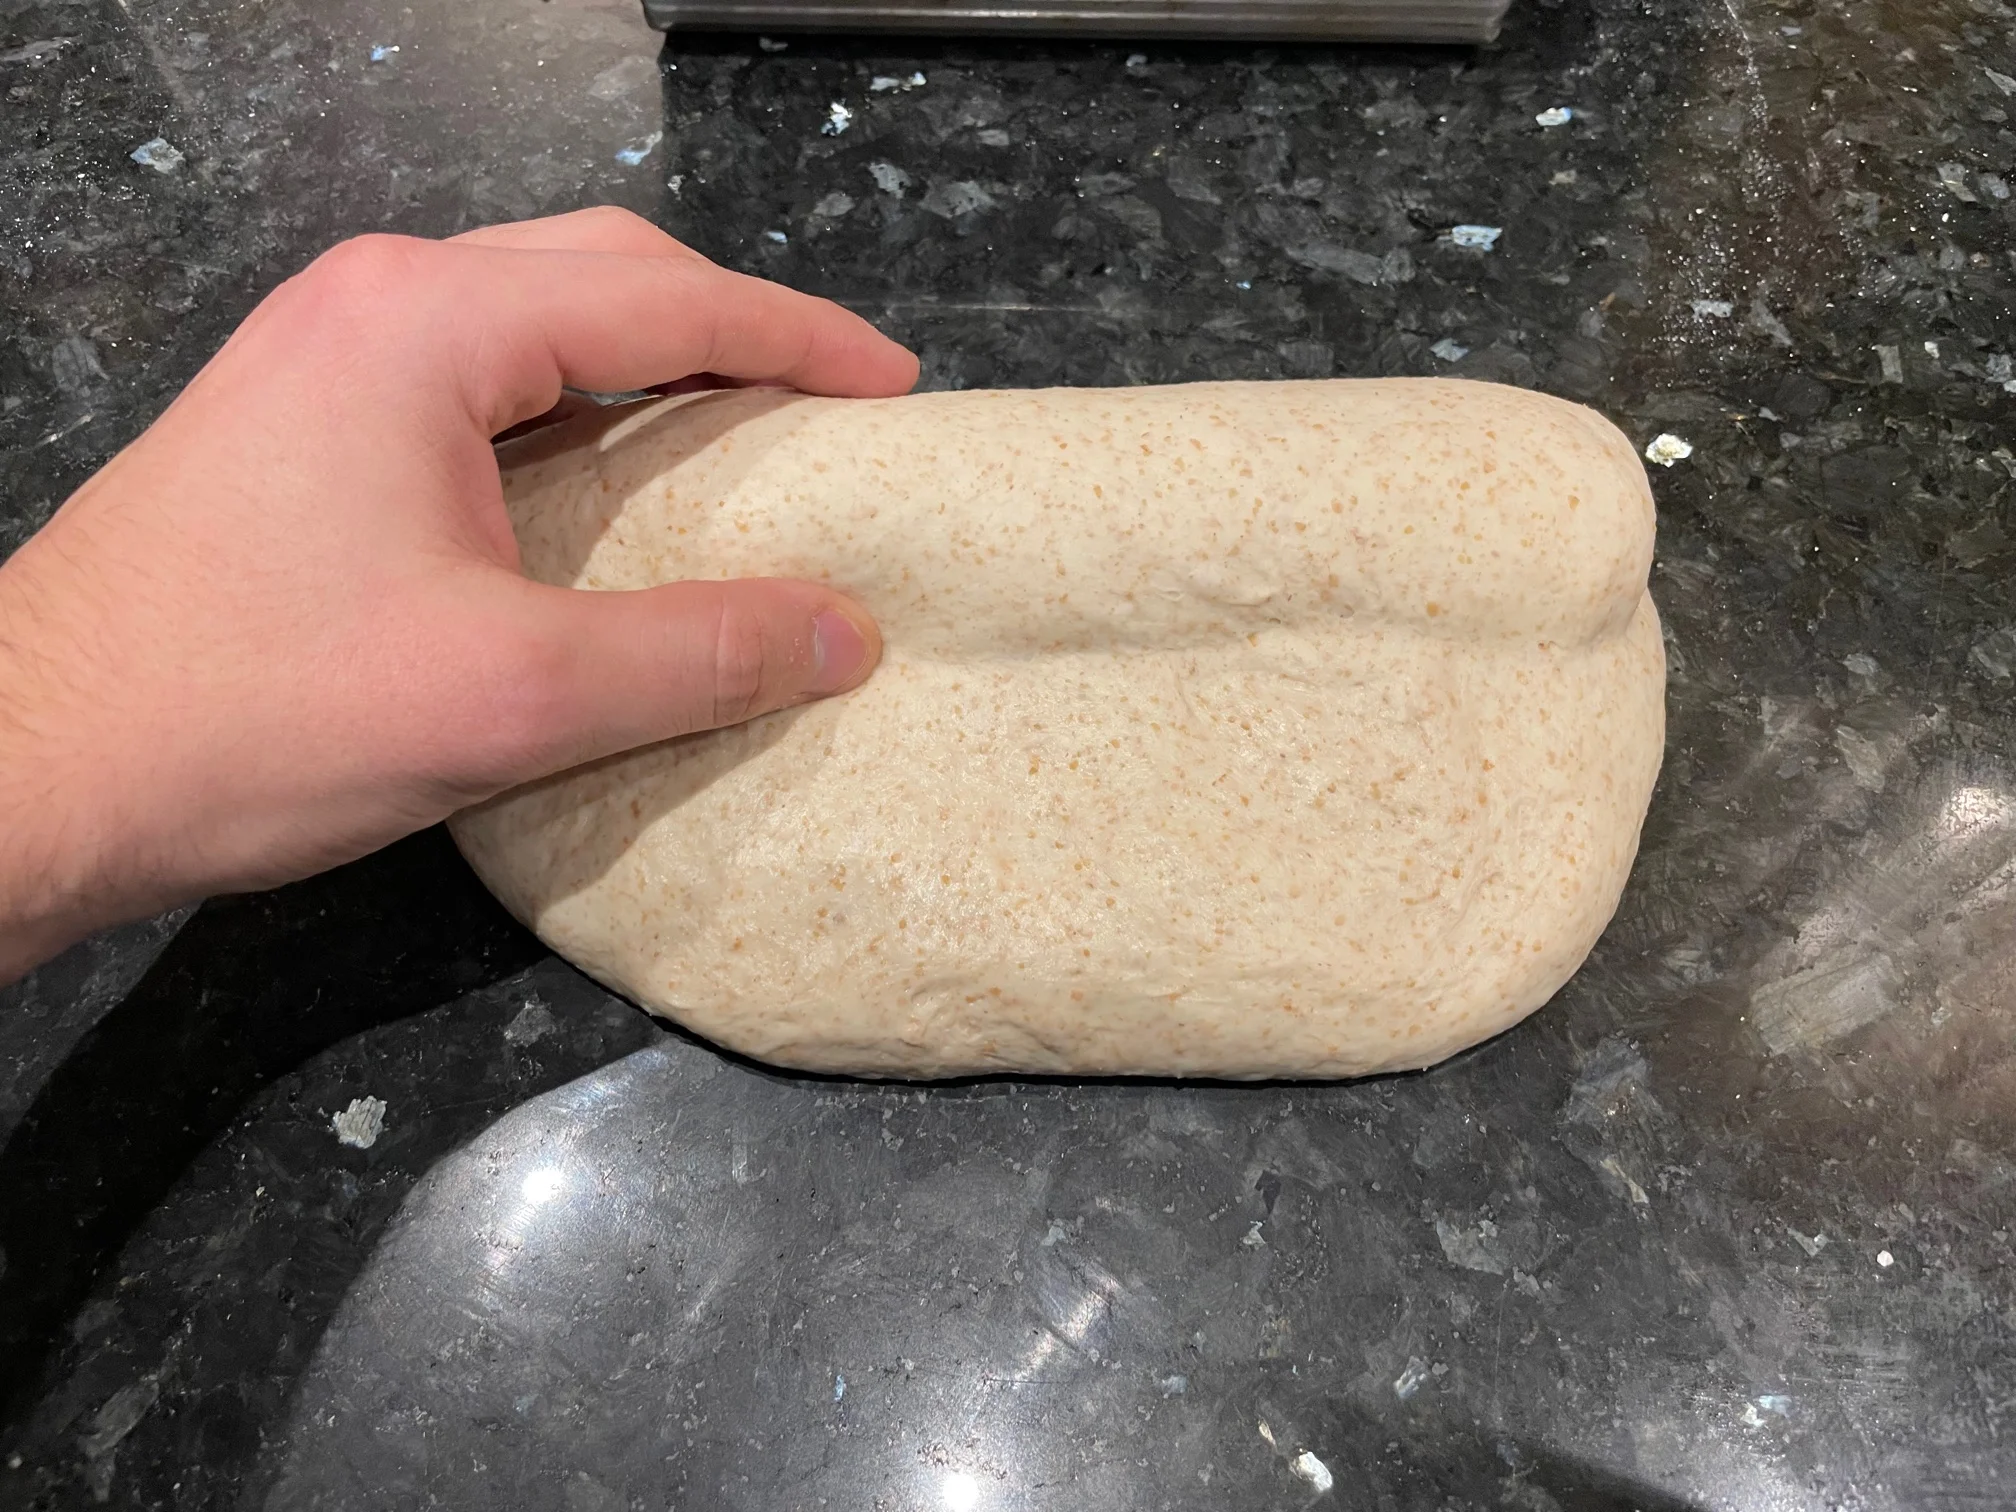
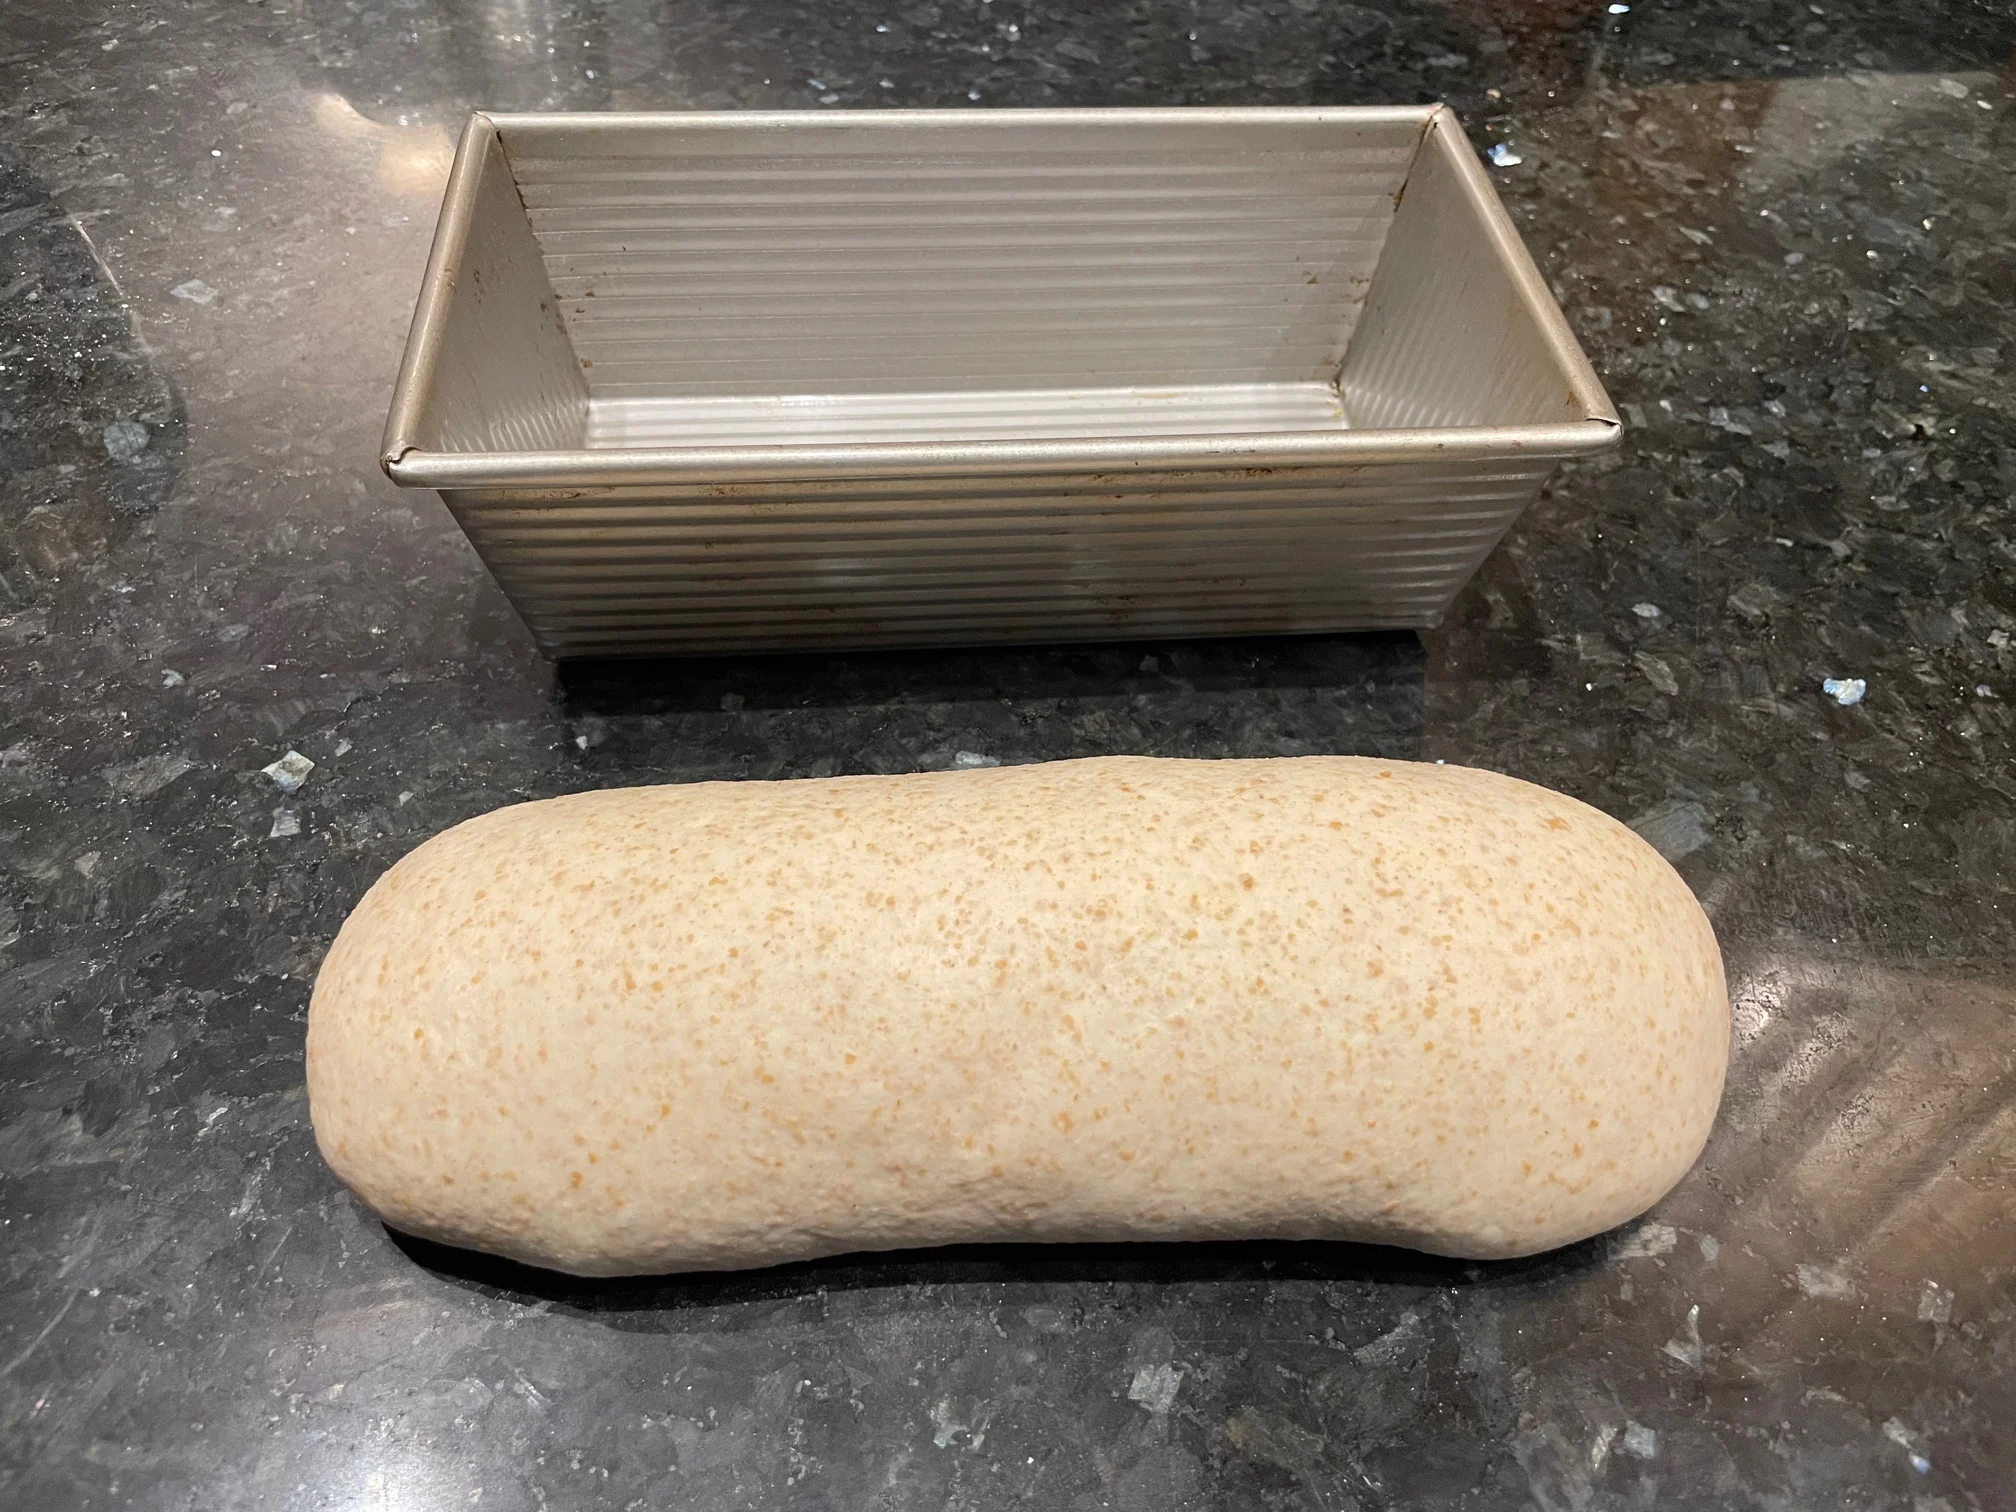
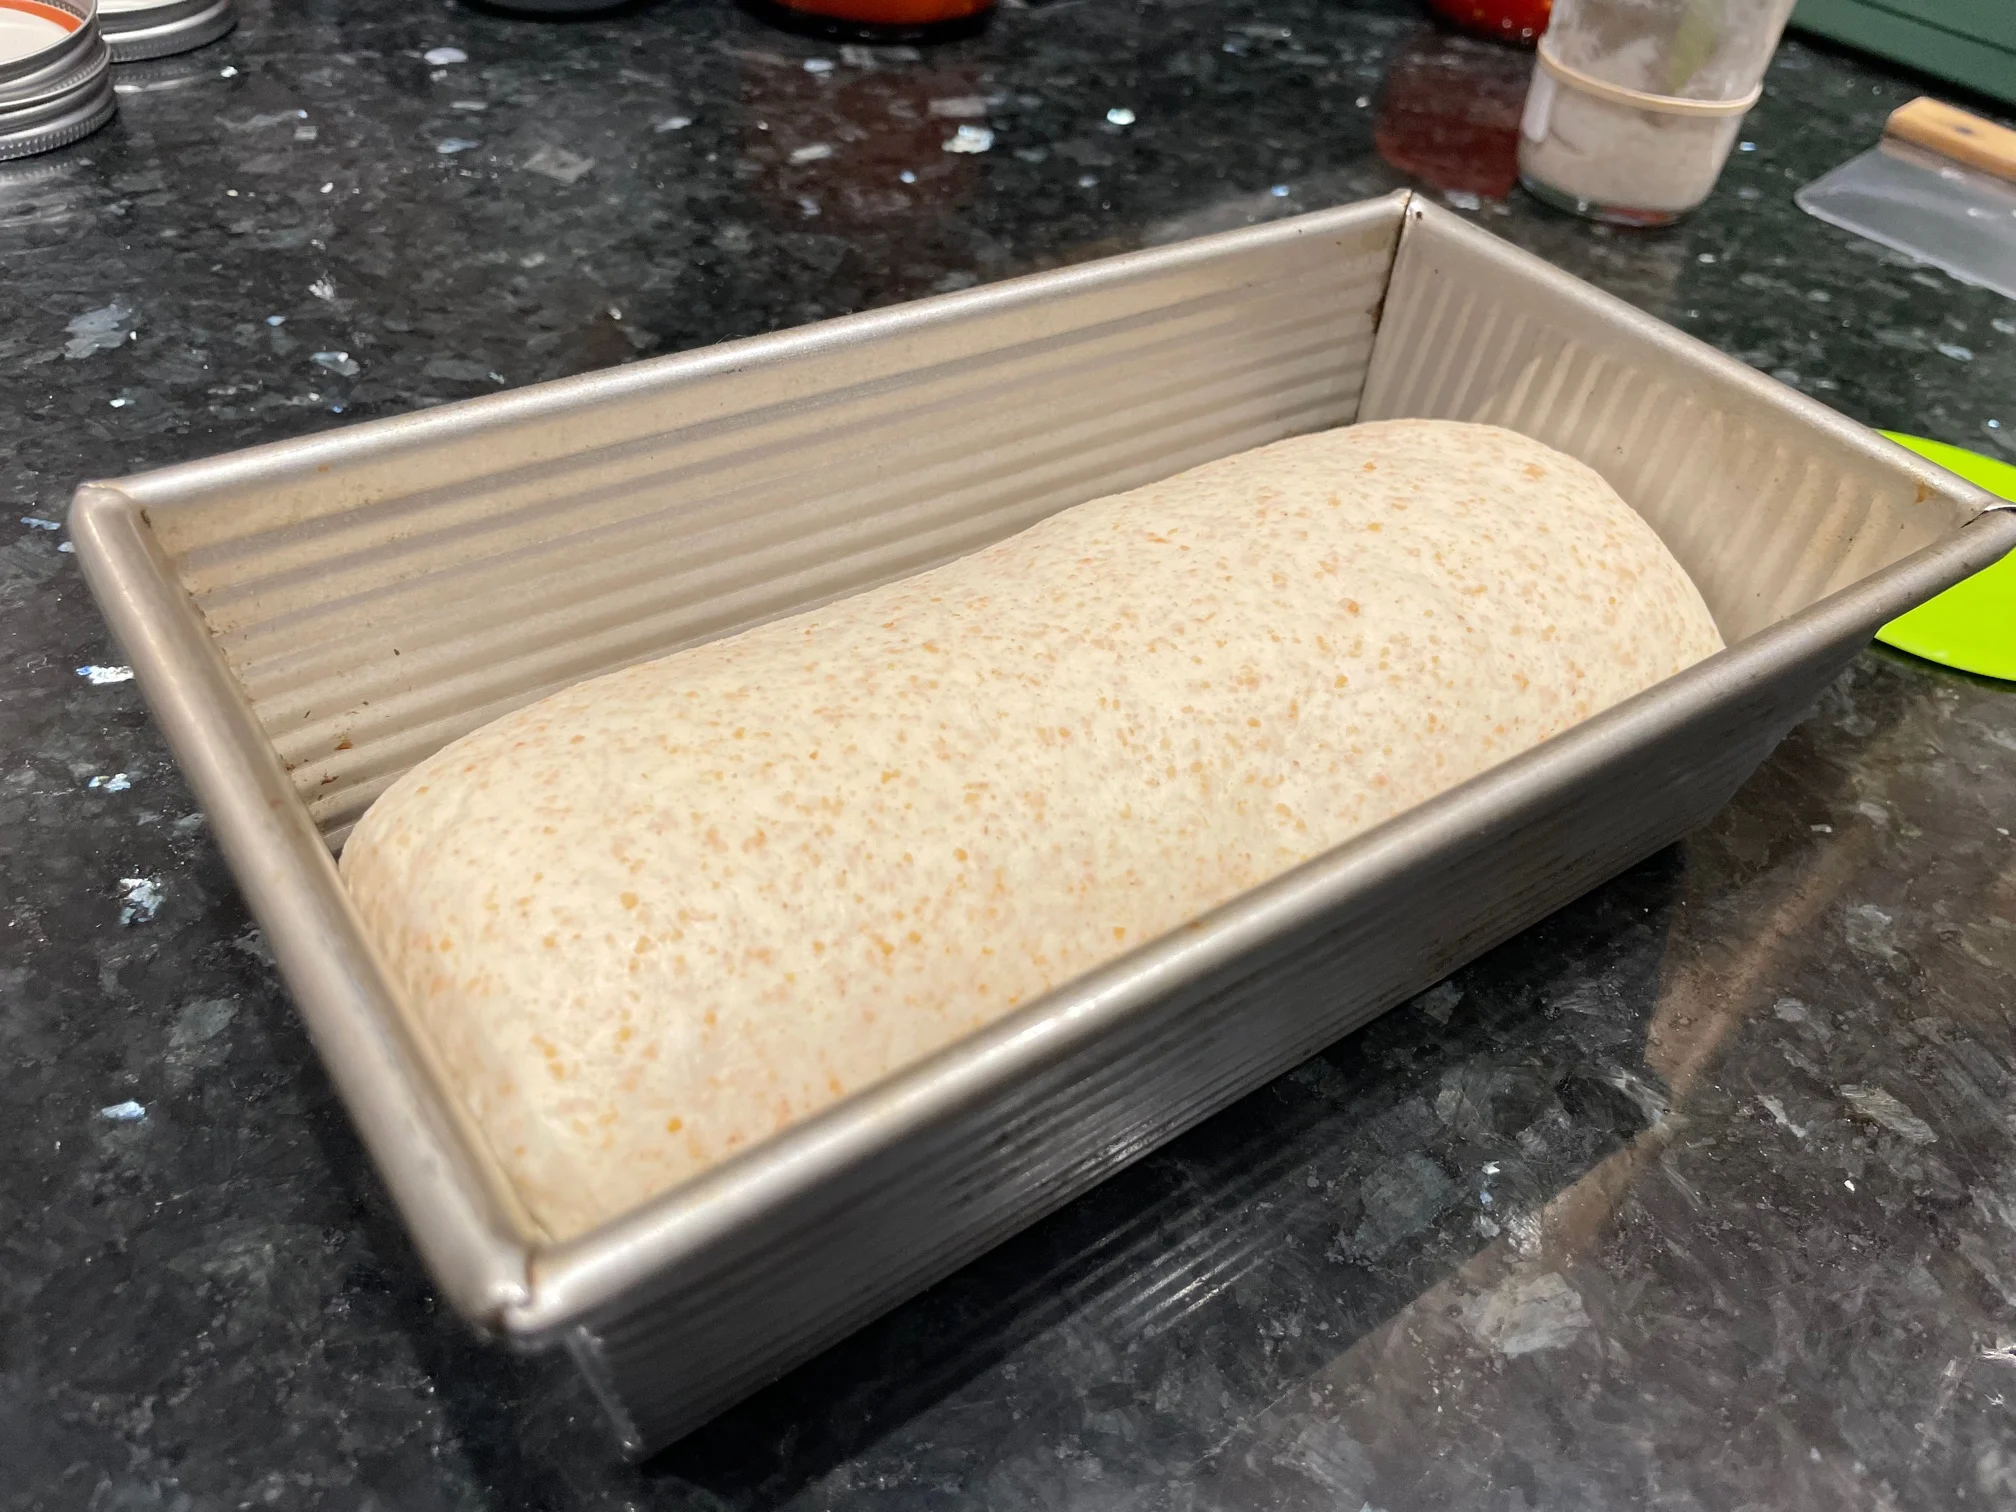
- The Final Shape: Sprinkle the top of your dough with a some flour and flip the dough over so that the floured side is down and the sticky side is up. Press the dough down gently with your finger tips and pull the edges of the dough to form a flat rectangle of dough roughly the lenth of your loaf pan. Roll up the dough like a log and transfer it into your loaf pan with the seam side facing down. I recommend using my favorite non-stick bread pan (here’s a link to it on Amazon). If your pan isn’t non-stick, line the pan with parchment paper so that it’s easier to get the bread out after it’s baked.
The Second Rise
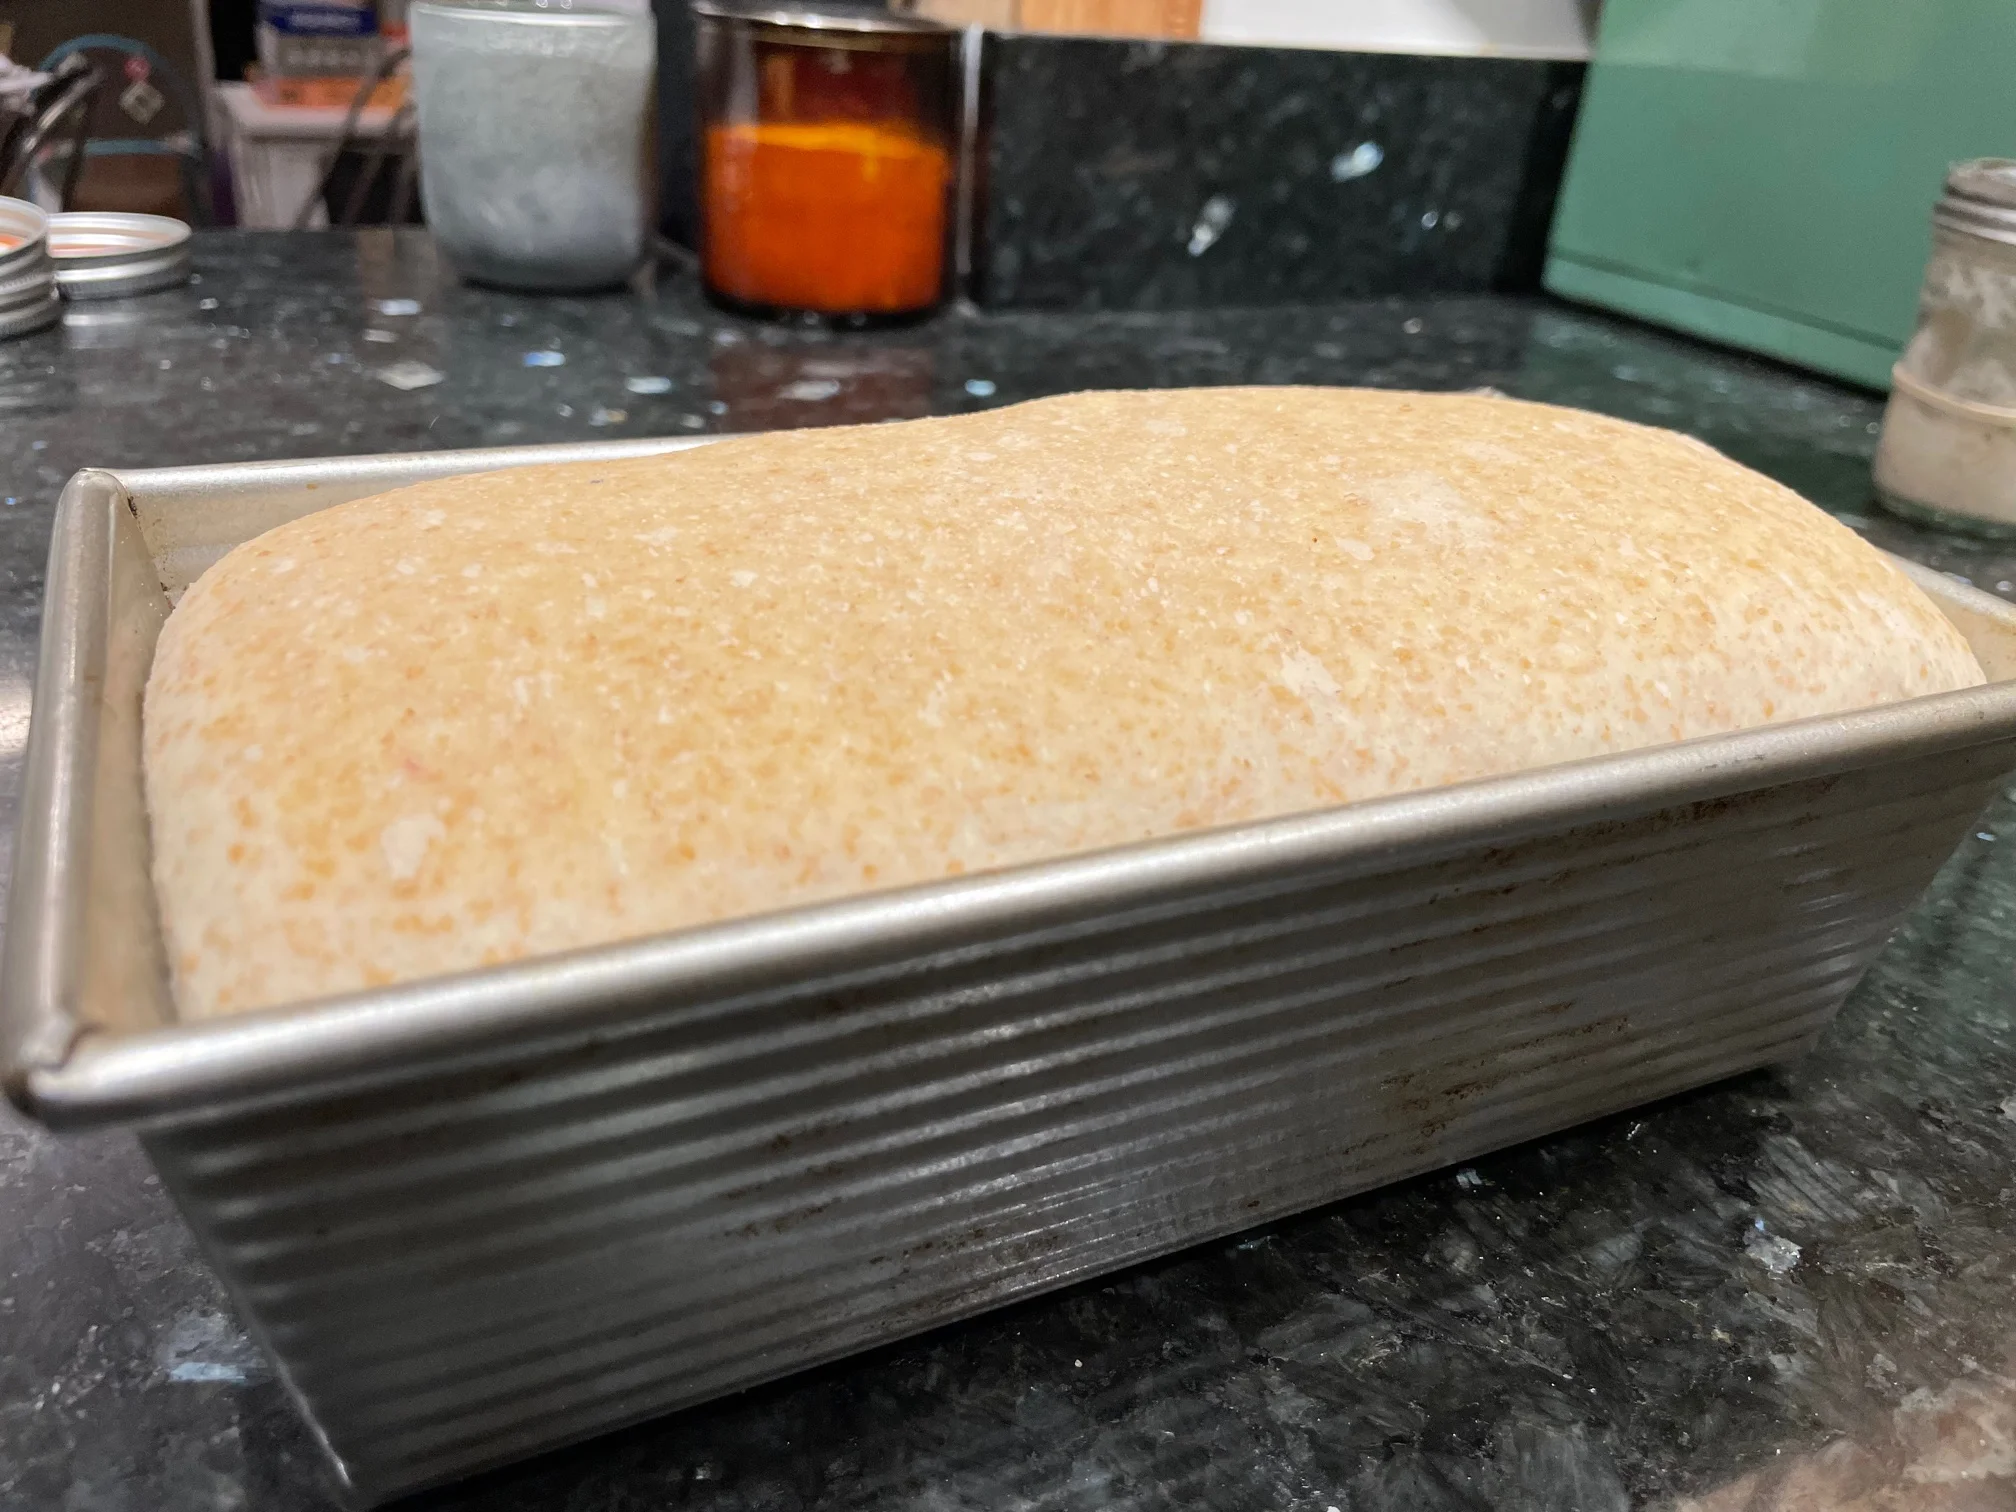
- The Second Rise: The second rise, also called the “proofing” stage, is when your dough will puff up nice and tall in the loaf pan. For this low FODMAP sourdough bread, we want to extend the second rise even longer so that the sourdough starter pre-digests as many fructans as possible within the dough. So, after your dough is in the pan, cover up the dough and move it to the refrigerator. The cold environment will help to slow down and extend the fermentation process. Leave your dough in the fridge overnight, or for 8-12 hours. After that, remove the dough from the fridge and let it rise on your counter until the dough has doubled in size, or is puffing up over the top of the loaf pan. Now, it’s ready to bake.
Baking Instructions
- Pre-heating your oven: 30 minutes before you’re ready to bake, pre-heat your oven to 450°F. Set a metal pie pan or metal cake ban on the bottom rack of the oven. You’ll use this hot pan to add some steam to the oven later when the bread is baking.
- Baking: When your oven is pre-heated, transfer your loaf pan into the middle rack of your oven to bake. Pour a cup of hot or boiling water into the metal pan on the bottom rack. This hot water will steam up your oven as the bread is baking, giving the bread a better crust. Bake your bread for 20 minutes, and then carefully remove the metal steam pan from the oven. Turn the oven temperature down to 400°F and continue baking the bread for another 15-20 minutes. When the bread reaches an internal temperature of 190°F, it’s done.
Here’s a link to a probe thermometer on Amazon. I always use one of these to check the internal temperature of my loaf pan breads, because they so often aren’t done when I think they should be!

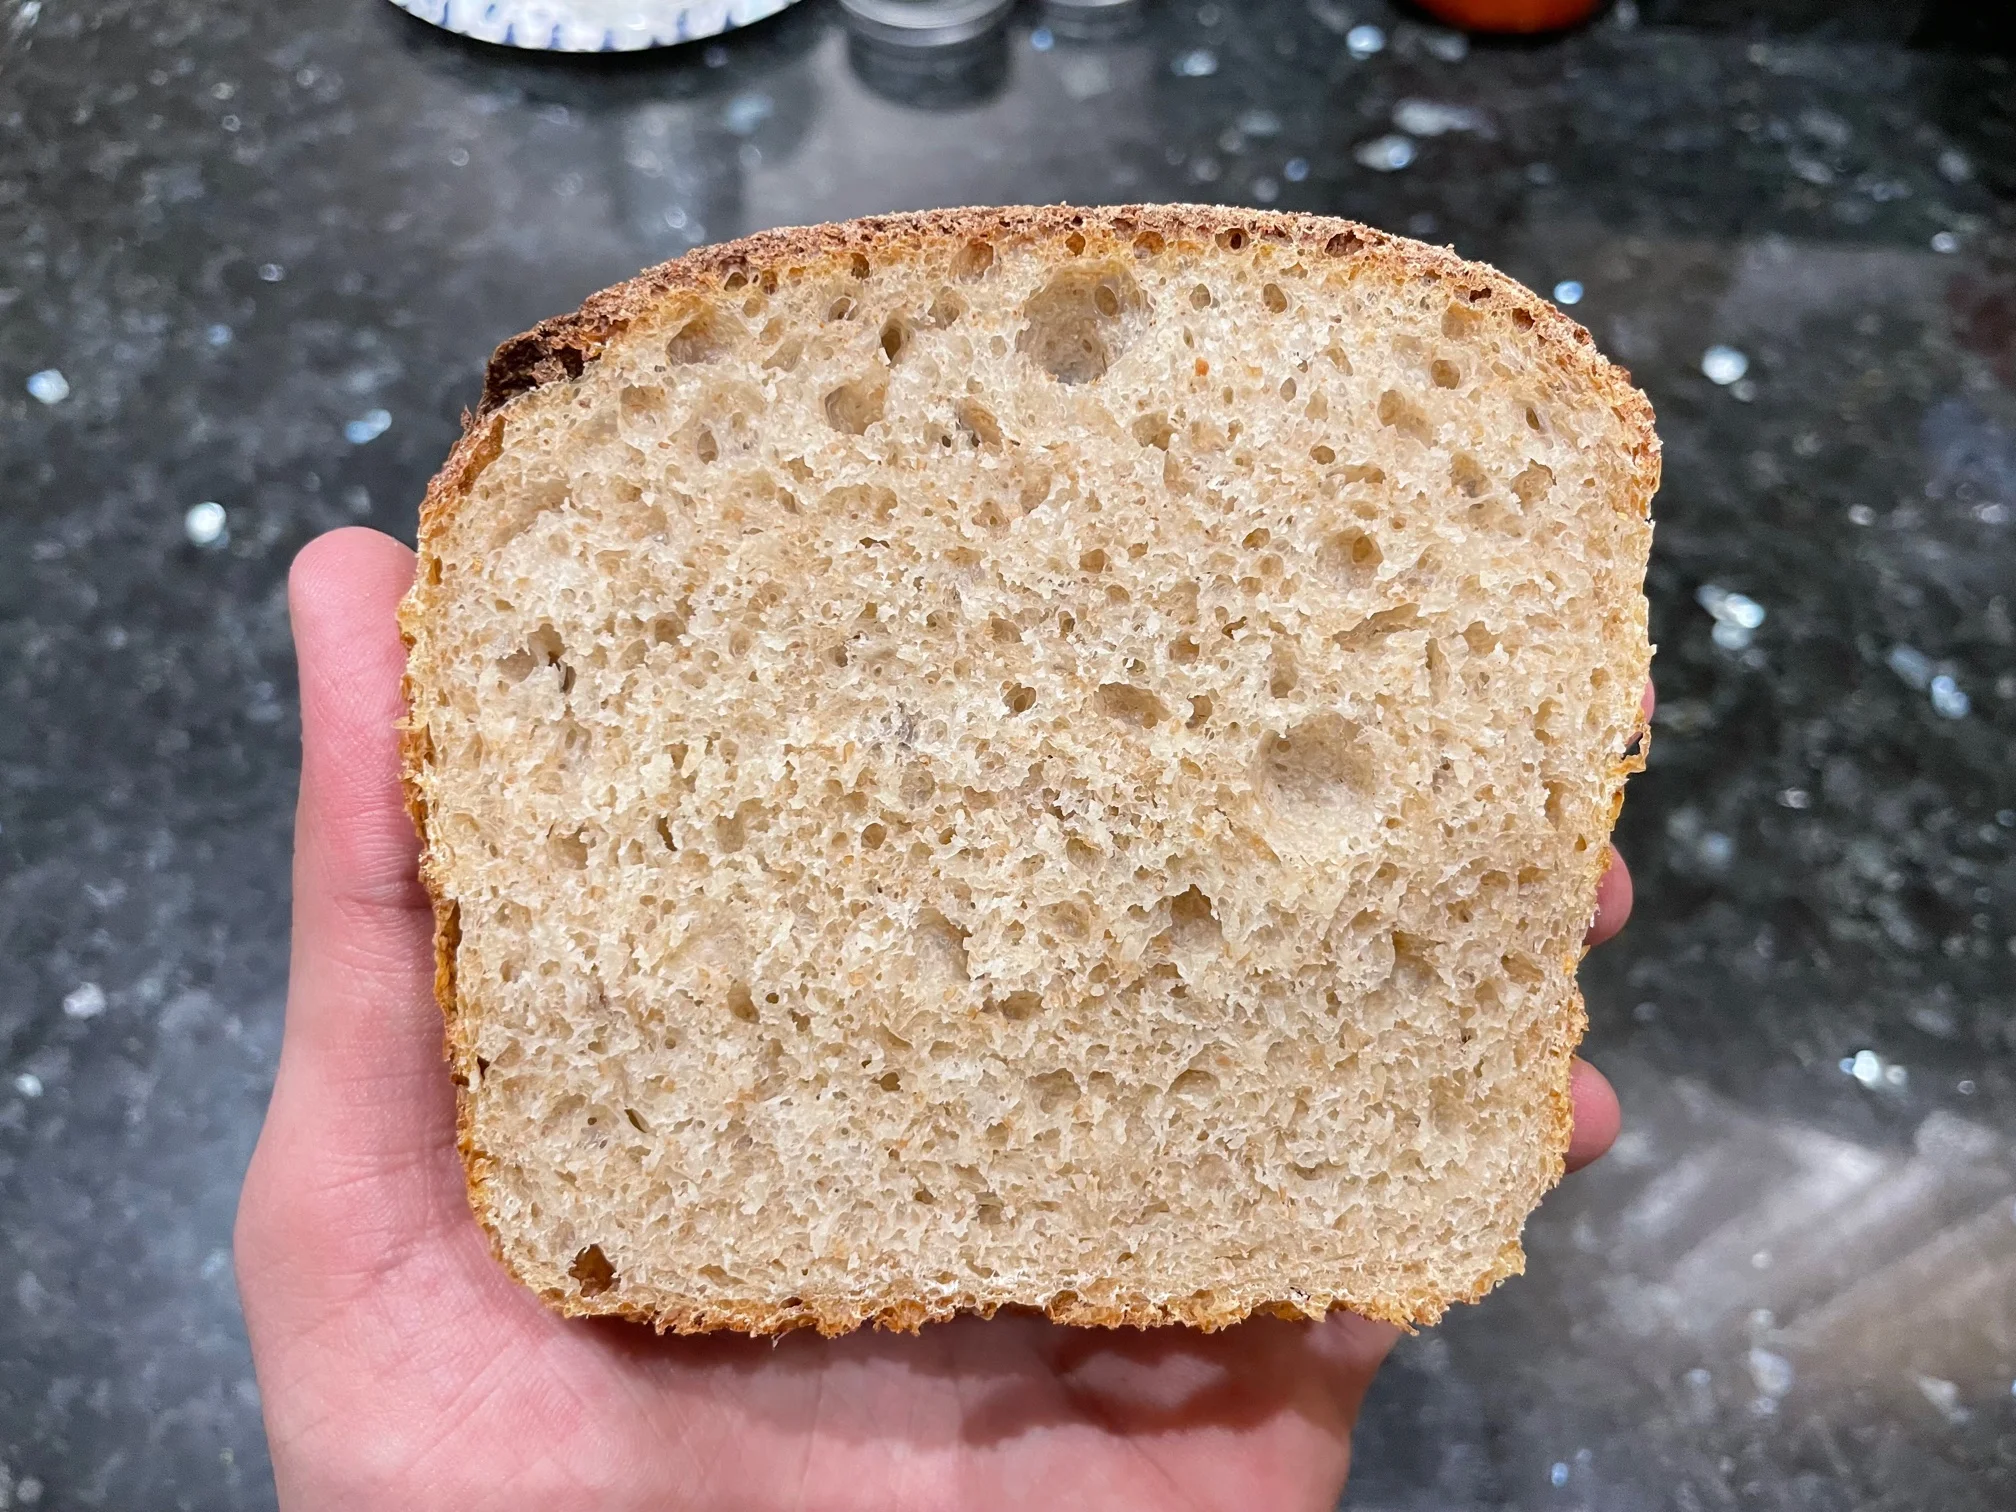
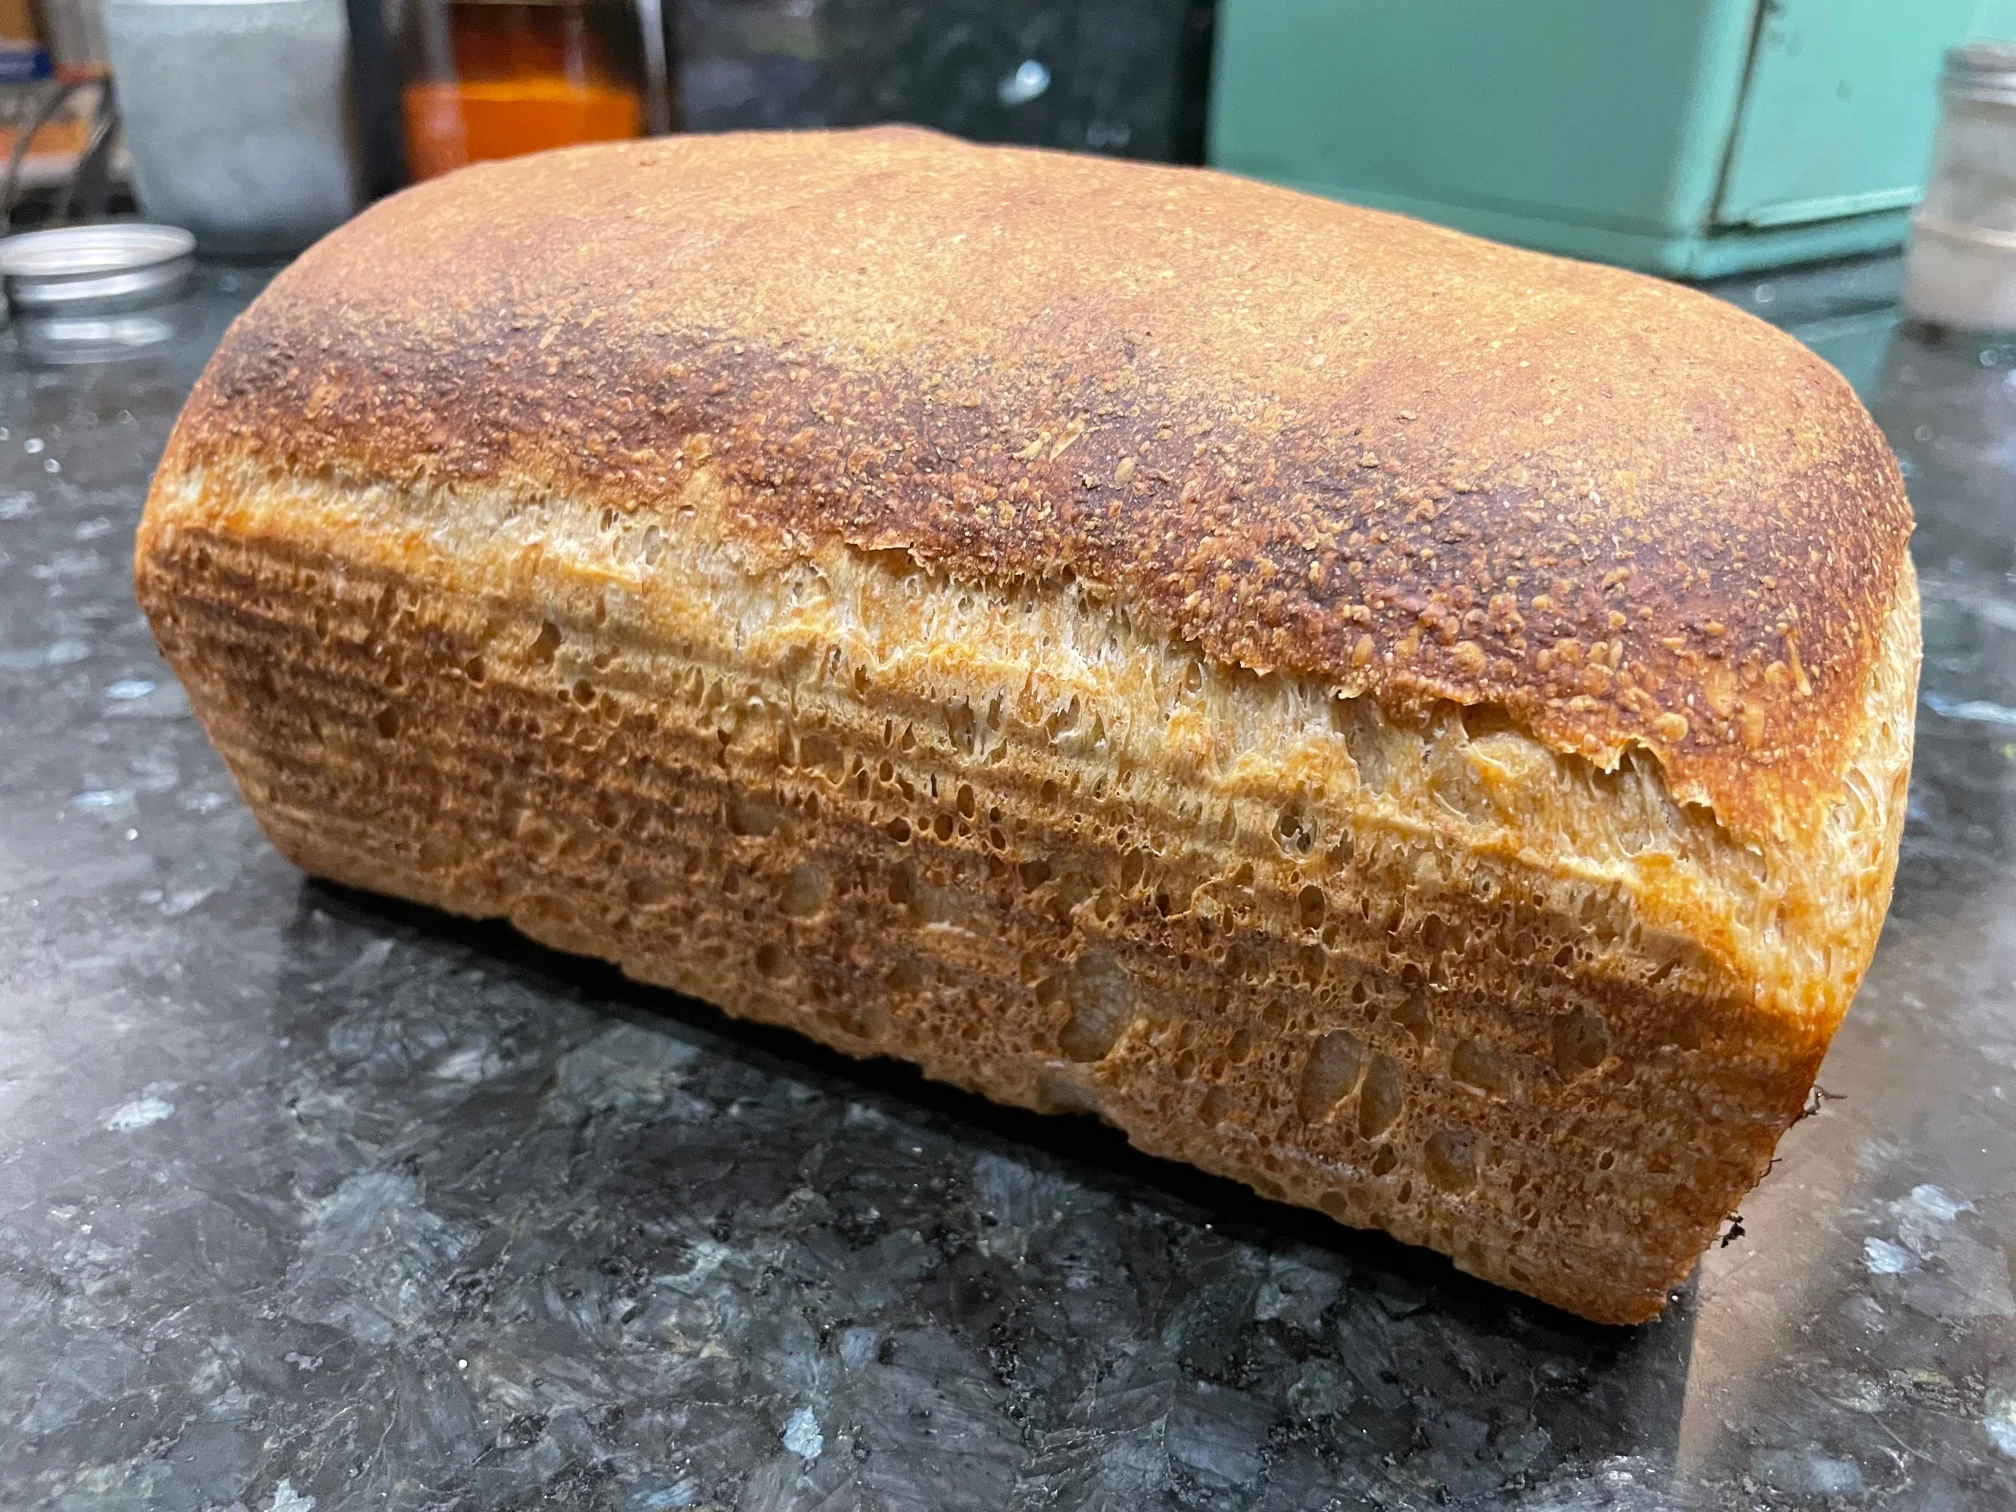
- Cooling: Take the dough out of the loaf pan and move it to a wire rack to cool for at least one hour. Then, slice it up and enjoy a few slices of low FODMAP sourdough bread!
Low FODMAP Sourdough Bread

This low FODMAP sourdough bread recipe follows the traditional sourdough process of long-fermentation. It also contains a good amount of whole grain spelt flour. So, it's a great bread to make if you're following a low FODMAP diet.
Ingredients
- Bread Flour - 300 grams
- Whole Grain Spelt Flour - 150 grams
- Water - 300 grams
- Sourdough Starter - 50 grams
- Salt - 9 grams
Instructions
- Feeding the starter: Take 25 grams of sourdough starter out of your fridge. Mix the 25 grams of starter with 25 grams of whole grain spelt flour and 25 grams of water in a glass jar. Stir everything together until no dry bits of flour remain. Cover up the jar and mark the top of the starter with a marker or a rubber band. Let the starter sit at room temperature for 4-12 hours until it doubles in size. (I usually feed my starter in the evening before bed and then it has doubled in size by the morning).
- Mixing the dough: Once your starter has doubled in size, measure out all of your ingredients and put them in a medium-sized mixing bowl – both of the flours, the water, the salt, and 50 grams of sourdough starter. You should have about 25 grams of sourdough starter left over in the jar. Save this in the fridge for the next time you want to bake. Now, stir the ingredients together with a wooden spoon until no dry bits of flour remain. If for some reason the dough is still dry after a few minutes of stirring, add a spoonful of water (about 10 grams or so) and see if that helps the dough come together. Certain brands of spelt flour will absorb more water than others, so don’t worry if you need to add extra water. Cover up the dough and let it rest for 30 minutes on the counter.
- The first rise: The dough has officially begun its first rise, or the bulk fermentation. The dough will slowly start fermenting, building flavor, puffing up with air, and doubling in size over the next 10 hours or so. During the first few hours, you’re going to give the dough three (3) sets of stretch and folds, with a 30 minute rest in between each one.
- Stretch and folds: After the initial 30 minute rest, uncover the dough and perform the first set of stretch and folds. Grab an edge of the dough (the “north” side, furthest away from you) and stretch it up and fold it over the top of the dough. Then take the “south” side which is closest to you and stretch it up and fold it over the dough. Now do the same with the “east” side on the right, and the “west” side on the left. Now each of the four corners of the dough have been stretched and folded. This helps to build strength and structure in the dough so that the final bread will hold its shape better while it bakes. Let the dough rest for another 30 minutes, then do another set of stretch and folds. Then let it rest for another 30 minutes, and do the third and final set of stretch and folds.
- Doubling in size: Once the stretch and folds are complete, cover up the dough and let it rise at room temperature on the counter until it roughly doubles in size. This should take anywhere between 5-10 more hours depending on the temperature in your kitchen.
- The Preshape: When your dough has officially doubled in size, it’s time to shape it for the loaf pan. Start by “pre-shaping” the dough into a ball. Sprinkle some flour on top of the dough and flip the dough out onto the counter with the floured side down. Then, flip the dough over so that the sticky side is against the counter. Pull on the edges of the dough with your hands in order to shape the dough into a ball. Once you’ve got a ball, let the dough rest, uncovered, for about 20-30 minutes on your counter.
- The Final Shape: Sprinkle the top of your dough with a some flour and flip the dough over so that the floured side is down and the sticky side is up. Press the dough down gently with your finger tips and pull the edges of the dough to form a flat rectangle of dough roughly the lenth of your loaf pan. Roll up the dough like a log and transfer it into your loaf pan with the seam side facing down. I recommend using my favorite non-stick bread pan (here’s a link to it on Amazon). If your pan isn’t non-stick, line the pan with parchment paper so that it’s easier to get the bread out after it’s baked.
- The Second Rise: The second rise, also called the “proofing” stage, is when your dough will puff up nice and tall in the loaf pan. For this low FODMAP sourdough bread, we want to extend the second rise even longer so that the sourdough starter pre-digests as many fructans as possible within the dough. So, after your dough is in the pan, cover up the dough and move it to the refrigerator. The cold environment will help to slow down and extend the fermentation process. Leave your dough in the fridge overnight, or for 8-12 hours. After that, remove the dough from the fridge and let it rise on your counter until the dough has doubled in size, or is puffing up over the top of the loaf pan. Now, it’s ready to bake.
- Pre-heating your oven: 30 minutes before you’re ready to bake, pre-heat your oven to 450°F. Set a metal pie pan or metal cake ban on the bottom rack of the oven. You’ll use this hot pan to add some steam to the oven later when the bread is baking.
- Baking: When your oven is pre-heated, transfer your loaf pan into the middle rack of your oven to bake. Pour a cup of hot or boiling water into the metal pan on the bottom rack. This hot water will steam up your oven as the bread is baking, giving the bread a better crust. Bake your bread for 20 minutes, and then carefully remove the metal steam pan from the oven. Turn the oven temperature down to 400°F and continue baking the bread for another 15-20 minutes. When the bread reaches an internal temperature of 190°F, it’s done.
- Cooling: Take the dough out of the loaf pan and move it to a wire rack to cool for at least one hour. Then, slice it up and enjoy a few slices of low FODMAP sourdough bread!
Feeding the Starter
The First Rise
Stretch and Folds
Shaping
The Second Rise
Baking
Notes
- I use King Arthur brand Bread Flour for this recipe and Bob's Red Mill brand whole grain spelt flour. Any brand of whole grain spelt flour should work though.
Conclusion: Low FODMAP Sourdough Bread
I hope you’ve found this recipe helpful. If you don’t have your own sourdough starter at home, remember to check out my complete guide for creating a sourdough starter with spelt flour.