Sourdough doesn’t have to be complicated. This recipe for good sourdough bread avoids the nonsense and unnecessary steps that make sourdough bread difficult for beginners (no autolyse, lamination, or high hydration required). After making hundreds of loaves of sourdough bread in the past four years, I’ve landed on this recipe as my go-to master sourdough bread recipe. Enjoy!
What People Are Saying
“This is a fantastic recipe. I baked my loaf this morning and it turned out just beautiful! So easy! I can actually say I love making sourdough bread now.”
From @Judith4985 on YouTube
“This was the best sourdough I have made, came out nice and crusty and the crumb is perfect, tastes wonderful, it also lasted in a bread bag for over 5 days! Thanks so much for sharing…”
From @LindaDauglash2946 on YouTube
Ingredients You’ll Need
- Bread Flour: I like to use King Arthur Brand bread flour, but any brand of bread flour that has around 13% protein content will work. The higher protein content makes chewier bread than standard all-purpose flour.
- Water: Filtered tap water or bottled spring water are best for this recipe.
- Sourdough Starter: You’ll use a fed and active sourdough starter instead of baker’s yeast to make this bread rise. Any 100% hydration sourdough starter will work, no matter what type of flour you feed it. Get my Sourdough Starter Guide to learn how to make a sourdough starter from scratch in just six days.
- Salt: I use kosher salt, but sea salt and plain table salt will work fine as well.
Substitutions and Additions
- Using All-Purpose Flour instead of Bread Flour: Many people, including myself, have used all-purpose flour instead of bread flour to make this recipe with very good results. If all-purpose flour is all you have on hand, feel free to use it.
- Adding Whole Grain Flour: If desired, you can replace a portion of the bread flour in this recipe with whole grain flour (whole wheat or whole grain rye). Simply replace 10-50 grams of bread flour with the whole grain flour of your choice and follow the same recipe instructions.
Special Tools You’ll Need to Make Good Sourdough Bread
- Digital scale – see mine on Amazon
- Bench scraper – see mine at Rackmaster.co.uk
- Banneton basket – see mine on Amazon
- Bread lame or razor blade – get mine for 10% off at WireMonkey.com
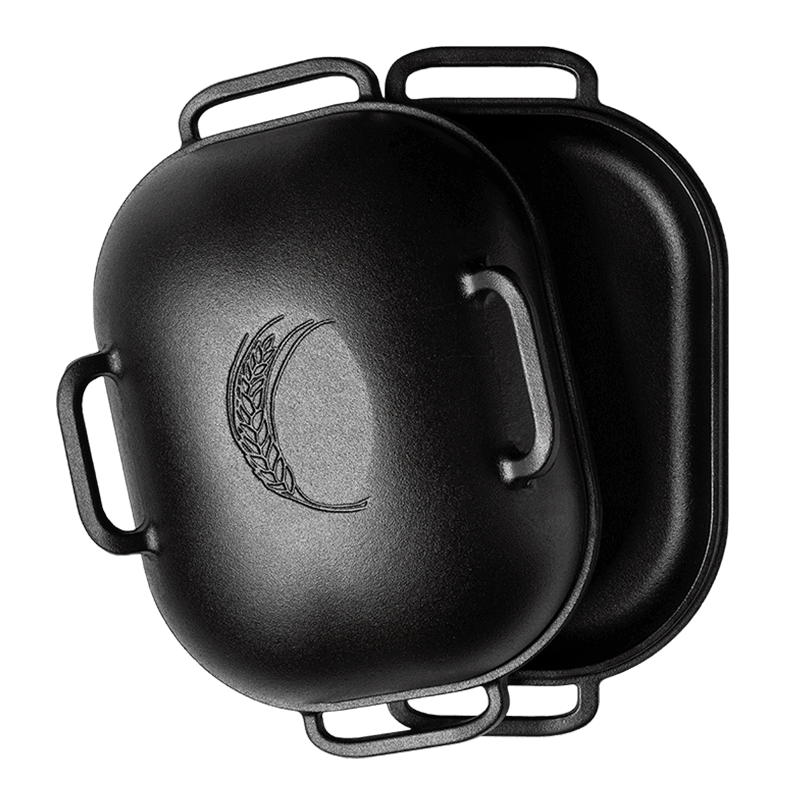
- Dutch oven – see mine on Amazon
Note: The above links are affiliate links. After making a qualifying purchase, I may earn a small commission. I only recommend products that I use myself.
Suggested Timeline
I typically feed my starter in the evening, make my dough the next day, and then bake the bread the day after that. Here’s a rough timeline you can follow:
| 10:00 PM (Day 1) | Feeding the Sourdough Starter |
| 6:50 AM (Day 2) | Mixing the Dough |
| 7:00 AM | Bulk Fermentation (The First Rise) |
| 1:00 PM | The Pre-shape |
| 1:30 PM | The Final Shape |
| 1:35 PM | Proofing (The Second Rise) |
| 8:00 AM (Day 3) | Scoring |
| 8:05 AM | Baking |
If you want to adjust this schedule to bake the bread on the same day that you make the dough, I’ll explain how you can do that in the proofing section of this recipe below.
Ingredient Amounts
Sourdough Starter Feeding
- Sourdough Starter, leftover – 25 grams
- Bread Flour – 50 grams
- Water – 50 grams
Main Dough
- Bread Flour – 450 grams
- Water – 300 grams
- Sourdough Starter, active – 100 grams
- Salt – 10 grams
How to Make Grant Bakes’ Good Sourdough Bread Recipe
Step-by-Step Instructions
Feeding the Starter
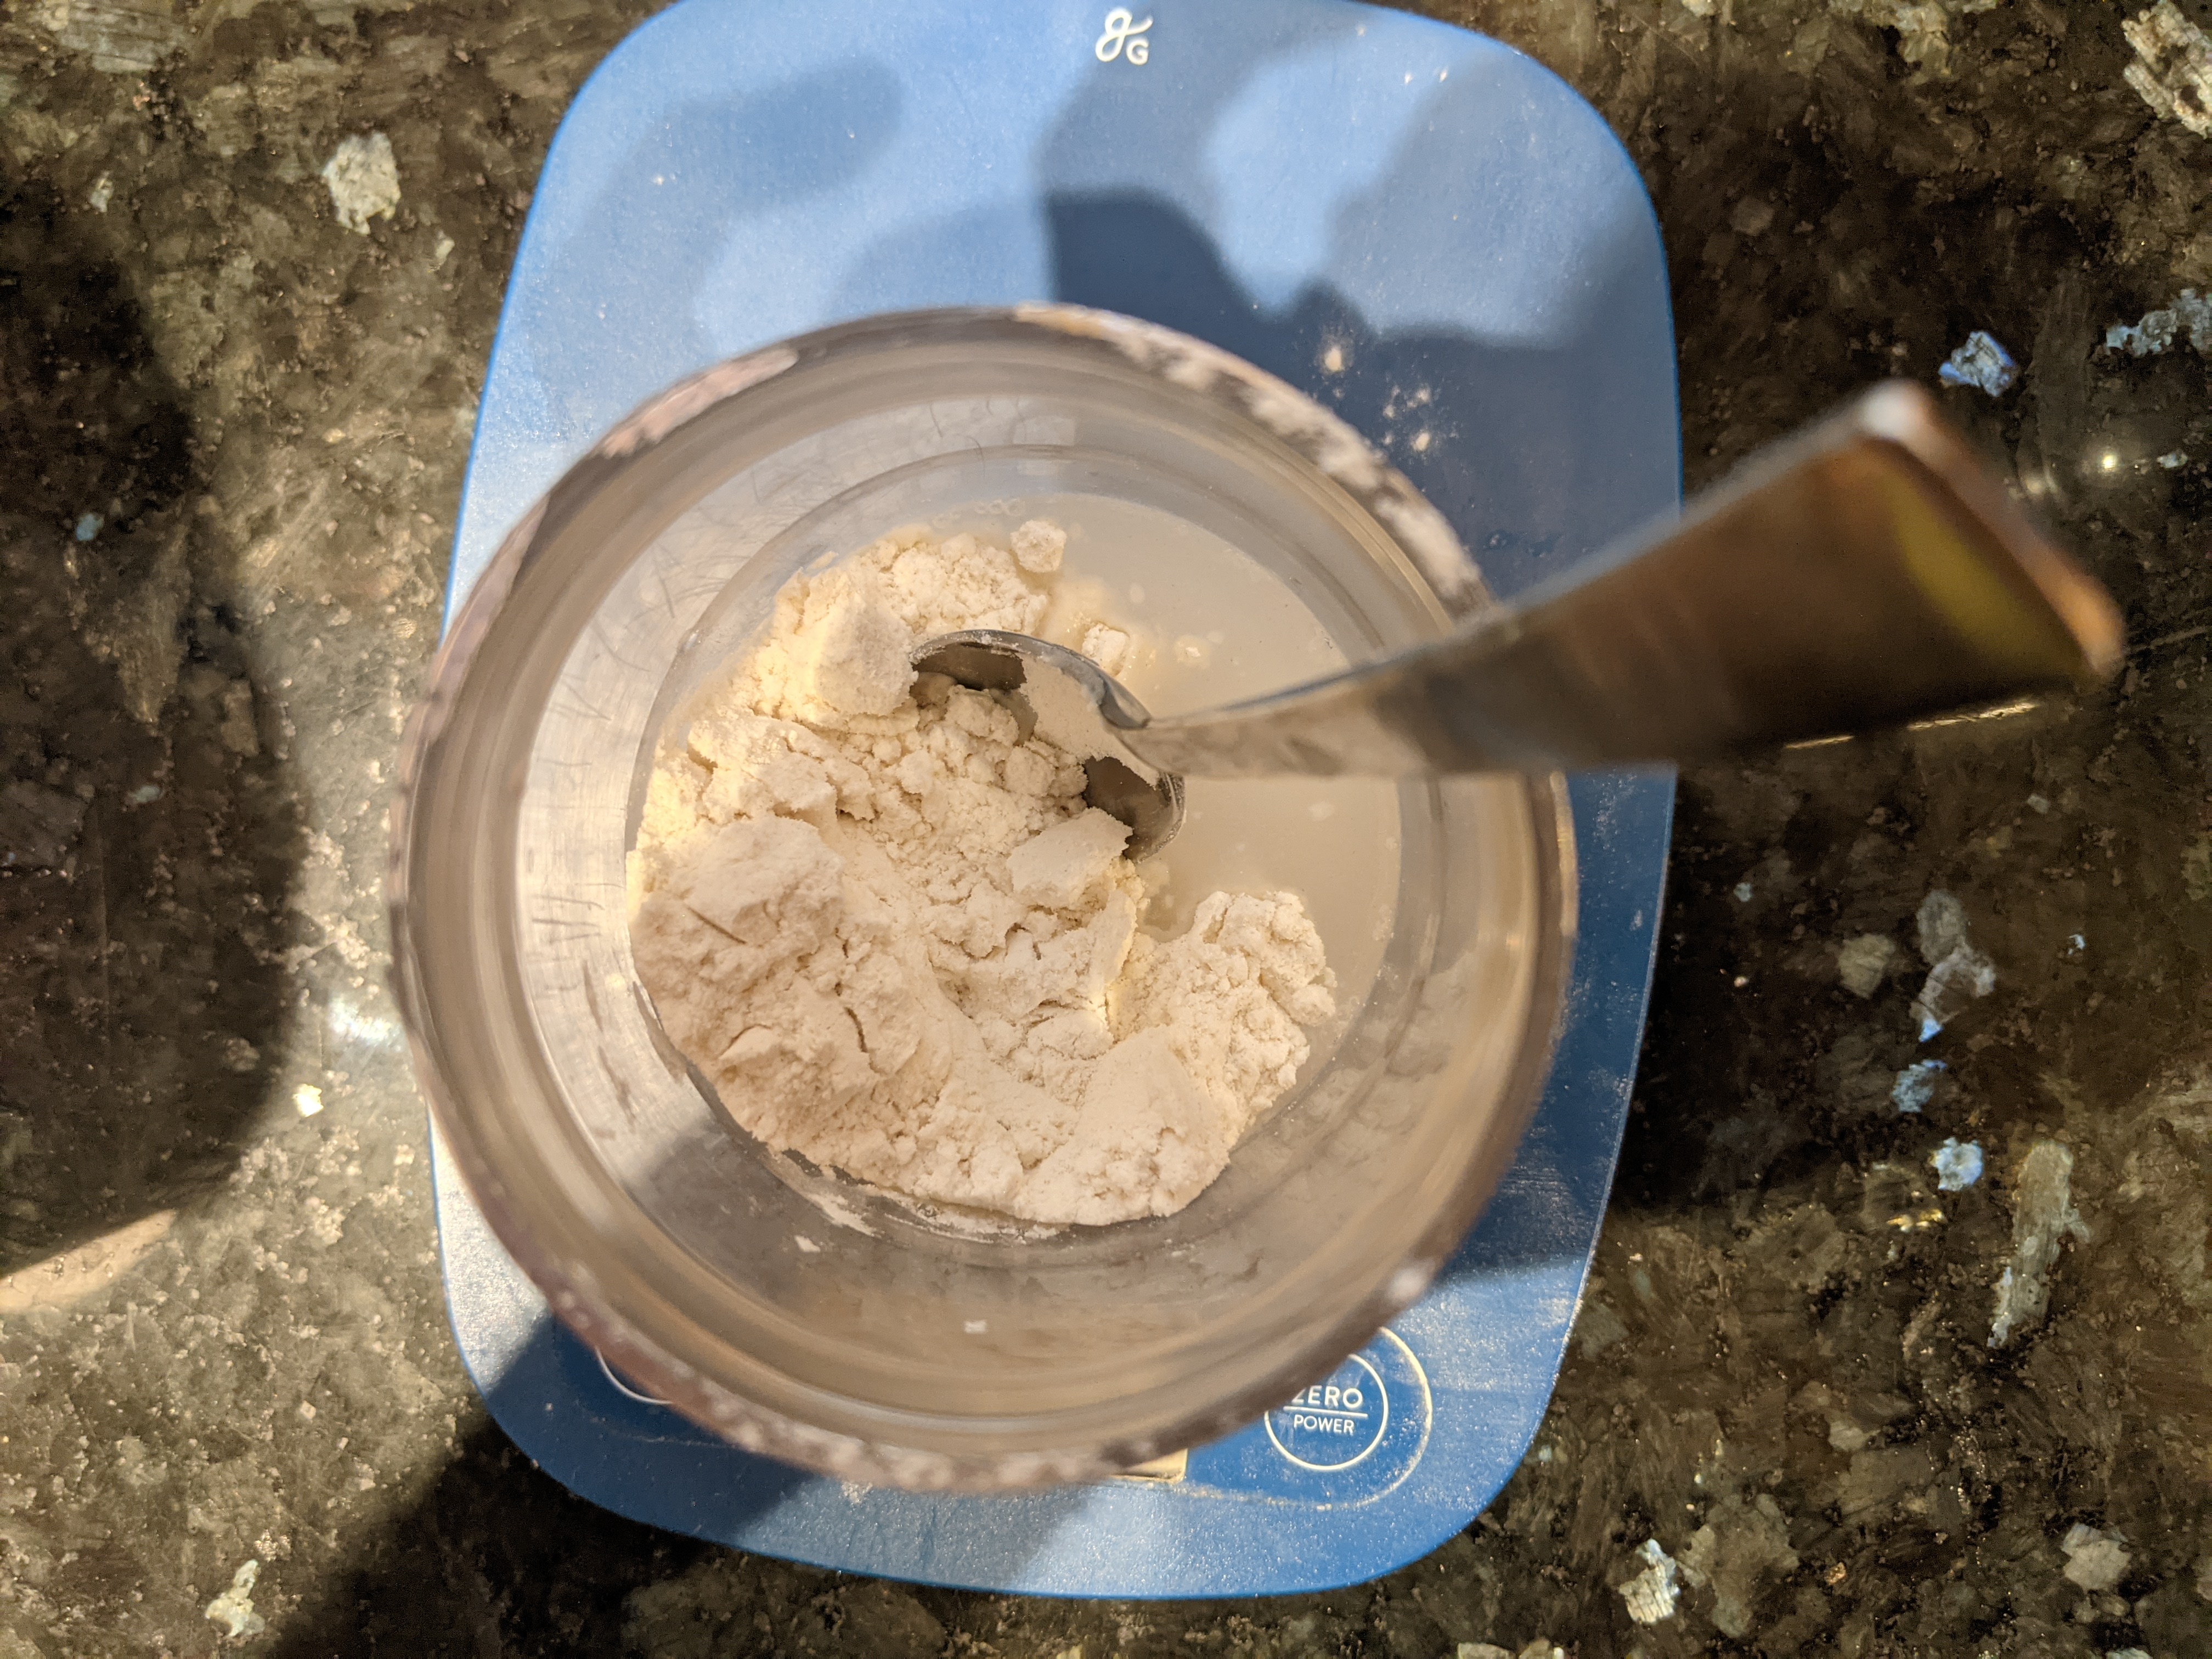
- To feed your sourdough starter, remove 25 grams of leftover starter (about one tablespoon) from the fridge and place it on your digital scale.
- Then, mix the leftover starter with 50 grams of bread flour and 50 grams of room temperature water. Stir until everything is well combined. (You can also use a whole grain starter for this recipe. Whole grain or white starters will both work perfectly fine.)
- Once the starter is mixed, mark the top of it with a rubber band or a marker and wait 6-12 hours for it to double in size. I usually let feed my starter at night and let it rise overnight. Once your starter doubles in size it will be ready to use.
Mixing the Dough
- The next morning your starter should be bubbly, active, and about doubled in size. Time to put this starter to work.
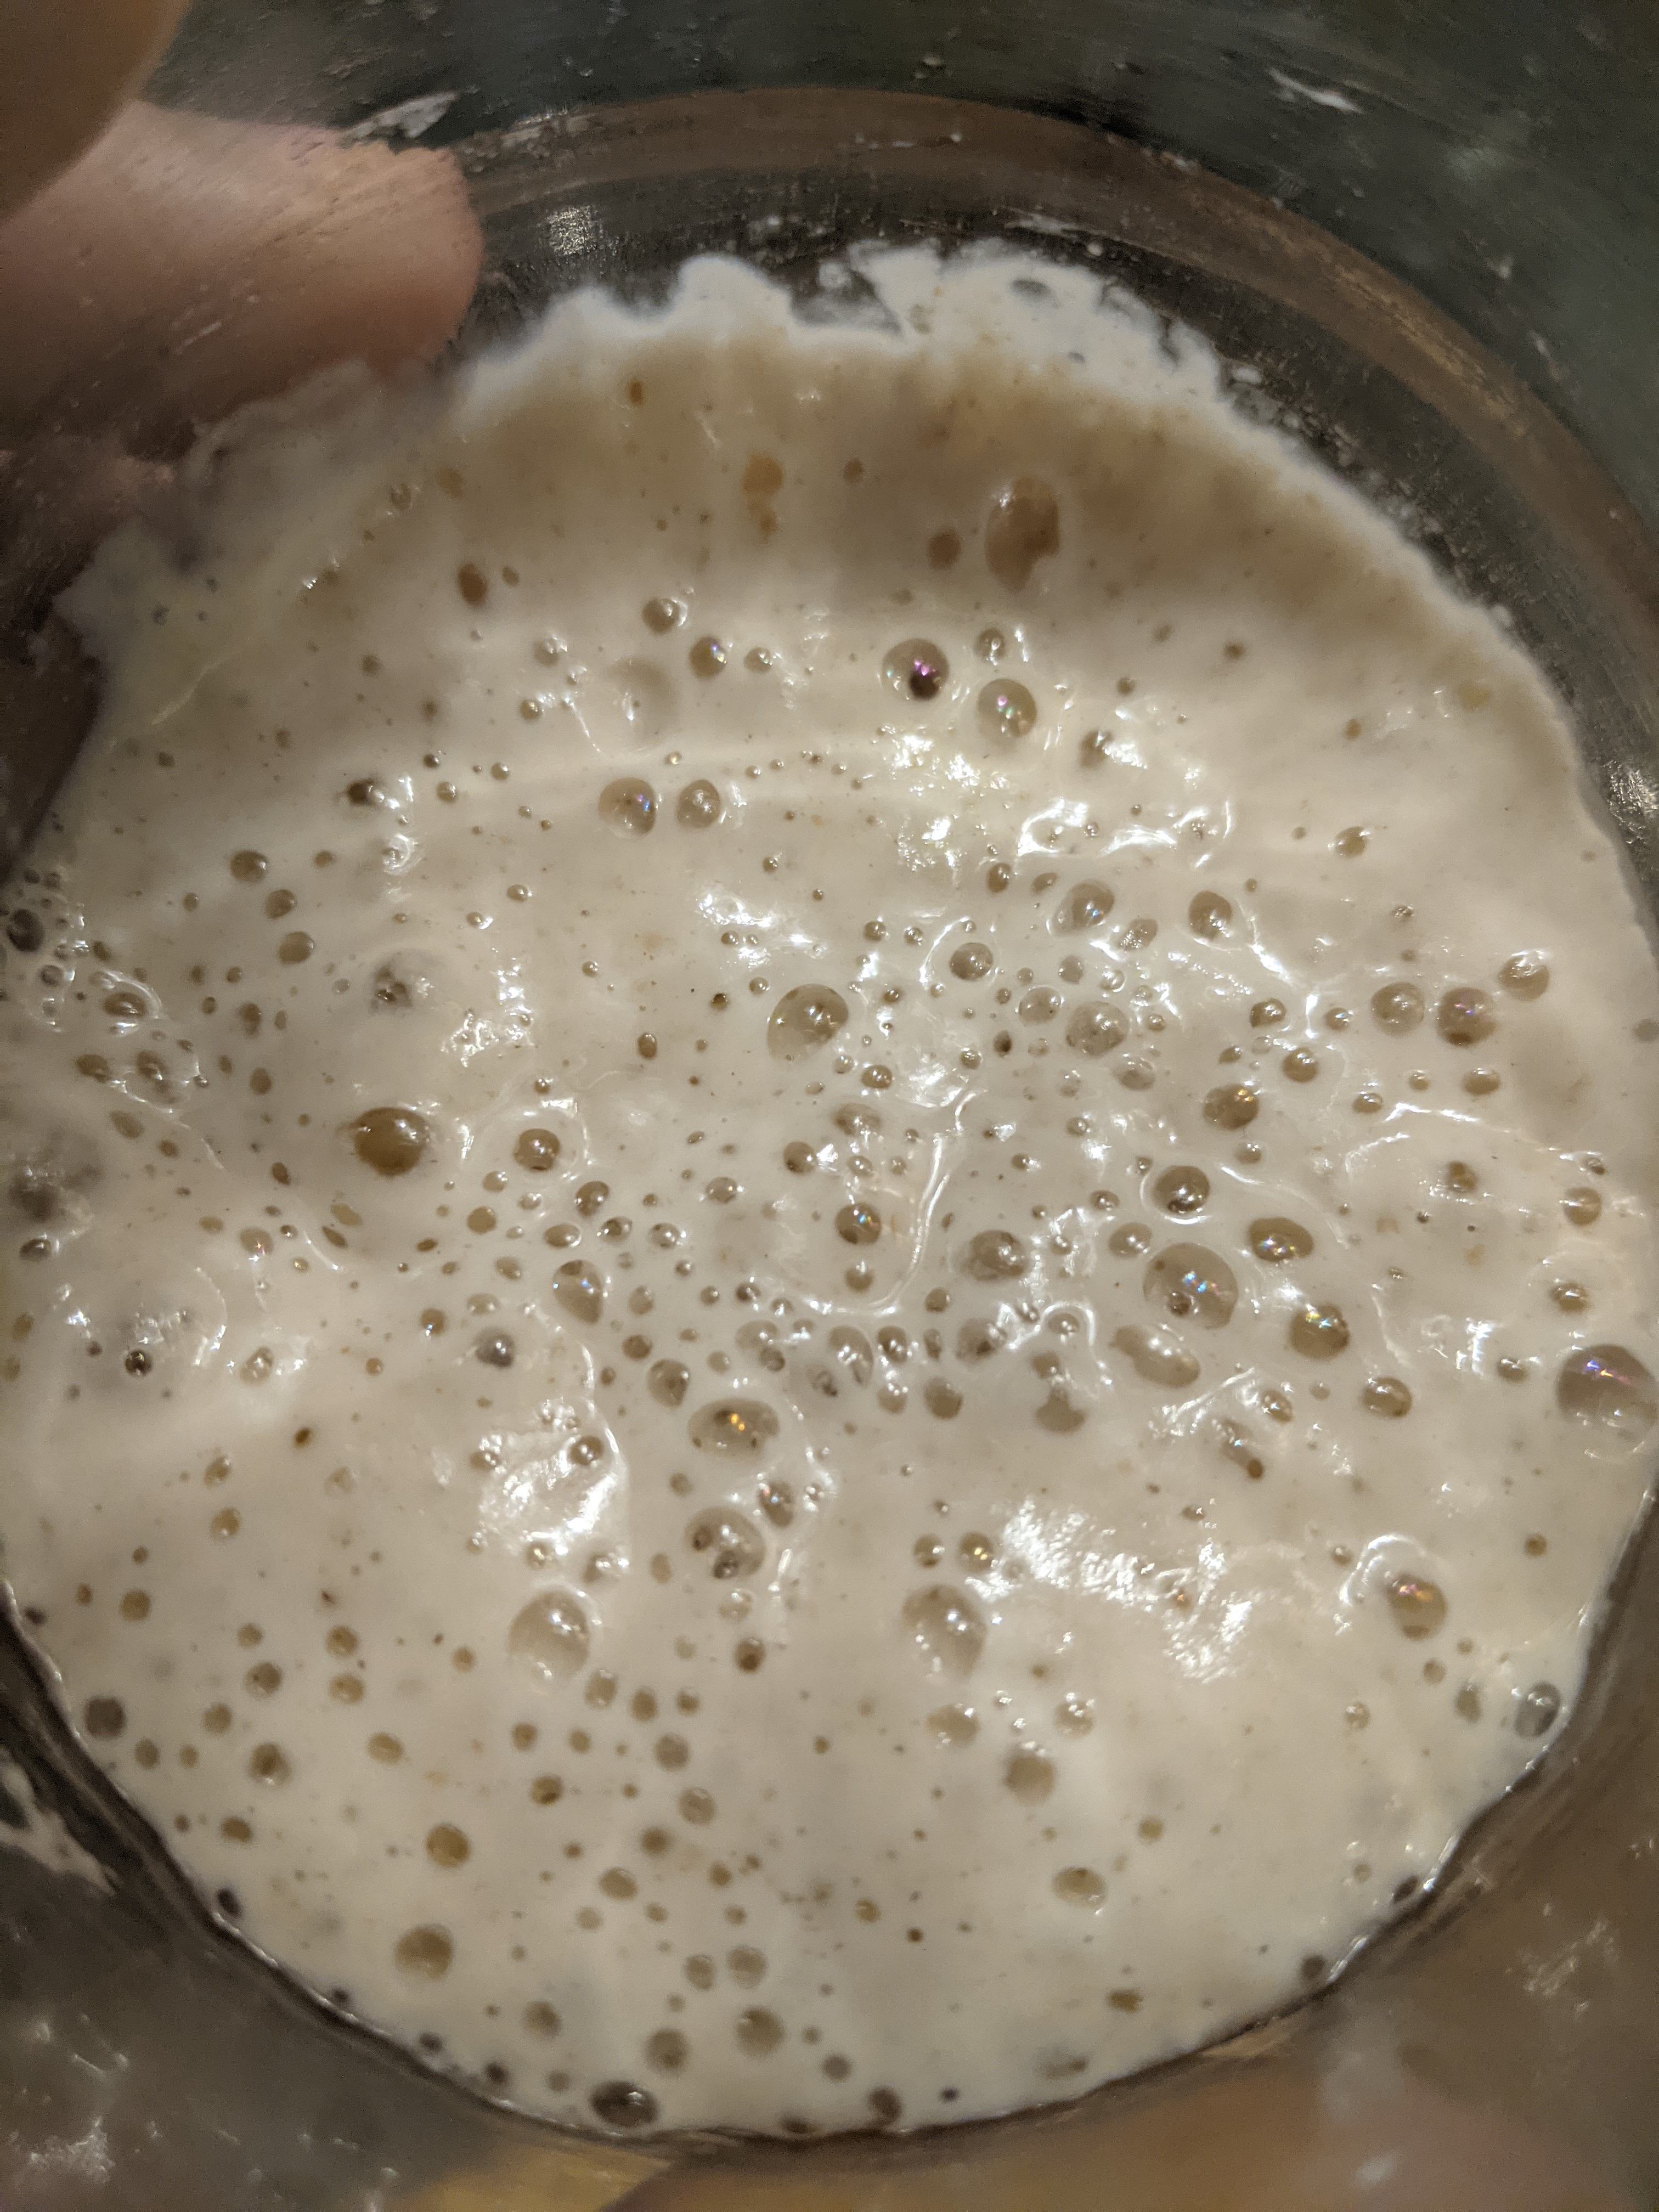
- If you want to double check that you’re starter is ready, you can do the “float test” at this point – just drop a teaspoon of your starter in a cup of water, and if it floats, it’s ready to bake with!
- Measure out all four of the dough ingredients (water, starter, flour, and salt) together in your mixing bowl. Once they’re all in the bowl, combine them thoroughly with your bowl scraper or wooden spoon until almost no dry bits of flour are left.
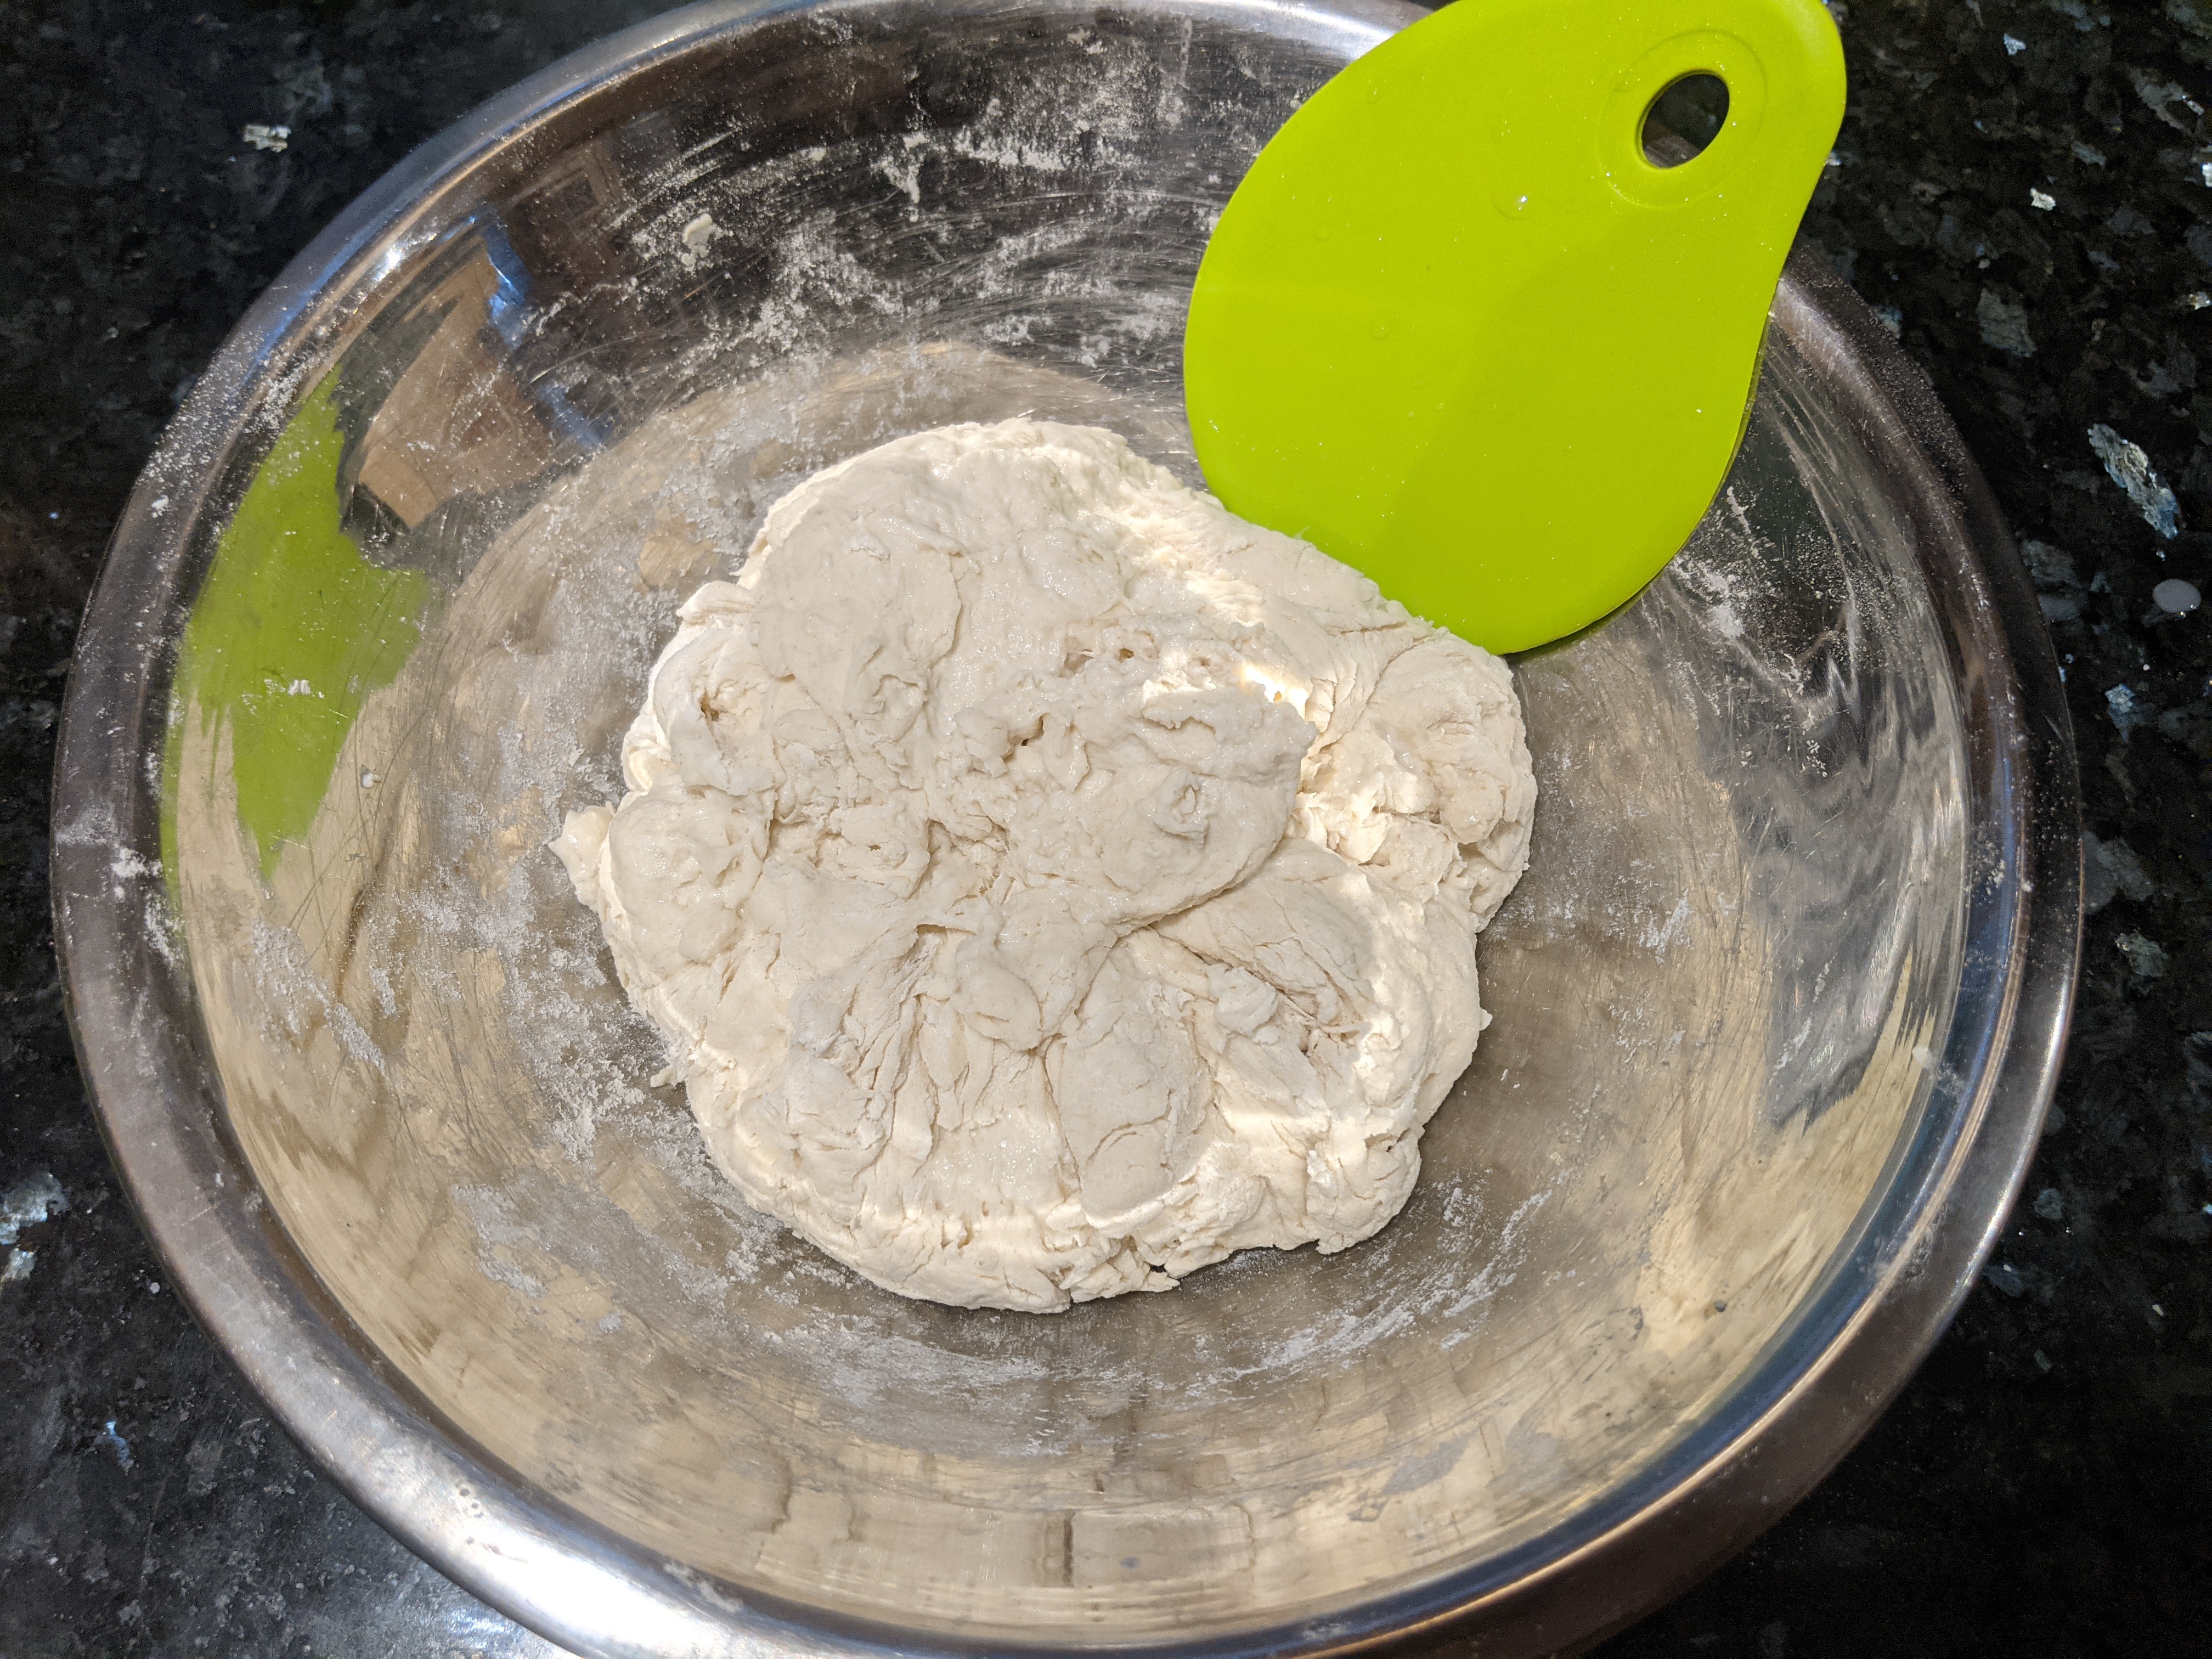
- Now, cover the bowl with a kitchen towel and let the dough rest for 30 minutes. Since we’ve mixed the starter in with the other ingredients, the bulk fermentation has officially begun!
Bulk Fermentation (The First Rise)
- Bulk fermentation just refers to the first rise of the dough; some people call it the bulk rise or the bulk proof. The dough gains puffiness during this stage as it fills with CO2 gas, and it also gains a lot of flavor from the fermentation process. Call it what you will, but bulk fermentation is important.
- I typically let the dough bulk ferment for about five hours depending on how warm my kitchen is. However, if it’s chilly in my kitchen, it might take six hours, and if it’s warmer, maybe four. This recipe will be written for a five hour bulk fermentation. Adjust it however you need.
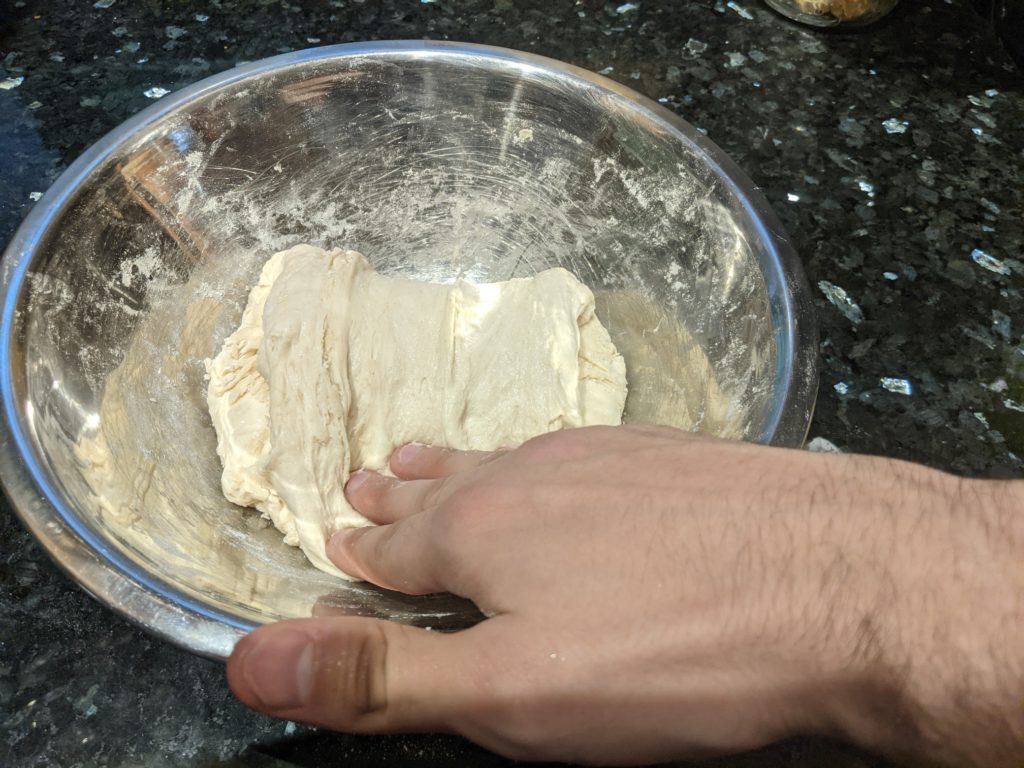
- After the 30 minute rest period, give your dough its first set of stretch and folds. You’ll do three sets total with rest periods in between. Watch the video at the end of this article to see how stretch and folds are done.
- Then, after the 30 minute rest, do the second set of stretch and folds followed by another 30 minute rest.
- Finally, do the third and final set of stretch and folds. The dough should be fairly smooth and elastic by now and you might start seeing bubbles forming in the dough as you stretch it. That’s exactly what you want to see.
- After the third and final stretch and fold, flip the dough over, cover it up, and let it rest for the remainder of the bulk fermentation period – 3 1/2 more hours.
- The dough should visibly increase in size and become light and puffy during this time as it fills up with CO2 gas.
The Pre-shape
- After finishing the bulk fermentation, sprinkle your counter with a little bit of flour and pre-shape your dough into a ball.
- Then, cover the dough and let it “bench rest” for 30 minutes. This short rest period will allow the gluten to relax and you’ll be able to shape the dough more easily.
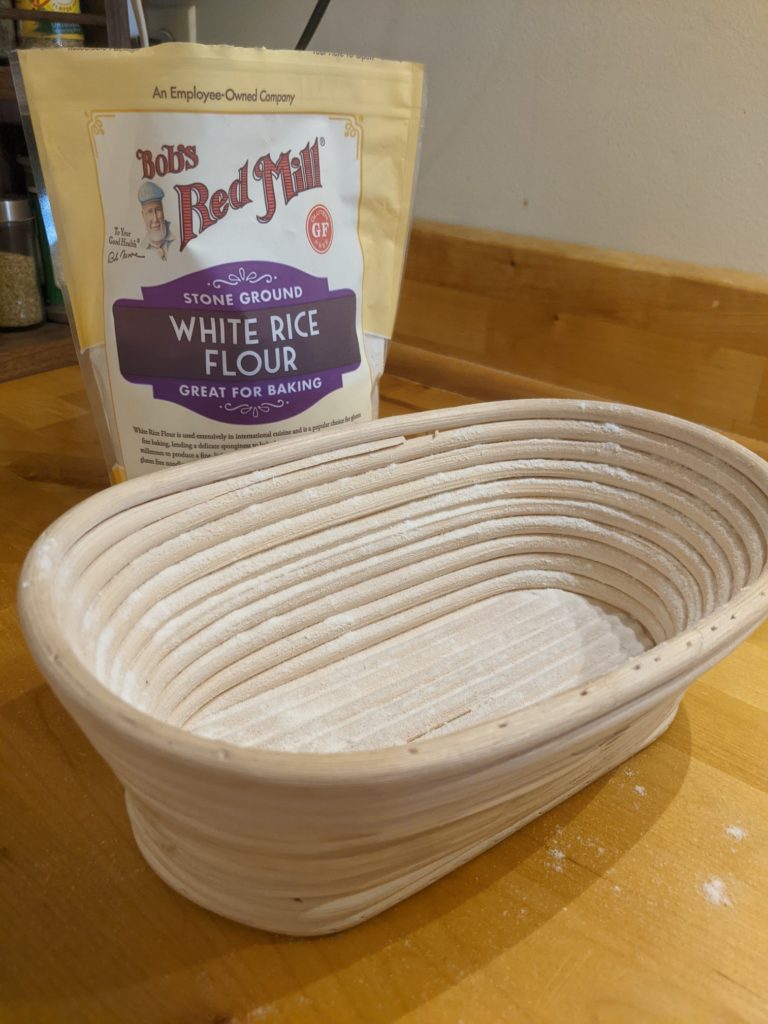
- While your dough is resting, sprinkle a banneton basket with rice flour (or more bread flour). The period in between preshape and final shape is the perfect time to do this.
The Final Shape
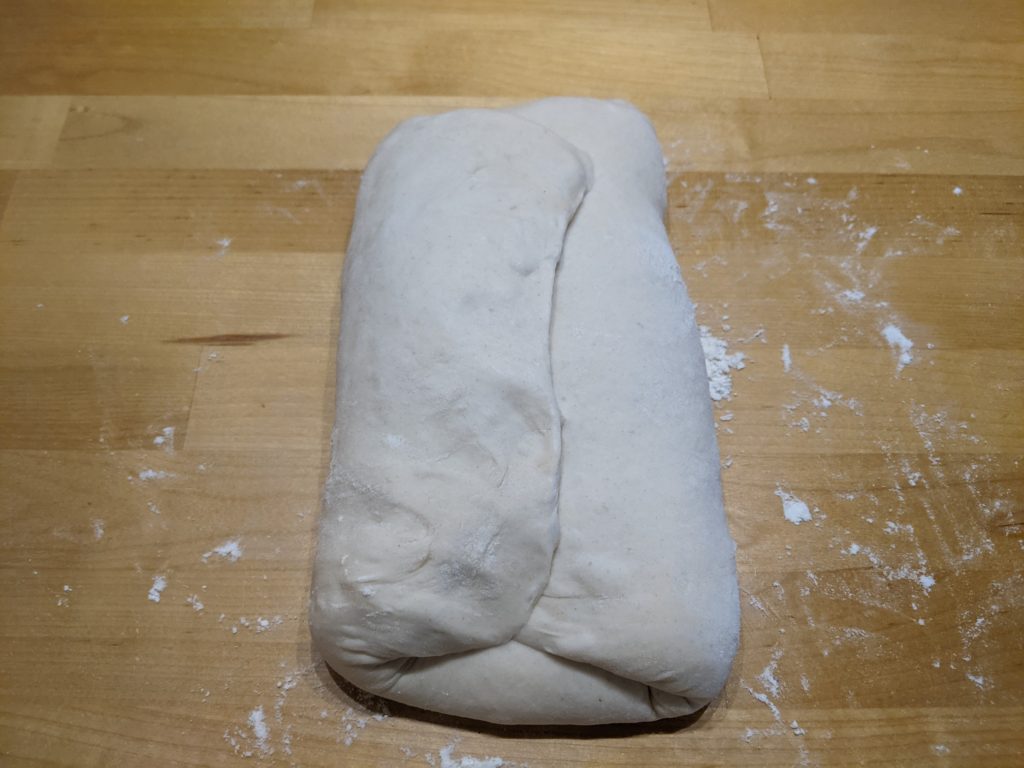
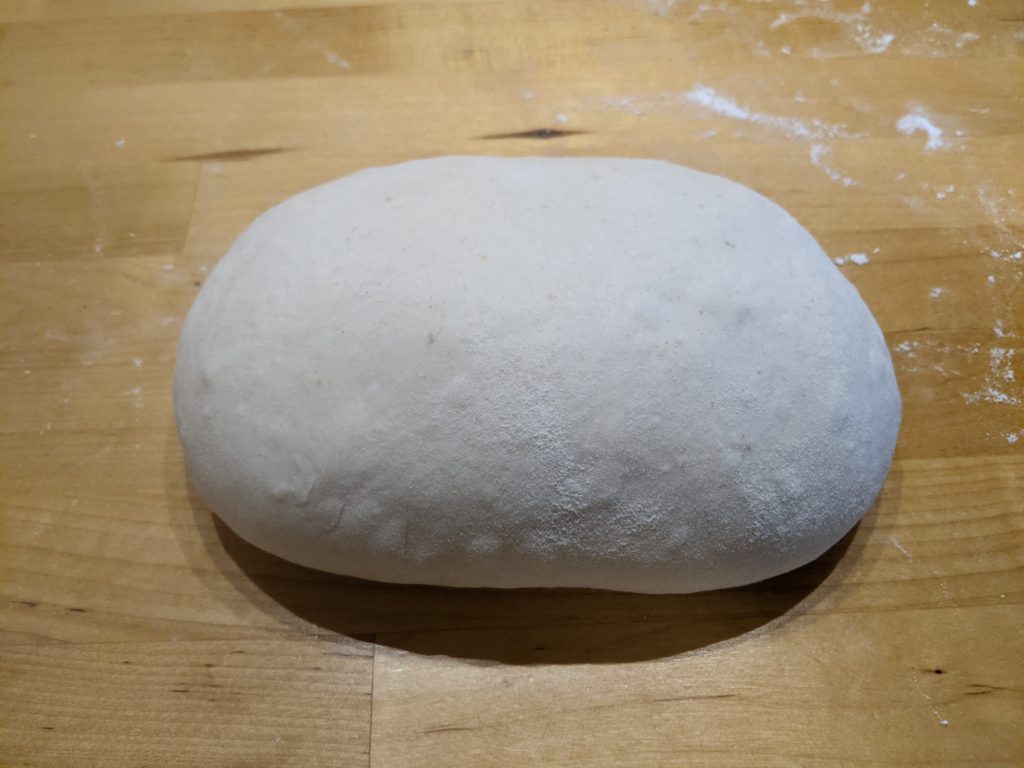
- Now, my preferred shape is a “batard” (oval shape), so that’s what I’ll show you in the photos and in the video down below. First, sprinkle your dough ball with flour and flip it sticky-side-up on the counter so that you can give it its final shape.
- Next, flip one side over the middle.
- Flip the other side over to meet the first size.
- Now, tuck and roll the dough starting from the furthest side and rolling in towards yourself. This is called the “tension roll.” Make sure to use both hands (I had one hand holding my phone.)
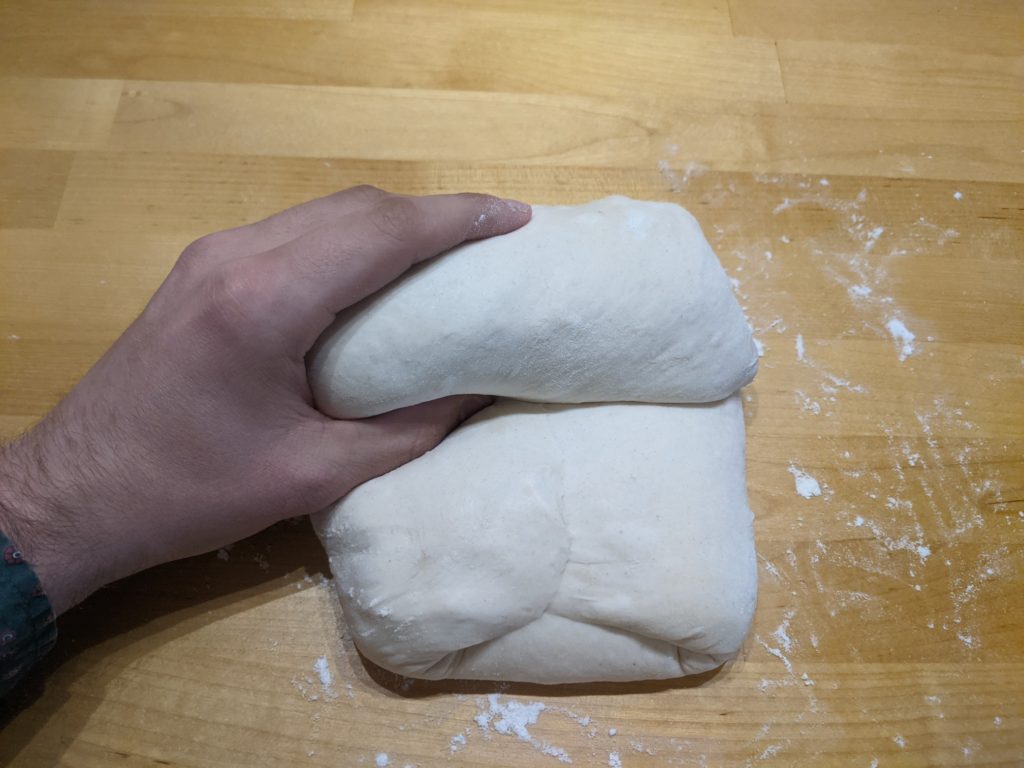
Smooth out the edges of the dough by pinching the seam closed, or by pulling and tucking the upper flap underneath the rest of the dough. Watch the video carefully to see how I do this.
Proofing
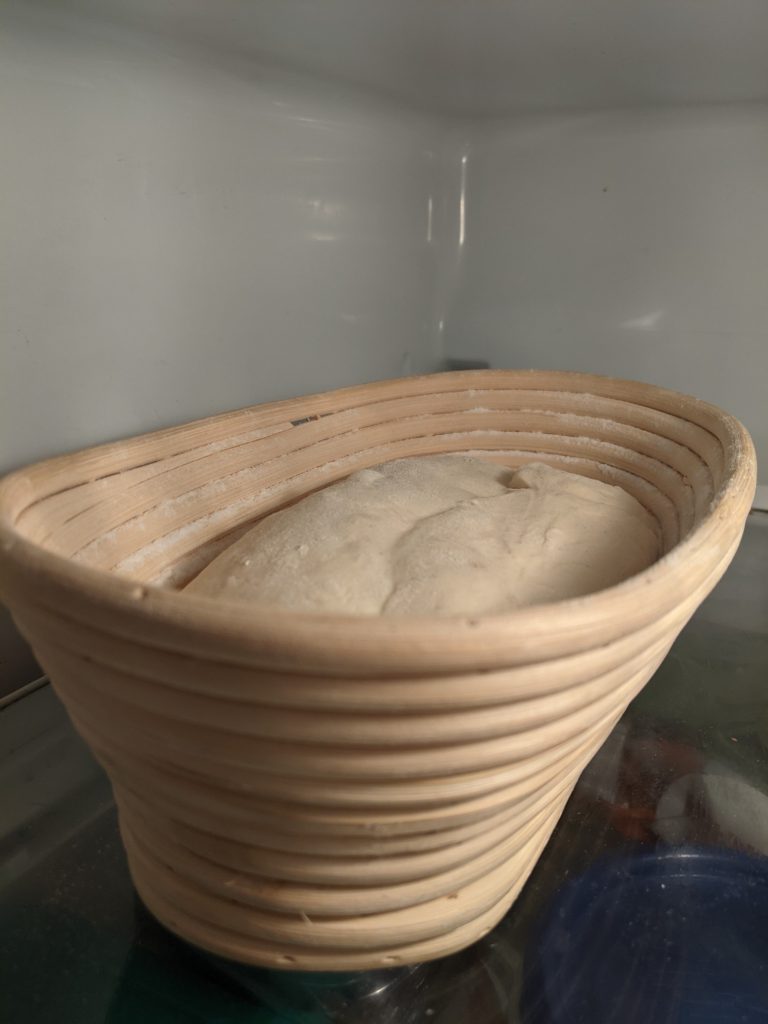
- Once you’ve shaped the dough, transfer it seam-side-up into your banneton basket.
- Then move the basket to your fridge and let the dough proof overnight (or for at least six hours). You can bake it the following morning.
Note on Same-Day Room Temperature Final Proof: If you’d like to bake this on the same day, let it proof at room temperature on your counter for about two hours, then move on to the next step.
Benefits of Proofing in the Fridge: The great thing about sourdough breads is that they can proof at cold temperatures for a very long period. While yeasted breads might over-ferment if left in the fridge until the next day, sourdough breads are usually just fine. This extra time in the fridge intensifies the delicious flavor of sourdough, and it allows you to put a “pause” on the bread making process and continue it the next day if you wish. This is just another reason to make naturally leavened sourdough bread.
Scoring
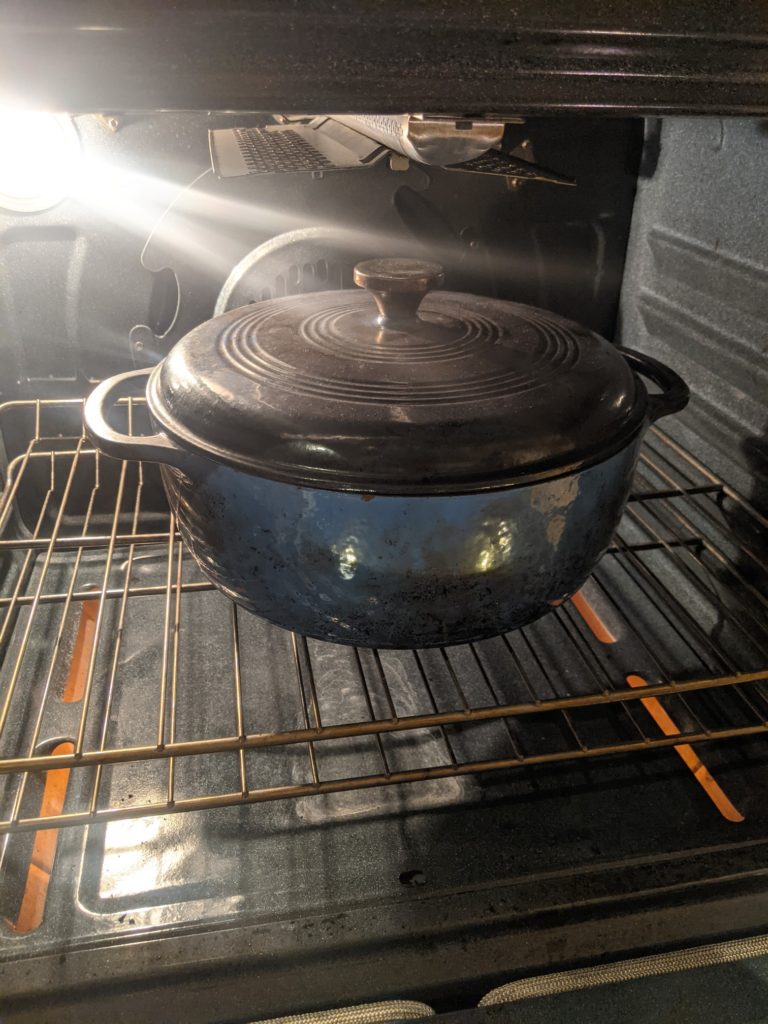
- The next day, 30 minutes before you’re ready to bake, preheat your oven to 500°F (260°C) with your Dutch oven inside on one of the bottom racks.
- Then, once the oven is hot and ready to go, transfer your dough from the banneton basket onto a sheet of parchment paper.
- The dough should now be seam-side-down. (By the way, it’s fine to take the dough directly from the fridge and bake it. Some people believe in letting it come up to room temperature before baking, but I get great results baking cold, directly from the fridge).
- Dust off any excess flour from the dough with your hand or a small brush. You’re now ready to score your dough!
- Slash the top of the dough with a bread lame in one long, shallow-angled slash. This is one of the key ways to get a good “ear” on your loaf of bread, plus it will just look really impressive when you bake it!

Baking
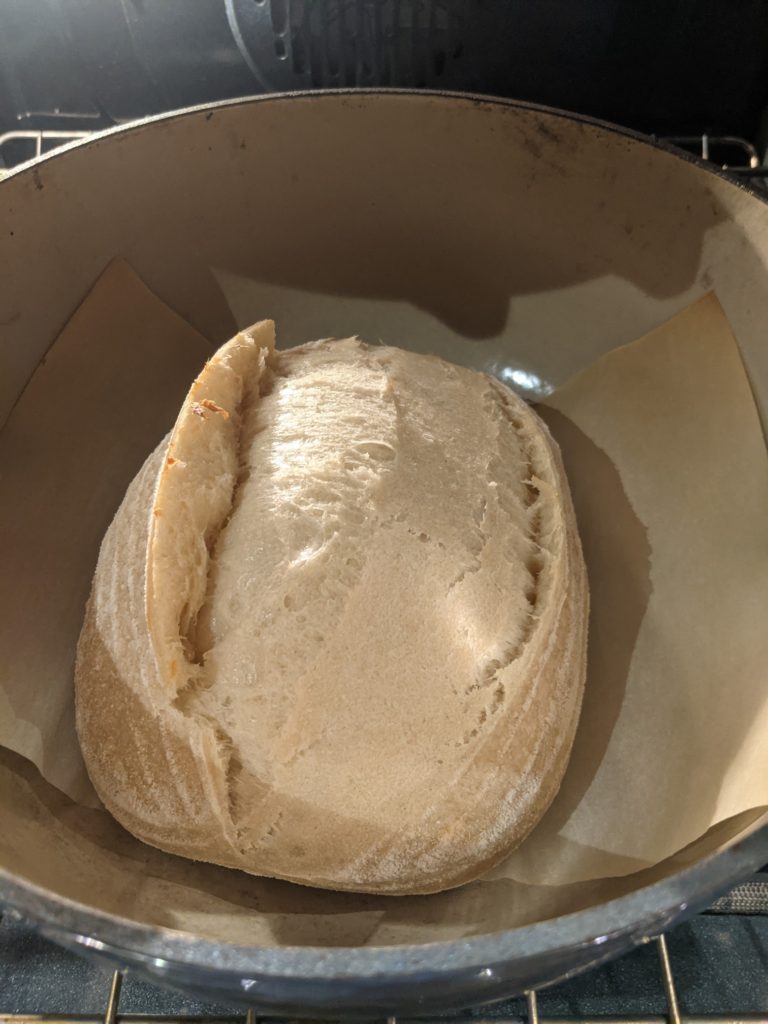
- Now, with your Dutch oven open, carefully transfer the dough inside.
- I prefer to lift the dough by holding onto both sides of the parchment paper tightly. Gently place the dough, parchment paper and all, inside the Dutch oven. (Careful not to burn yourself on the sides, it’s hot!)
- Once your dough is inside, pop the lid back on the Dutch oven and slide it into your 500°F oven to bake for 20 minutes.

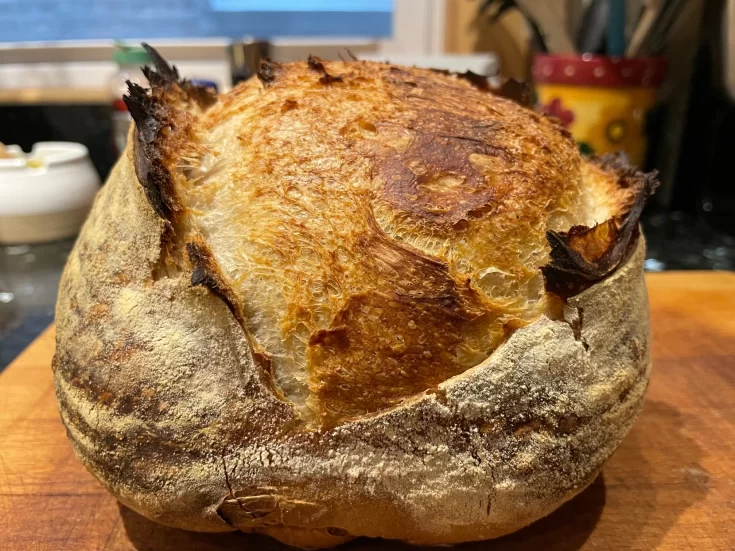
- After twenty minutes, remove the Dutch oven lid and admire your bread’s oven spring.
- With the lid off, bake for a further 15-20 minutes, or until the bread has color that you want. I tend to go a little on the almost-burnt side, but make it how you want it!

- Remove your dough from the oven when it’s done and let it cool on your counter for at least an hour before slicing. Patience is key here, since cooled bread will have a much better texture than if you slice in too early.
Serving Good Sourdough Bread
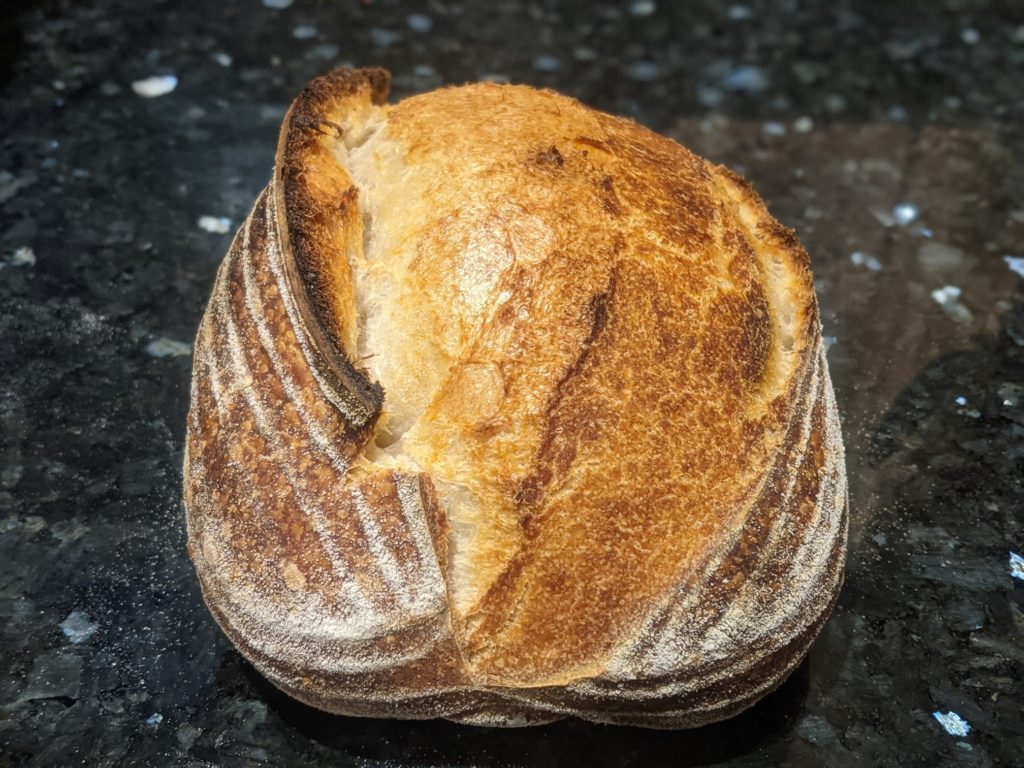
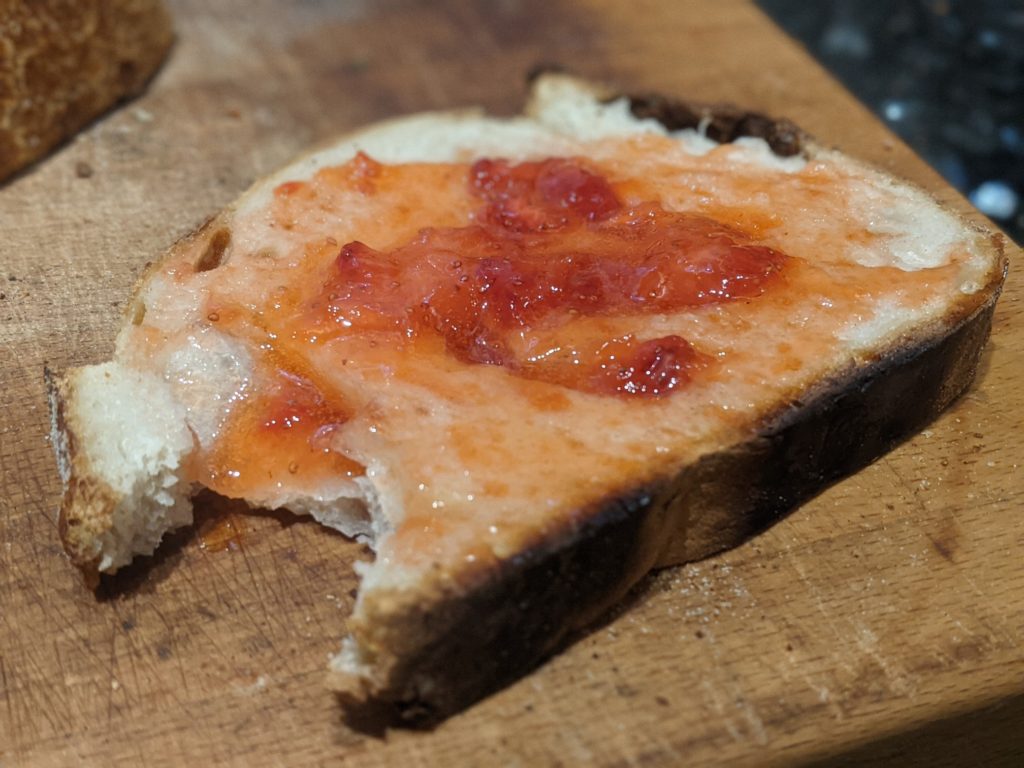
- Once your bread has cooled, you can finally slice in! This bread has a soft, creamy, almost custardy interior and a crisp crust on the outside. The contrast between those two elements is what keeps me making this bread over and over and over again.
I really hope you enjoy this recipe for Good Sourdough Bread as much as I do. It makes recurring appearances in our home and I don’t plan to stop making it anytime soon.
Good Sourdough Bread
This is a simple, 70% hydration, sourdough bread recipe that I make almost every single week. It's the perfect recipe to follow if you're new to sourdough baking.
Ingredients
Sourdough Starter Feeding
- Sourdough Starter, leftover - 25 grams
- Water - 50 grams
- Bread Flour - 50 grams
Main Dough
- Bread Flour - 450 grams
- Water - 300 grams
- Sourdough Starter, active - 100 grams
- Salt - 10 grams
Instructions
Feeding the Starter
- Mix about 25 grams of leftover sourdough starter (from the fridge) with 50 grams of water and 50 grams of bread flour. Stir until everything is well combined.
- Mark the top of the starter with a rubber band to see how much it grows overnight. Then cover the starter and let it rise overnight (or for around 6-12 hours).
Mixing the Dough
- The next morning your starter should be bubbly, active, and doubled-in-size. It's ready to mix into your dough. Measure out all four of the dough ingredients into your mixing bowl (flour, water, salt, and 100 grams of your starter).
- Put the remaining starter that's left in the jar into the fridge to use for next time.
- Mix all of the dough ingredients together until almost no dry bits of flour remain.
- Then, cover the bowl and let the dough rest for 30 minutes. This half hour rest will allow the flour to hydrate and the dough will be easier to handle. Now that the starter has been mixed with the rest of the ingredients, bulk fermentation (or, the first rise) has officially begun!
Bulk Fermentation (The First Rise)
- After the first 30 minute rest, give your dough its first set of "stretch and folds." Grab an edge of the dough, stretch it up and fold it over the top of the rest of the dough. Then grab another edge of the dough and do the same thing.
- Repeat this process, working your way around the dough until all the edges have been stretch up and over the center. This process will smooth out the dough, developing a strong gluten network along the way.
- Cover up the dough with a kitchen towel and let it rest for 30 minutes.
- After the 30 minute rest, give your dough its second set of stretch and folds followed by another 30 minute rest.
- Give your dough its third and final set of stretch and folds. At this point, the dough should feel fairly smooth and elastic. You might even start seeing bubbles forming in the dough as you stretch it. That's exactly what you want to see.
- After the stretch and folds, flip the dough over so that the smooth side is facing up. Cover the dough and let it rest for the remainder of the bulk fermentation. This should take between 3 1/2 and 5 more hours, depending on the temperature of your kitchen.
Note: During bulk fermentation, you're looking for the dough to almost double in size and to puff up with air, so give it the full five hours if your kitchen is cold. Be patient.
The Preshape
- After bulk fermentation, remove the dough from the mixing bowl and place it on the counter with the smooth side up and the seam side down.
- Sprinkle a little bit of flour on top of the dough and gently shape the dough into a ball with your hands or a bench scraper. Then, cover the dough and let it rest for 30 minutes.
The Final Shape
- Now, you can shape your dough into any shape that you want. I usually prefer a batard, or oval-shaped loaf. Sprinkle your counter with a little bit of flour and flip the dough over onto the flour so that it is now sticky side up and smooth side down.
- Press the dough down a little bit with your finger tips and gently stretch it into a rectangle. Flip the right half of the dough over the middle. Then flip the left half of the dough over the middle to meet the first half.
- Tuck and roll the dough tightly into itself starting from the furthest side and rolling the dough in towards you.
Note: This shaping technique is called the "tension roll" because it creates surface tension across the top of the loaf. Watch the video tutorial for this recipe to see how I do this shaping technique in more detail.
Proofing (The Second Rise)
- Once you've shaped your dough, transfer it seam-side-up into an oval-shaped banneton basket that you've dusted with rice flour (or regular bread flour will work fine too).
- Move the basket to your fridge and let the dough proof overnight (covered or uncovered) for at least six hours. 8-12 hours is ideal.
Scoring
- The next day, 30 minutes before you're ready to bake, preheat your oven to 450°F (232°C) with your Dutch oven inside on one of the bottom racks. The Dutch oven should preheat along with your oven so that it can transfer its heat into your dough.
- About 30 minutes later, when the oven is preheated, transfer your dough from the banneton basket onto a sheet of parchment paper. The dough should now be seam side down.
- Dust off any excess flour from your dough and you're ready to score.
- Slash the top of your dough with a bread lame or a razor blade in one long, shallow-angled slash from the far side to the near side. This is one of the key ways to get a good "ear" on your loaf of bread.
Baking
- Carefully transfer the dough inside of your Dutch oven. I prefer to lift the dough by holding onto both sides of the parchment paper tightly.
- Place the dough, parchment paper and all, inside the Dutch oven. (Be careful not to burn yourself on the sides!) Put the lid back on the Dutch oven and bake the bread for 20 minutes at 450°F (232ºC) with the lid on. The lid will trap steam around the dough, allowing it to rise up to its full potential, and giving the bread a great crust.
- After 20 minutes of baking, take the lid off of the Dutch oven and admire your bread's oven spring! Continue baking with the lid off for an additional 15 minutes, or until the bread has the color that you want.
- Remove the loaf from the oven and let it cool on a wire rack for at least one hour before slicing.
Notes
- Note on Bulk Fermentation: During bulk fermentation, you're looking for the dough to almost double in size and to puff up with air, so give it the full five hours if your kitchen is cold. Be patient.
- Note on Shaping: This shaping technique I use for this bread is called the "tension roll" because it creates surface tension across the top of the loaf. This technique is key if you want to get an "ear" on your sourdough bread. Watch the video tutorial for this recipe to see how I do this shaping technique in more detail.
- Baking Straight from the Fridge: I usually bake this bread while it is still cold, straight from the fridge. There is no need to let the dough come up to room temperature after you take it out of the fridge.
Recommended Products
As an Amazon Associate and member of other affiliate programs, I earn from qualifying purchases.

FAQs
You can easily double this recipe by multiplying all of the ingredients by 2 and making twice as much dough. When the dough finishes the bulk fermentation step (the first rise), divide the dough in two equal pieces and shape them into individual loaves before the final proof.
You can bake this dough straight from the fridge while it is still cold. You don’t have to let it come up to room temperature. The cold dough will be easier to handle, score, and transfer into the hot Dutch oven. During the 35 minute baking time, the loaf of bread will cook through to a proper internal temperature.
For more recipes like this one, check out my ebook, No-Nonsense Sourdough. I have 18 creative sourdough bread recipes that I can’t wait to share with you – Sourdough focaccia, cinnamon rolls, dinner rolls, sandwich bread, and so many more amazing recipes. Find out all about the ebook here!