I have been making this sourdough bagel recipe four to five times a year for the last three years. The bagels have the perfect amount of chewiness while still retaining a light, crispiness on the outside. Even though these naturally leavened sourdough bagels use 100% sourdough starter (no yeast), they are VERY easy to make. I’ll show you a few steps along the way that take the difficulty out of the bagel making process.

What People Are Saying: “I made these and they brought tears to my eyes. Never did I imagine I could make bagels. They were so good! And all I hoped for. The recipe was easy to follow and Provided amazing flavor! Thank you a million”
From @SageMamoo on YouTube
Why This Recipe Works
- Easy Shaping Technique: Many bagel recipes call for rolling out bagel dough into strips and then sealing the ends together to create a perfect ring. This is a difficult method to get right, especially on your first try, so I prefer an easier bagel shaping technique where you pierce a hole into a ball of dough and gently form the ring shape from there. That’s what I’ll show you in this recipe.
- Proper Proofing Time: Sourdough bagels need more time to proof than yeasted bagels. This recipe calls for adequate proofing time after shaping so that your bagels don’t end up unnaturally dense and gummy, but light, chewy, and flavorful.
Ingredients You’ll Need for Sourdough Bagels
- Bread Flour: The higher protein content in bread flour gives bagels a chewier texture than all-purpose flour. Any type of white bread flour should work if it has around 13% protein content. I used King Arthur brand in the blue bag, but anything labeled “bread flour” should work fine.
- Water: Plain, unchlorinater tap water is best. Use filtered water or bottled spring water if your city’s tap water contains harsh ingredients or has a bad taste. Don’t worry about using any special water from New York. Bagels are bagels no matter what water you use!
- Sourdough Starter: I used my regular sourdough starter for this recipe that I fed with bread flour. You can use almost any type of sourdough starter as long as it is 100% hydration (equal parts flour and water by weight). This starter is the natural form of yeast that will cause your bagels to rise. Please watch my sourdough starter video if you want to make your own starter from scratch.
- Honey: These bagels use a little bit of sweetener in the dough as well as in the boiling water. The honey will help create the shiny, golden-brown exterior of the bagels. Check the substitutions section below for honey alternatives you can use.
- Salt: I used Morton’s Kosher salt. You can use any good sea salt or kosher salt that you would cook with.
- Sesame Seeds or Other Toppings: I topped my bagels with black and white sesame seeds. Use whatever toppings you would like to have on your sourdough bagels!
Note: See recipe card below for full ingredient amounts and quantities.
Substitutions and Additions
- Instead of honey, you can use almost any other sweetener. Barley malt syrup is traditional in New York bagels, honey is a classic in Montreal. Molasses, white sugar, and brown sugar also work at a 1:1 ratio to honey in this recipe.
- Use poppy seeds or everything bagel seasoning in place of sesame seeds. You can also top the bagels with shredded cheddar cheese or grated asiago cheese before baking. This will provide a completely different cheesy experience than a sesame bagel.
Suggested Timeline
| 10:00 PM (Day 1) | Feeding the Sourdough Starter |
| 6:45 AM (Day 2) | Mixing the Dough |
| 7:00 AM | Kneading (by Hand or Stand Mixer) |
| 7:15 AM | Bulk Fermentation (The First Rise) |
| 2:00 PM | Shaping |
| 2:15 PM | Room Temperature Proofing |
| 5:15 PM | Cold Proofing |
| 7:00 AM (Day 3) | Boiling and Topping |
| 7:30 AM | Baking |
How to Make Sourdough Bagels
Step-by-Step Instructions
Feeding the Starter
- Take 25 grams of sourdough starter out of the fridge. Add 50 grams of water to the starter and stir it around. Then add 50 grams of bread flour to the water and mix it thoroughly until there aren’t any dry clumps of flour left.
- Mark the top of the starter with a rubber band, cover it loosely with a lid, and let the starter rise at room temperature overnight (around 8-10 hours), or until it doubles in size.
- The next morning your starter should have doubled in size and it will be ready to use.
Mixing the Dough
- Into a mixing bowl (or the bowl of a stand mixer) add 225 grams of water, 10 grams of salt, 100 grams of risen sourdough starter, and 20 grams of honey. Mix the ingredients together thoroughly.
Note: You can substitute the honey for an equal amount of barley malt syrup, molasses, or white/brown sugar. Don’t worry about being traditional to NY-style, use whatever you have.
- Next, add 450 grams of bread flour into the liquid ingredients. Stir the flour together with the other ingredients until a dry dough has formed.
- When stirring seems to not be doing much anymore, it’s time to knead the dough.
Kneading (by Hand or Stand Mixer)
- Hand Kneading: Knead the dough for 8-10 minutes by hand on the kitchen counter. Don’t add any extra flour during kneading. At the end of the kneading time, you should have a smooth ball of dough that holds together well, and all of the loose flour should be incorporated into the dough.
- Stand Mixer: Move the bowl onto the base of the stand mixer and set it to low speed for about one minute. During this time the dough should come together into a solid mass. Then, continue kneading for about 8 minutes on medium speed until the dough becomes smooth and starts to clean up all of the flour stuck onto the sides of the bowl. After 8 minutes, transfer the dough onto the counter and form it into a smooth ball with your hands.
Bulk Fermentation (The First Rise)
- Place the ball of dough into a mixing bowl or into an oiled glass container with a lid. Cover the dough up and let it rise at room temperature for about 4-6 hours, or until the dough has doubled in size.
Shaping Sourdough Bagels
- Diving the dough into six equal pieces. They will each be around 134 grams each if you are weighing them on a scale.
- Preshape each of the pieces of dough into a ball by stretching and folding the dough, keeping a smooth top on one side of the dough and the seam on the other side. Cover up the dough balls and let them rest for 15-30 minutes on the counter.
- After the short rest, it’s time to shape the balls into the classic ring shape of a bagel.
- Press your thumb into the center of one of the dough balls and piece all the way through the bottom of the dough. Then carefully lift the dough ball up and gently widen the hole with your fingers by turning the ring over and over again like a steering wheel. Keep widening the hole until it’s a little bit bigger than you want it to be in the final bagel. (As the bagels rise during proofing and baking, the hole will get smaller). Repeat this shaping process with each of the bagels.
Note: Traditionally, bagel dough is cut into strips that are then rolled by hand into a longer tube. The ends of the tube get rolled together to form the ring-shape that you’re probably familiar with. This technique is traditional, but I find the method described above easier for the home baker and it produces very reliably results and good looking bagels.
Proofing
- Place the shaped bagels onto a baking sheet lined with a sprinkle of cornmeal, semolina flour, or bread flour.
- Cover the bagels with a kitchen towel and let them rise for 2-3 hours, or until they have doubled in size.
- Once doubled, you can boil and bake the bagels right away, or you can move the baking sheet into the fridge to let the bagels slowly proof for another 8-24 hours in the cold environment. This cold proof step will give the bagels extra flavor and it will make them easier to handle the next day when it’s time to boil them.
Boiling and Topping the Sourdough Bagels
- The next day, 30 minutes before you’re ready to bake the sourdough bagels, preheat your oven to 450°F (232°C). If you’ve got a pizza stone or a baking steel, put it on the middle rack.
- Get a heavy-bottomed pot or Dutch oven on the stove and boil 2-3 quarts/liters of water. You need enough water in the pot so that the bagels can float without touching the bottom.
- Add 1 Tbsp (about 20 grams) of honey to the boiling water and stir it to dissolve. The honey, or other sweetener) will supposedly give the bagels a sheen on the outside after they’re done baking.
- Take the cold bagels out of the fridge and put 2-3 of them into the pot to boil at the same time (you don’t want to overcrowd the pot with too many bagels). Boil them for one minute on the first side, flip them over with a slotted spoon or “spider,” then boil them for another minute on the other side.
- Remove the boiled bagels from the water, drain them, and transfer them onto a wire rack. Repeat the boiling process with all of the sourdough bagels.
- Dip each boiled bagel into a bowl of sesame seeds or any other toppings. The wet, starchy film covering the bagels from the boiling water should allow the toppings to stick to the bagels.
Baking
- Transfer the topped bagels back onto the metal baking sheet.
- Move the baking sheet to the middle rack of your oven and bake for 20 minutes at 450°F (232°C)
- Remove the sourdough bagels from the oven when they are golden brown. Let them cool on a wire rack for a few minutes, but these bagels are fine to eat while they are still warm.
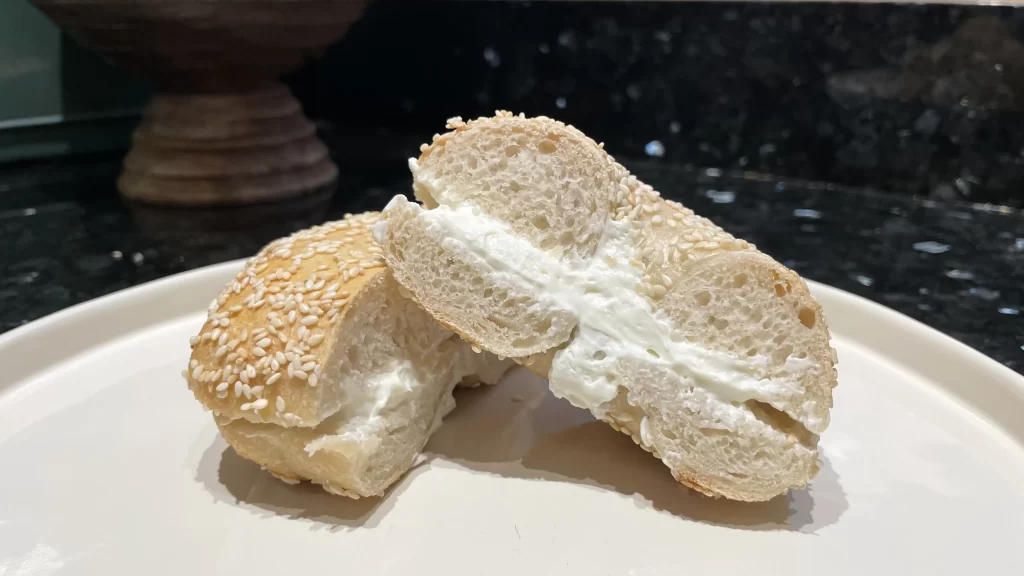
- Slice these delicious bagels down the center and enjoy with butter or cream cheese. Add some fillings like eggs and cheese to make an unbeatable breakfast sandwhich, or cream cheese and smoked salmon to keep things classic. Enjoy!
Sourdough Bagels

These naturally leavened sourdough bagels are chewy on the inside, but light and crispy on the outside. Without any complicated steps, they're also very easy to make. Enjoy this Sourdough Bagel recipe from Grant Bakes!
Ingredients
- Bread Flour - 450 grams
- Water - 225 grams
- Sourdough Starter - 100 grams
- Honey - 20 grams
- Salt - 10 grams
- Sesame seeds or other toppings for the bagels, as needed
Instructions
Feeding the Starter
- Take 25 grams of sourdough starter out of the fridge. Add 50 grams of water to the starter and stir it around. Then add 50 grams of bread flour to the water and mix it thoroughly until there aren't any dry clumps of flour left.
- Mark the top of the starter with a rubber band, cover it loosely with a lid, and let the starter rise at room temperature overnight (around 8-10 hours), or until it doubles in size.
- The next morning your starter should have doubled in size and it will be ready to use.
Mixing the Dough
- Into a mixing bowl (or the bowl of a stand mixer) add 225 grams of water, 10 grams of salt, 100 grams of risen sourdough starter, and 20 grams of honey. Mix the ingredients together thoroughly.
Note: You can substitute the honey for an equal amount of barley malt syrup, molasses, or white/brown sugar. Don't worry about being traditional to NY-style, use whatever you have.
- Next, add 450 grams of bread flour into the liquid ingredients. Stir the flour together with the other ingredients until a dry dough has formed.
- When stirring seems to not be doing much anymore, it's time to knead the dough.
Kneading or Mixing the Dough
- Hand Kneading: Knead the dough for 8-10 minutes by hand on the kitchen counter. Don't add any extra flour during kneading. At the end of the kneading time, you should have a smooth ball of dough that holds together well, and all of the loose flour should be incorporated into the dough.
- Stand Mixer: Move the bowl onto the base of the stand mixer and set it to low speed for about one minute. During this time the dough should come together into a solid mass. Then, continue kneading for about 8 minutes on medium speed until the dough becomes smooth and starts to clean up all of the flour stuck onto the sides of the bowl. After 8 minutes, transfer the dough onto the counter and form it into a smooth ball with your hands.
Bulk Fermentation (The First Rise)
- Place the ball of dough into a mixing bowl or into an oiled glass container with a lid. Cover the dough up and let it rise at room temperature for about 4-6 hours, or until the dough has doubled in size.
Shaping
- Diving the dough into six equal pieces. They will each be around 134 grams each if you are weighing them on a scale.
- Preshape each of the pieces of dough into a ball by stretching and folding the dough, keeping a smooth top on one side of the dough and the seam on the other side. Cover up the dough balls and let them rest for 15-30 minutes on the counter.
- After the short rest, it's time to shape the balls into the classic ring shape of a bagel.
- Press your thumb into the center of one of the dough balls and piece all the way through the bottom of the dough. Then carefully lift the dough ball up and gently widen the hole with your fingers by turning the ring over and over again like a steering wheel. Keep widening the hole until it's a little bit bigger than you want it to be in the final bagel. (As the bagels rise during proofing and baking, the hole will get smaller). Repeat this shaping process with each of the bagels.
Note: Traditionally, bagel dough is cut into strips that are then rolled by hand into a longer tube. The ends of the tube get rolled together to form the ring-shape that you're probably familiar with. This technique is traditional, but I find the method described above easier for the home baker and it produces very reliably results and good looking bagels.
Proofing
- Place the shaped bagels onto a baking sheet lined with a sprinkle of cornmeal, semolina flour, or bread flour.
- Cover the bagels with a kitchen towel and let them rise for 2-3 hours, or until they have doubled in size.
- Once doubled, you can boil and bake the bagels right away, or you can move the baking sheet into the fridge to let the bagels slowly proof for another 8-24 hours in the cold environment. This cold proof step will give the bagels extra flavor and it will make them easier to handle the next day when it's time to boil them.
Boiling and Topping the Bagels
- The next day, 30 minutes before you're ready to bake the sourdough bagels, preheat your oven to 450°F (232°C). If you've got a pizza stone or a baking steel, put it on the middle rack.
- Get a heavy-bottomed pot or Dutch oven on the stove and boil 2-3 quarts/liters of water. You need enough water in the pot so that the bagels can float without touching the bottom.
- Add 1 Tbsp (about 20 grams) of honey to the boiling water and stir it to dissolve. The honey, or other sweetener) will supposedly give the bagels a sheen on the outside after they're done baking.
- Take the cold bagels out of the fridge and put 2-3 of them into the pot to boil at the same time (you don't want to overcrowd the pot with too many bagels). Boil them for one minute on the first side, flip them over with a slotted spoon or "spider," then boil them for another minute on the other side.
- Remove the boiled bagels from the water, drain them, and transfer them onto a wire rack. Repeat the boiling process with all of the sourdough bagels.
- Dip each boiled bagel into a bowl of sesame seeds or any other toppings. The wet, starchy film covering the bagels from the boiling water should allow the toppings to stick to the bagels.
Baking
- Transfer the topped bagels back onto the metal baking sheet.
- Move the baking sheet to the middle rack of your oven and bake for 20 minutes at 450°F (232°C)
- Remove the sourdough bagels from the oven when they are golden brown. Let them cool on a wire rack for a few minutes, but these bagels are fine to eat while they are still warm.
- Slice these delicious bagels down the center and enjoy with butter or cream cheese. Add some fillings like eggs and cheese to make an unbeatable breakfast sandwhich, or cream cheese and smoked salmon to keep things classic. Enjoy!