
You can make a sourdough starter from scratch extremely quickly by using whole grain spelt flour. This might even work faster than using whole wheat flour or whole grain rye flour. In this article, I’ll show you exactly how to make a spelt sourdough starter from scratch in just 3-5 days.
First, what is a sourdough starter?
A sourdough starter is a fermented mixture of flour and water that is full of natural yeasts and bacteria. Sourdough starters have been used for thousands of years to make bread rise naturally, without the addition of commercial baker’s yeast. Almost any type of flour can be mixed with water to create a sourdough starter, but the most commonly used flours are whole grain wheat and whole grain rye flours.
Some of My Favorite Baking Tools (Affiliate Links):
Baker of Seville Bread Lame
Oval Banneton Basket
Non-Stick Bread Pan
Non-Stick Focaccia Pan
Is spelt flour good for sourdough starter?
Spelt flour is great for making a sourdough starter from scratch. With whole grain spelt flour, you can make a brand new sourdough starter in as little as three days. You can also feed an existing sourdough starter with spelt flour to give it a whole grain boost or to increase its extensibility.
I’m going to show you how you can make a spelt sourdough starter from scratch in just 3-5 days from start to finish. By following these exact steps, I created a sourdough starter from scratch out of water and spelt flour, and it only took 72 hours. Here’s how to do it yourself.

How to Make a Sourdough Starter with Spelt Flour
Ingredients You’ll Need
- Whole Grain Spelt Flour
- Water (Unchlorinated)
Hardware You’ll Need
- Glass Jar
- Loose Fitting Lid or Coffee Filter
- Spoon or Chopstick
- Rubber Band
- Digital Scale – get mine on Amazon
Instructions
Day 1
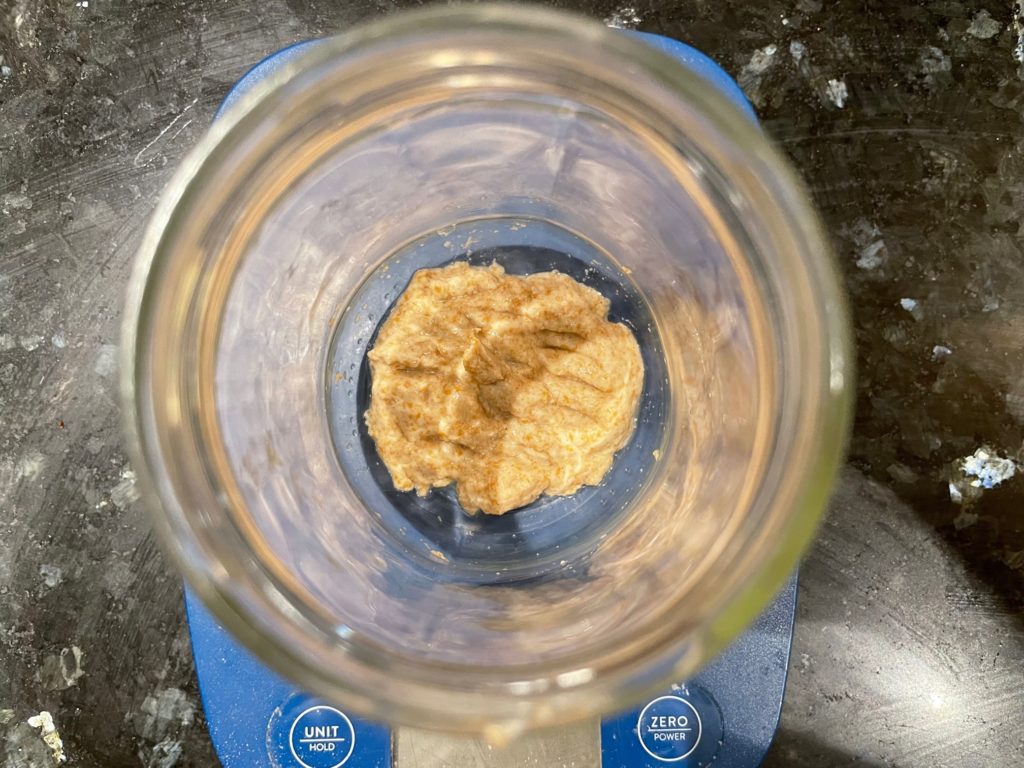
- Place a glass jar on your digital scale and set the scale to “0” before adding your ingredients. Measure in 10 grams of water and 10 grams of spelt flour. I like to start with the water first so that the flour doesn’t stick to the bottom of the jar as much.
- If possible, use water that is between 90°F and 100°F (32°C to 37°C). It’s fine to use cold or room temperature water, but slightly warm water will give the natural yeasts a good place to thrive!
- Stir the flour and water together with a spoon or chopstick until no dry bits of flour remain. Now, flatten down the mixture with a spoon.
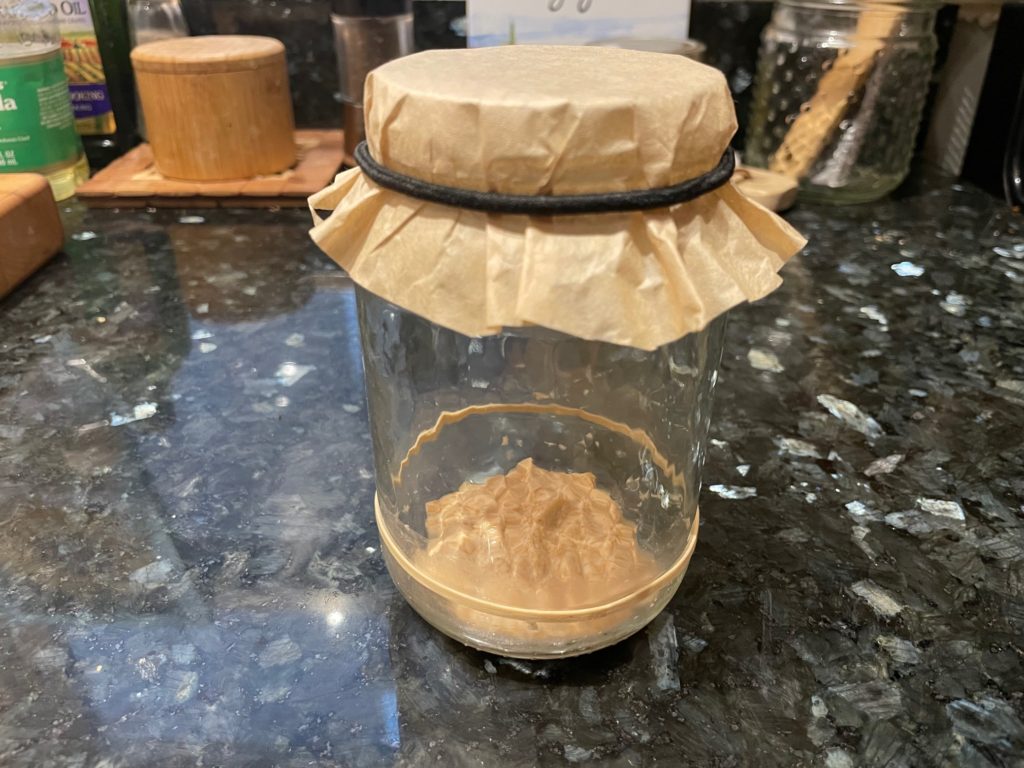
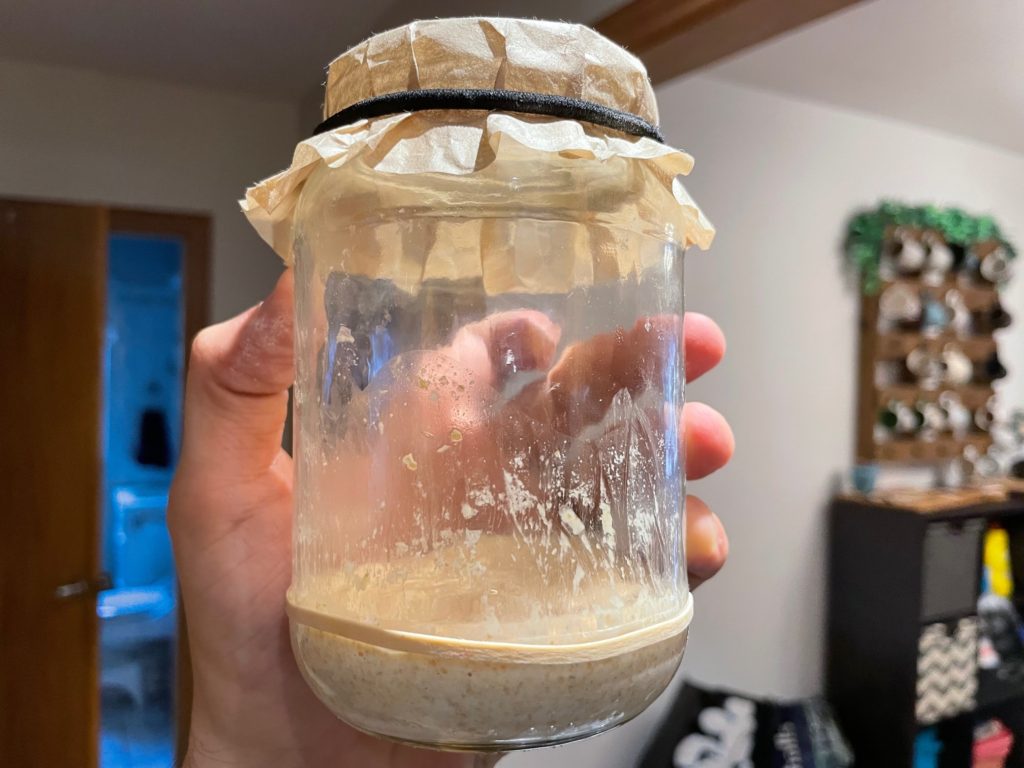
- Cover the jar loosely with a lid (or with a coffee filter/elastic band). This will allow the starter to “breathe in” oxygen and other natural particles from the environment, but it will keep out undesirable things like fruit flies and air drafts.
- Let this mixture sit out on your counter at room temperature for 24 hours.
Day 2
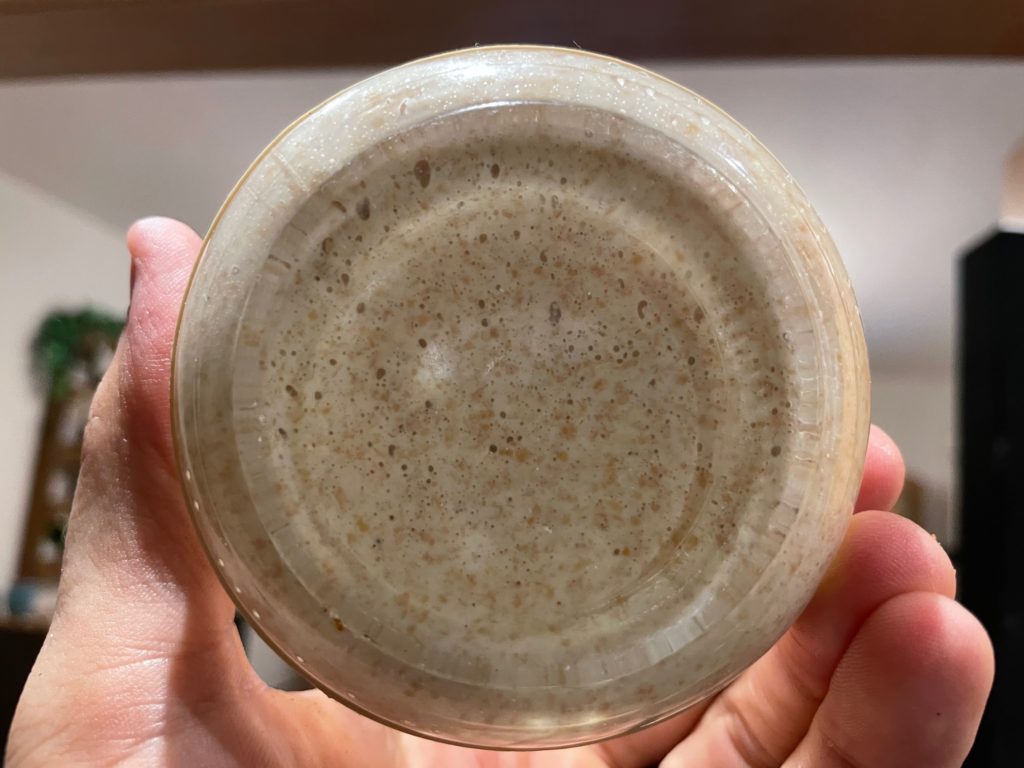
- After 24 hours there are already visible bubbles in the bottom of the jar! That means the starter is working. The natural yeasts are consuming the sugars from the flour, and they are “burping” out carbon dioxide. That’s what we want!

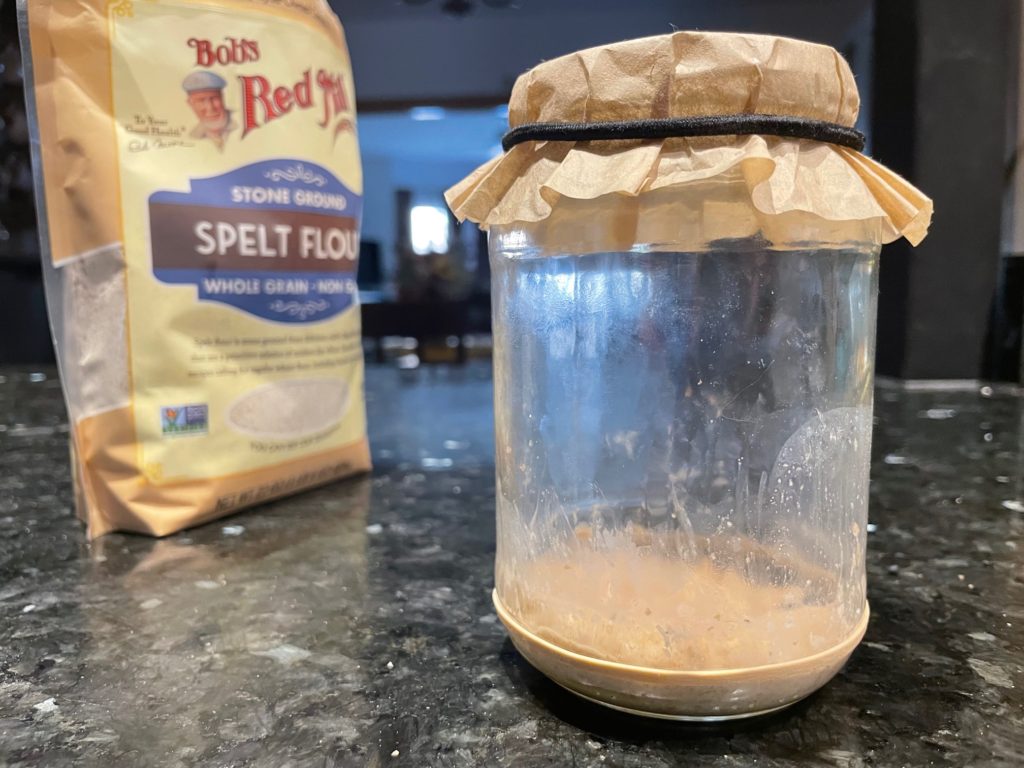
- For day 2, you’re going to “feed” this mixture the same exact ingredients and amounts you used yesterday. So, to the starter, add 10 more grams of water and 10 more grams of spelt flour. Stir everything together until no dry bits of flour remain.
- Now, the yeasts in your young starter will begin to feed on this new food. The bacteria and yeasts will do their magic in the starter for another full day.
- Cover up your starter and let it sit for another 24 hours on your kitchen counter.
Day 3
- 24 hours later, you might not actually see much activity in your starter. I call this the “Day 3 Slump.” Usually around day 3 or 4, you will see fewer bubbles or no bubbles at all, and you might be convinced that your starter is dead. It’s not dead! The bacteria and yeasts in the starter are working themselves out, and it will take a few more days before they form a stable colony. Just keep going.
- This time, feed your starter 20 grams of water and 20 grams of spelt flour (twice the amount as last time). As the starter gets bigger, you’ll need to provide it with a larger feeding. Mix everything together until no dry bits of flour remain.
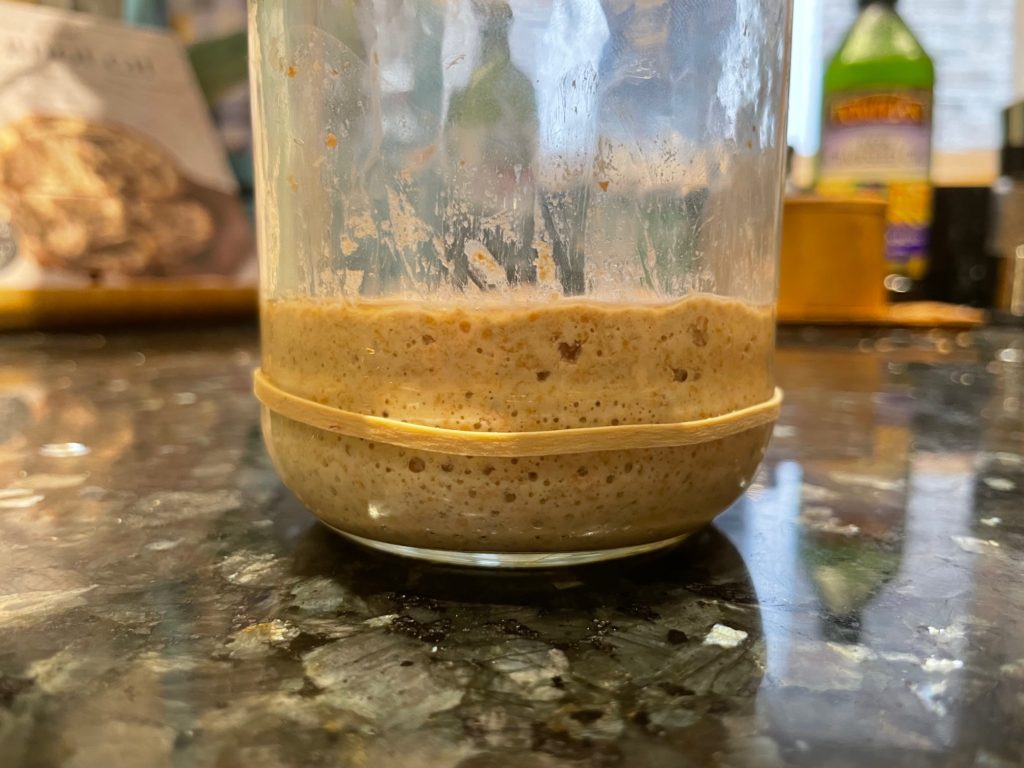
- Now, cover the jar loosely and mark the top of the starter with a rubber band so you can see how much it grows. Any day now, your starter will start “doubling-in-size” after you feed it.
- Leave the starter to rest on the counter for just 12 hours this time.
Day 4
- If your starter is anything like mine, the next morning (or a full 12 hours later), it will have risen to about double in size. This is exactly what you want! You’re very close to having a healthy and active sourdough starter.
- The starter is starting to become predictable. Now, whenever you feed it, it should rise up to about double in size (which will take anywhere between 4-12 hours), then it will fall back down again.
- For the next couple of days, you’re going to feed your starter every 12 hours instead of every 24 hours. Once it rises (doubles in size) predictably after each feeding, that’s when you’ll know it’s ready to bake with!
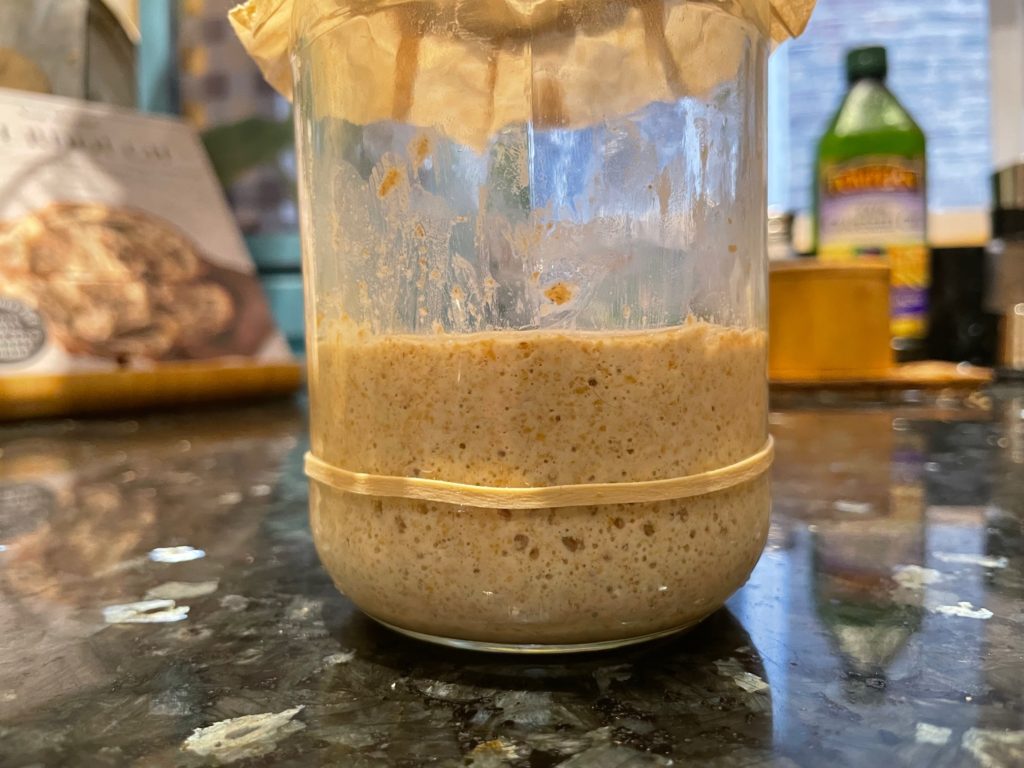
- For the first feeding: Remove half of the starter from the jar. You can throw this “sourdough discard” away, or save it in the fridge and add it to quick breads or other baked goods. To the starter that is remaining in the jar, add 20 grams of water and 20 grams of spelt flour. Mix everything together until no dry bits of flour remain. Then mark the top of the starter with the rubber band and let it rest for 12 hours.
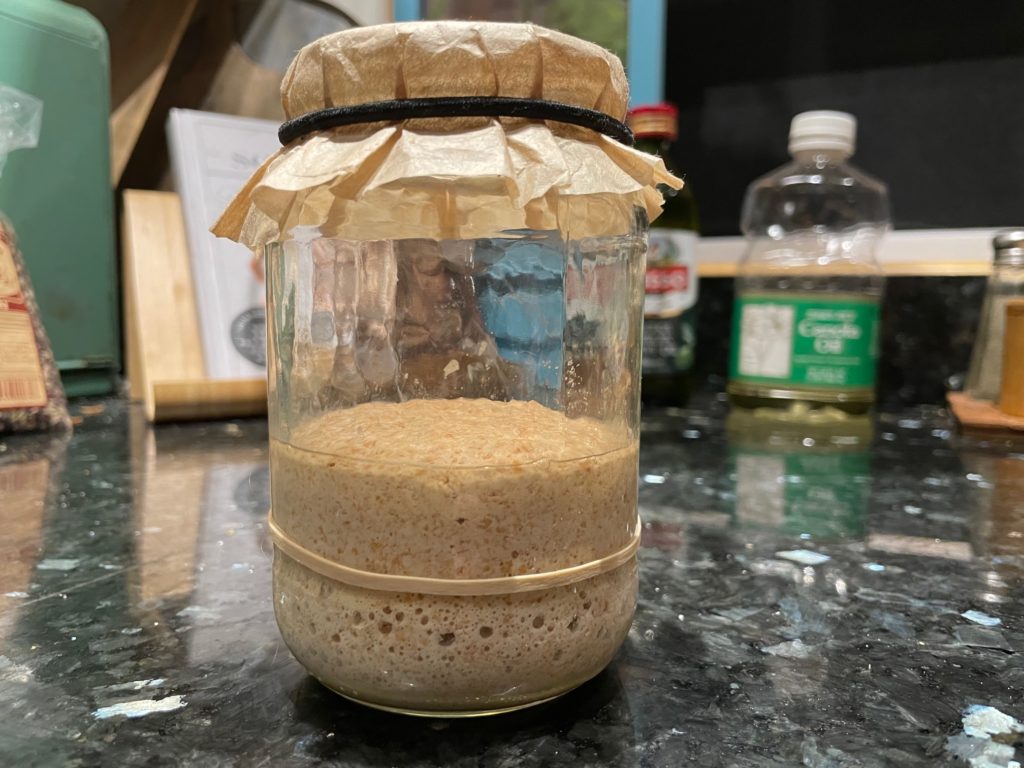
12 hours later it should look something like this…
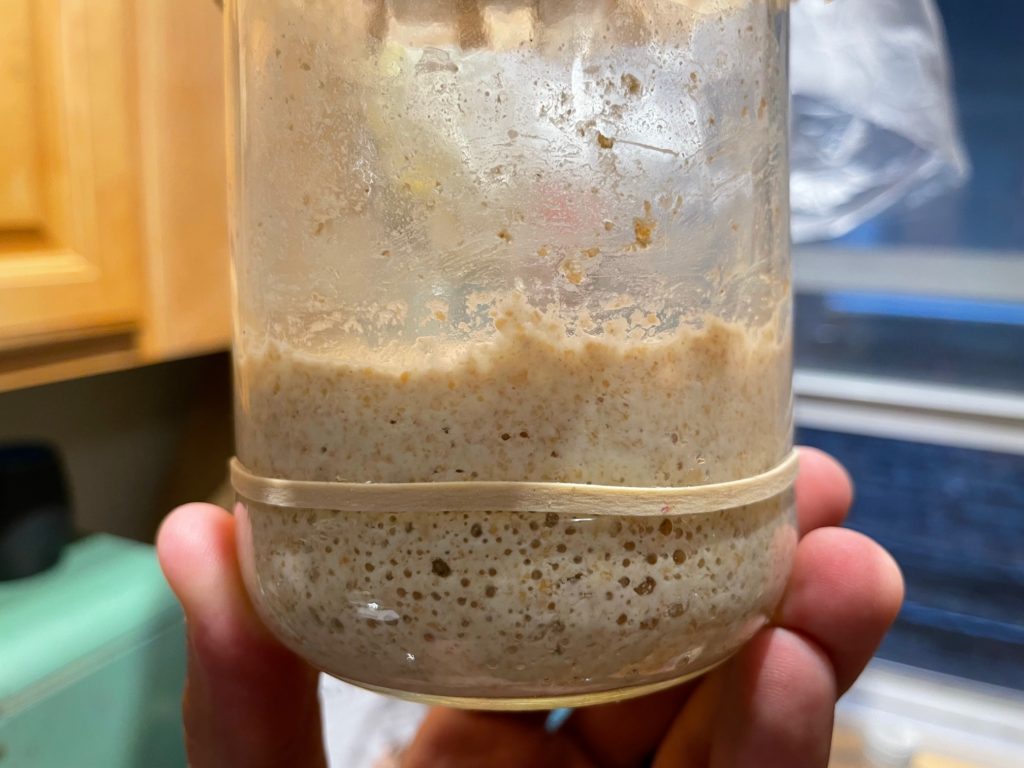
- For the second feeding: 12 hours later, your starter should have risen. It might even have fallen back down again. Remove half of the starter from the jar once more, and repeat the same feeding as before. Add 20 grams of water and 20 grams of spelt flour to the jar, and mix well. Cover the jar, mark the starter with a rubber band, and let it rest for 12 more hours.
Day 5
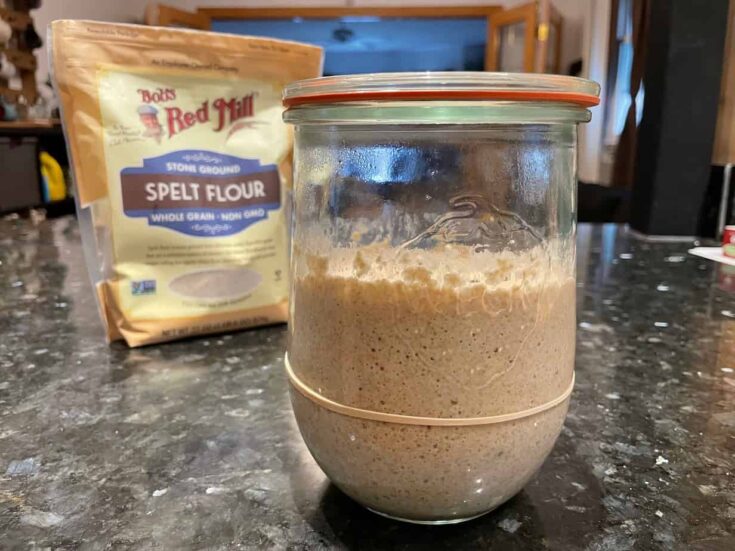
- The next day, your starter should have doubled in size again. If your starter has doubled again, it’s ready to be used for baking sourdough bread! (Honestly is was probably ready to use the previous day, around the 72 hour mark. But, it doesn’t hurt to keep feeding it).
- If your starter has not doubled in size yet (but it’s still growing), give it a few more hours to see how far it grows. If it doesn’t double in size, repeat the process for “Day 4” for a few more days until your starter predictably doubles in size after each feeding.
How to Maintain Your Spelt Sourdough Starter
Here’s my low-maintenance/no-waste method for maintaining your spelt sourdough starter:
- Once your spelt sourdough starter is active and ready to use, reserve about 25 grams of starter in a covered jar. Leave the jar of starter in the fridge until the night before you want to make bread.
- The night before you want to make bread, feed your starter according to the recipe that you’ll be using. For example, if you’re following my Spelt Sourdough Bread recipe, you’ll feed your starter 50 grams of water and 50 grams of spelt flour.
- The next day, your starter will have doubled in size and be ready to use in your recipe!
- Remove the starter that you need for the recipe and add it to your dough.
- Reserve the leftover sourdough starter in the jar (should be 25 grams again) and place the jar back in the fridge for the next time you need it.
How to Make Spelt Sourdough Starter
This is my recipe for how to make a bubbling and active jar of spelt sourdough starter in just 3-4 days.
Ingredients
- Whole Grain Spelt Flour (1 lb bag)
- Water (unchlorinated)
Instructions
Day 1
Place a glass jar on your digital scale and set the scale to “0” before adding your ingredients. Measure in 10 grams of water and 10 grams of spelt flour. I like to start with the water first so that the flour doesn’t stick to the bottom of the jar as much.
If possible, use water that is between 90°F and 100°F (32°C to 37°C). It’s fine to use cold or room temperature water, but slightly warm water will give the natural yeasts a good place to thrive!
Stir the flour and water together with a spoon or chopstick until no dry bits of flour remain. Now, flatten down the mixture with a spoon.
Cover the jar loosely with a lid (or with a coffee filter/elastic band). This will allow the starter to “breathe in” oxygen and other natural particles from the environment, but it will keep out undesirable things like fruit flies and air drafts.
Let this mixture sit out on your counter at room temperature for 24 hours.
Day 2
After 24 hours there are already visible bubbles in the bottom of the jar! That means the starter is working. The natural yeasts are consuming the sugars from the flour, and they are “burping” out carbon dioxide. That’s what we want!
For day 2, you’re going to “feed” this mixture the same exact ingredients and amounts you used yesterday. So, to the starter, add 10 more grams of water and 10 more grams of spelt flour. Stir everything together until no dry bits of flour remain.
Now, the yeasts in your young starter will begin to feed on this new food. The bacteria and yeasts will do their magic in the starter for another full day.
Cover up your starter and let it sit for another 24 hours on your kitchen counter.
Day 3
24 hours later, you might not actually see much activity in your starter. I call this the “Day 3 Slump.” Usually around day 3 or 4, you will see fewer bubbles or no bubbles at all, and you might be convinced that your starter is dead. It’s not dead! The bacteria and yeasts in the starter are working themselves out, and it will take a few more days before they form a stable colony. Just keep going.
This time, feed your starter 20 grams of water and 20 grams of spelt flour (twice the amount as last time). As the starter gets bigger, you’ll need to provide it with a larger feeding. Mix everything together until no dry bits of flour remain.
Now, cover the jar loosely and mark the top of the starter with a rubber band so you can see how much it grows. Any day now, your starter will start “doubling-in-size” after you feed it.
Leave the starter to rest on the counter for just 12 hours this time.
Day 4
If your starter is anything like mine, the next morning (or a full 12 hours later), it will have risen to about double in size. This is exactly what you want! You’re very close to having a healthy and active sourdough starter.
The starter is starting to become predictable. Now, whenever you feed it, it should rise up to about double in size (which will take anywhere between 4-12 hours), then it will fall back down again.
From now on, you’re going to feed your starter every 12 hours instead of every 24 hours. Once it rises (doubles in size) predictably after each feeding, that’s when you’ll know it’s ready to bake with!
For the first feeding: Remove half of the starter from the jar. You can throw this “sourdough discard” away, or save it in the fridge and add it to quick breads or other baked goods. To the starter that is remaining in the jar, add 20 grams of water and 20 grams of spelt flour. Mix everything together until no dry bits of flour remain. Then mark the top of the starter with the rubber band and let it rest for 12 hours.
For the second feeding: 12 hours later, your starter should have risen. It might even have fallen back down again. Remove half of the starter from the jar once more, and repeat the same feeding as before. Add 20 grams of water and 20 grams of spelt flour to the jar, and mix well. Cover the jar, mark the starter with a rubber band, and let it rest for 12 more hours.
Day 5
On day 5, your starter should have doubled in size again. If your starter has doubled again, it’s ready to be used for baking sourdough bread! (Honestly is was probably ready to use the previous day, around the 72 hour mark. But, it doesn’t hurt to keep feeding it).
If your starter has not doubled in size yet (but it’s still growing), give it a few more hours to see how far it grows. If it doesn’t double in size, repeat the process for “Day 4” for a few more days until your starter predictably doubles in size after each feeding. Then, it will be ready to use.
What to Bake Next?
Once your spelt sourdough starter is bubbly and active, you need something to bake. You can use this sourdough starter to make almost any sourdough bread you want to make. Try it with my Master Recipe Sourdough Bread here. You can also use it to make my 100% whole grain spelt sourdough bread. Whatever you make, it’ll be better just knowing that you made the starter yourself!