When I first started making sourdough bread, I became overwhelmed with the various kneading techniques that most recipes called for. (Slap and folds, stretch and folds, coil folds, etc. – it was a lot to wrap my mind around as a new home baker). I especially didn’t like when recipes claimed to be “no-knead,” but then later asked bakers to perform six types of stretching and folding at various intervals! Call me crazy, but I believe that “no-knead” should really mean “no-knead.” So, since I now have a little more experience under my belt, I am happy to share with you my easy, no-knead sourdough bread recipe that is absolutely perfect for beginning bakers.

A no-knead sourdough bread recipe needs to check the following boxes in order to be fit the bill, in my opinion. It should…
- Require no kneading (or any similar motion) to develop gluten
- Maintain the complex and delicious sourdough flavor we know and love
- Be able to fit into a variety of home-baking schedules
This recipe checks each of those boxes. (1) It is as simple to mix as a yeasted no-knead bread, like the one I made a few weeks ago, (2) it carries with it a slight tartness and depth of flavor from the sourdough starter it’s made from, and (3) since the bulk rise happens overnight, it’s super easy to fit it into anyone’s schedule. Check, check, and check.
You’ll need a sourdough starter to make this recipe. If you don’t have a sourdough starter, download my Sourdough Starter Guide to get going with making your own! Once you’ve got your starter, you’re good to go!
Equipment Needed
- Digital Scale
- Mixing Bowl
- Wooden Spoon or a Bowl Scraper for mixing ingredients
- Parchment Paper
- Dutch Oven for baking (or use a sheet pan lined with parchment paper)
Check out all of the baking tools that I recommend for home bakers!
Ingredients
Bread Flour……………………………450g
Water……………………………………..300g
Salt………………………………………….10g
Sourdough Starter…………………60-70g
Instructions
1. Feeding Your Starter
This recipe calls for the dough to be mixed in the evening, so you’ll need to feed your starter in the morning. In the morning before you head to work or do whatever you do for the day, take your starter out of the fridge. Then, feed it 35g of bread flour and 35g of water. Mix it until you incorporate all of the flour into the water. This feeding will give you enough for 70g of starter, plus a little extra to save in your fridge for next time. Then go about your business for the day and your starter should be bubbly, active, and ready to use in the evening!
2. Mixing
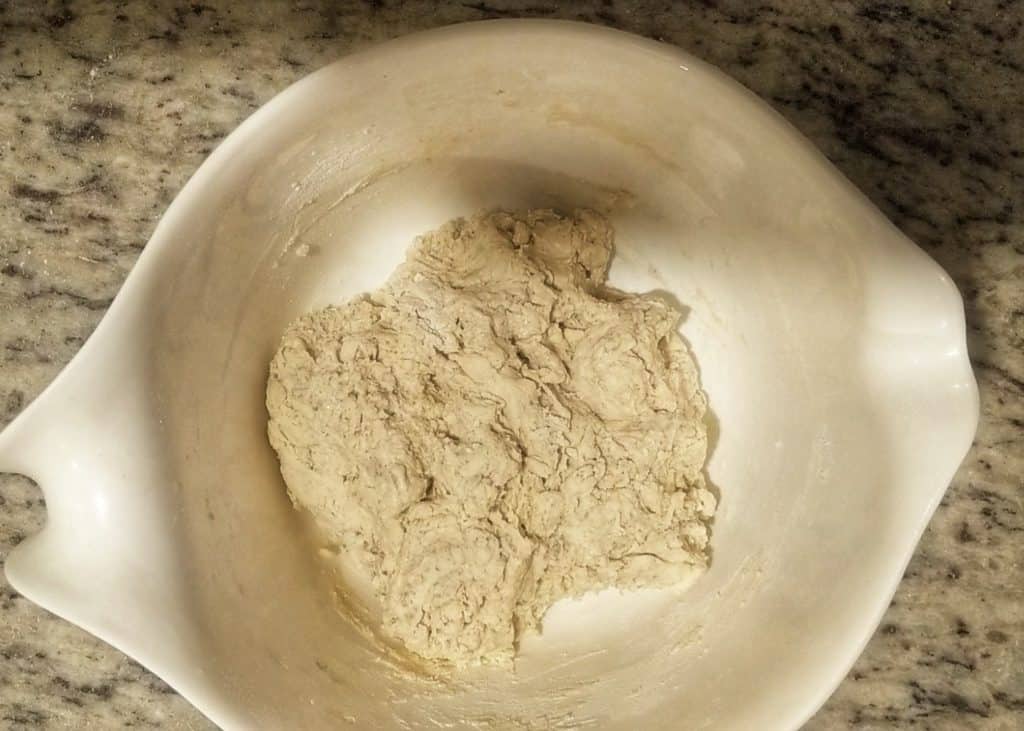
Before you go to bed in the evening, measure out the amount of starter you will need. If your kitchen is on the colder side, use 70g of starter, but if it’s on the warmer side, go ahead and use 60g of starter. Mix the starter, water, salt, and flour together in a large mixing bowl. Keep mixing until almost all of the dry clumps of flour disappear. There you go! That’s all the “kneading” that you need to do. Now cover the mixing bowl with a kitchen towel or plastic wrap and let it sit overnight – the dough will do its magic while you get some Zs.
3. Shaping
In the morning, the dough should be light, puffy, and about doubled in size. To shape the dough, lightly flour the counter and carefully remove the dough from the bowl with a bowl scraper and let it fall onto the floured counter. Shape the dough into a “boule,” or a ball shape. You can follow my video tutorial here if you want to see how I shape a boule.

Puffy dough after an overnight 9 hr rest. 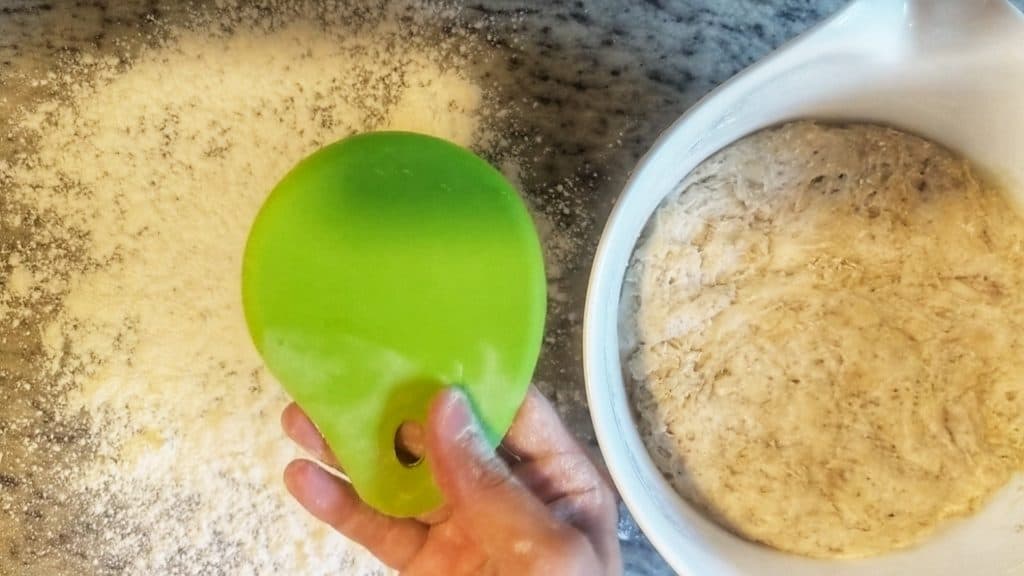
Using my bench scraper to release the dough from the bowl
4. Proofing
Take the ball of dough and place it seam-side-up in a bowl lined with a kitchen towel. Dust the kitchen towel with bread flour so the dough doesn’t stick. You can use a banneton basket instead of a bowl if you have one. Let the dough proof for two hours at room temperature or for at least six hours in the fridge if you want to bake it later in the evening.
5. Preheating the Oven
At least 30 minutes before the dough has finished proofing, preheat your oven to 500°F/260°C (or as hot as it will go). Set your dutch oven in one of the bottom racks to preheat along with the oven. If you don’t have a dutch oven, just use a baking sheet.
6. Baking
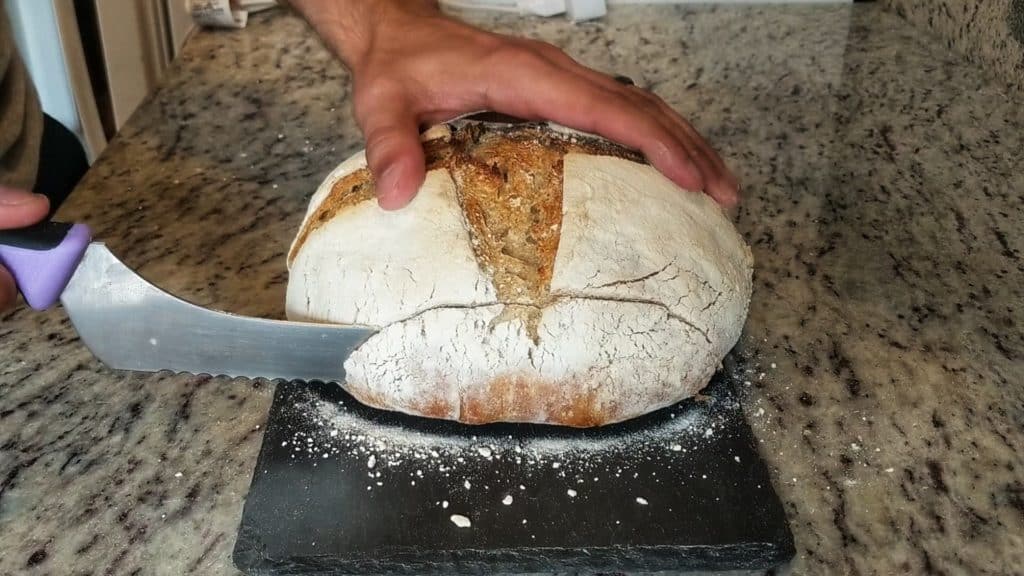
At the end of two hours, your dough should be delicate, puffy and ready to bake. Carefully turn the dough out onto a sheet of parchment paper so that the dough is now seam-side-down. Score the top of the loaf in an X pattern with a sharp knife and transfer it carefully into the dutch oven, parchment paper and all. Close the dutch oven lid and bake the bread for 20 minutes with the lid on. Then remove the lid and continue baking for 20 more minutes until your loaf has the nice brown color that you’re looking for.
7. Letting the Bread Cool
Take the bread out of the oven and let it cool for 1-2 hours before cutting in. If you tear into it too soon the steam that escapes from the bread will give it a gummy texture. Your patience will be rewarded when you wait for your bread to cool.
Conclusion
Well, that’s it! My easy, no-knead sourdough bread! This bread is so simple to mix, shape, proof, and bake. I really hope you find this recipe helpful if you’re new to the world of sourdough. Even if you enjoy stretching-and-folding and all sorts of kneading from time to time, give this recipe a try. I’m sure you’ll enjoy having an easy, no-knead option in your rotation.