If you’re looking for the best beginner sourdough bread recipe, you have found it. I’ve been making a variation of this straightforward recipe for almost six years now and I haven’t gotten tired of it. Follow my step-by-step instructions outlined in this recipe and you’ll be on your way to making a successful loaf of sourdough bread!
The 4 Ingredients You’ll Need – Beginner Sourdough Bread
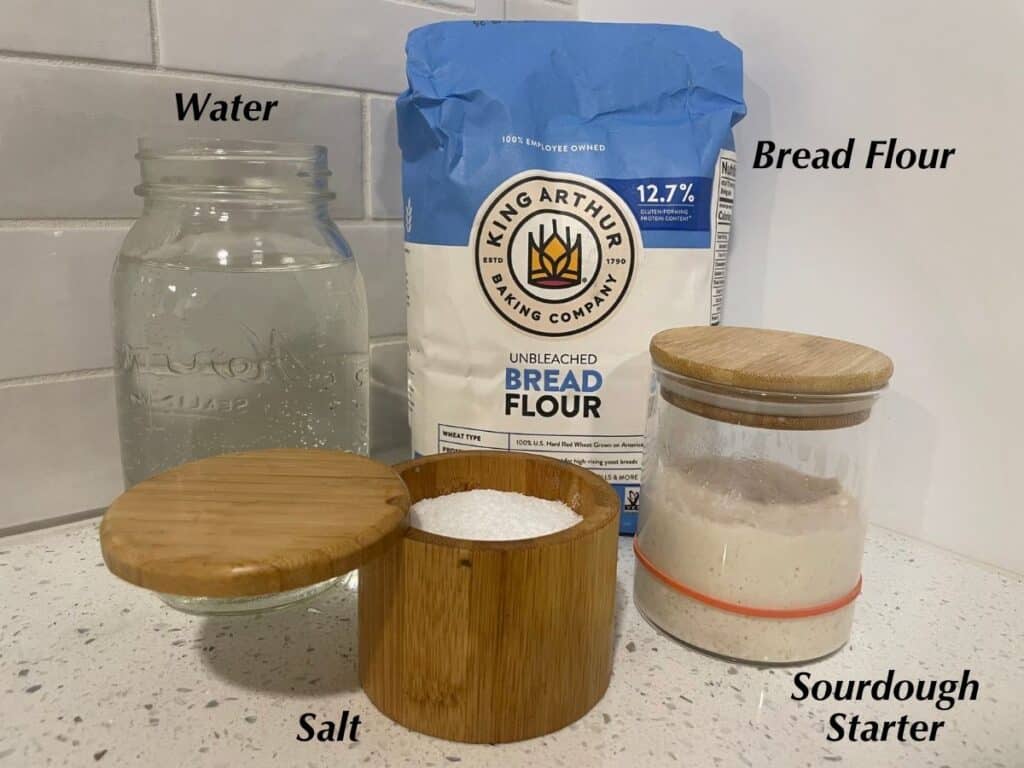
- Bread Flour: Flours labeled as “bread flour” have a higher protein content than ones labeled as “all-purpose flour.” This higher protein content in bread flour will help your sourdough bread become chewier and stretchier. For this recipe, I used the King Arthur brand of bread flour (in the blue bag), but any brand of flour labeled as “bread flour” should work fine. Bob’s Red Mill unbleached bread flour works well too.
- Water: Plain, unchlorinated tap water is best. Use filtered water or bottled spring water if your city’s tap water contains harsh ingredients or has a bad taste.
- Sourdough Starter: I used my regular, 100% hydration sourdough starter for this recipe, and I fed the starter with the same bread flour that I used for the dough. You can use almost any type of sourdough starter as long as it is 100% hydration (equal parts flour and water by weight). If you don’t have a sourdough starter yet, make one from scratch using my sourdough starter guide.
- Salt: Salt is an essential ingredient in bread. It not only will bring flavor to the dough, but it will regulate how fast your bread rises. For this recipe, I used Morton’s “Kosher salt.” You can use any type of sea salt, plain table salt, or another brand of kosher salt – they all work great.
Note: See recipe card below for full ingredient amounts and quantities.
The 5 Tools You’ll Need
- Digital Scale: Weighing out your ingredients (like flour and water) on a digital scales gives a much more accurate result than if you scoop your ingredients with cups and tablespoons. Luckily, digital scales are very affordable. Here’s a really affordable scale that I got from Amazon that I’ve been using for years.
- 10″ Oval Banneton Basket: Banneton baskets give your sourdough bread an impressive shape and texture on the outside of the crust. One of these oval banneton baskets will last you nearly a lifetime.
- Bread Lame or Razor Blade: This recipe calls for scoring (cutting) your bread dough before you bake it. The best tool for scoring is a razor blade held together in a wooden or plastic case, usually called a “bread lame.” I use the UFO “Corbeau” lame from Wire Monkey. You can get a 10% discount on this bread lame by following my affiliate link here.
- Dutch Oven: Dutch ovens are the perfect baking vessel baking sourdough bread because they trap steam around the bread while it bakes. Then, you can take the lid off and keep baking the bread until it has a perfectly golden brown crust. For beginners, I would invest in a multi-purpose Dutch oven like this one from Lodge, because you can use it for baking sourdough bread, making soups and stews, and plenty of other dishes in the kitchen.
- Serrated Bread Knife: Nothing is worse than tearing up your perfectly baked loaf of sourdough bread with a dull bread knife. Get the functional and affordable serrated bread knife that I use here.
Ingredient Amounts
Starter Feeding
- Sourdough Starter, leftover – 25 grams
- Water – 50 grams
- Bread Flour – 50 grams
Main Dough
- Bread Flour – 450 grams
- Water – 300 grams
- Sourdough Starter, active – 100 grams
- Salt – 10 grams
Suggested Timelines
3-Day Process (Recommended)
| Time | Step |
|---|---|
| 10:00 PM (Day 1) | Feeding the Sourdough Starter |
| 6:00 AM (Day 2) | Mixing the Dough |
| 6:30 AM | Stretch and Fold #1 |
| 7:00 AM | Stretch and Fold #2 |
| 7:30 AM | Stretch and Fold #3 |
| 7:35 AM | The First Rise (Bulk Fermentation) |
| 1:30 PM | Preshape |
| 2:00 PM | Final Shape |
| 2:05 PM | Final Proof at Room Temperature (1 Hour) |
| 3:05 PM | Final Proof in Refrigerator (8+ Hours) |
| 6:55 AM (Day 3) | Scoring the Dough |
| 7:00 AM | Baking the Dough |
2-Day Process (No Cold Proof)
| Time | Step |
|---|---|
| 10:00 PM (Day 1) | Feeding the Sourdough Starter |
| 6:00 AM (Day 2) | Mixing the Dough |
| 6:30 AM | Stretch and Fold #1 |
| 7:00 AM | Stretch and Fold #2 |
| 7:30 AM | Stretch and Fold #3 |
| 7:35 AM | The First Rise (Bulk Fermentation) |
| 12:30 PM | Preshape |
| 1:00 PM | Final Shape |
| 1:05 PM | Final Proof at Room Temperature (2-3 Hours) |
| 3:05 PM | Scoring the Dough |
| 3:10 PM | Baking the Dough |
How to Make Grant Bakes’ Beginner Sourdough Bread
Step-by-Step Instructions
Feeding the Sourdough Starter

Take 25 grams of leftover sourdough starter out of the fridge. Add 50 grams of water to the sourdough starter jar and mix the water and starter together to dissolve. Then, add 50 grams of bread flour to the jar and stir it thoroughly until the sourdough starter mixture has the consistency of a loose pancake batter. Cover the top of the jar loosely with a lid and then mark the top of the starter with a rubber band so you can see how much the starter rises overnight. Place the jar on your kitchen counter and let the starter rise overnight for 6-8 hours, or until it roughly doubles in size.
Mixing the Dough
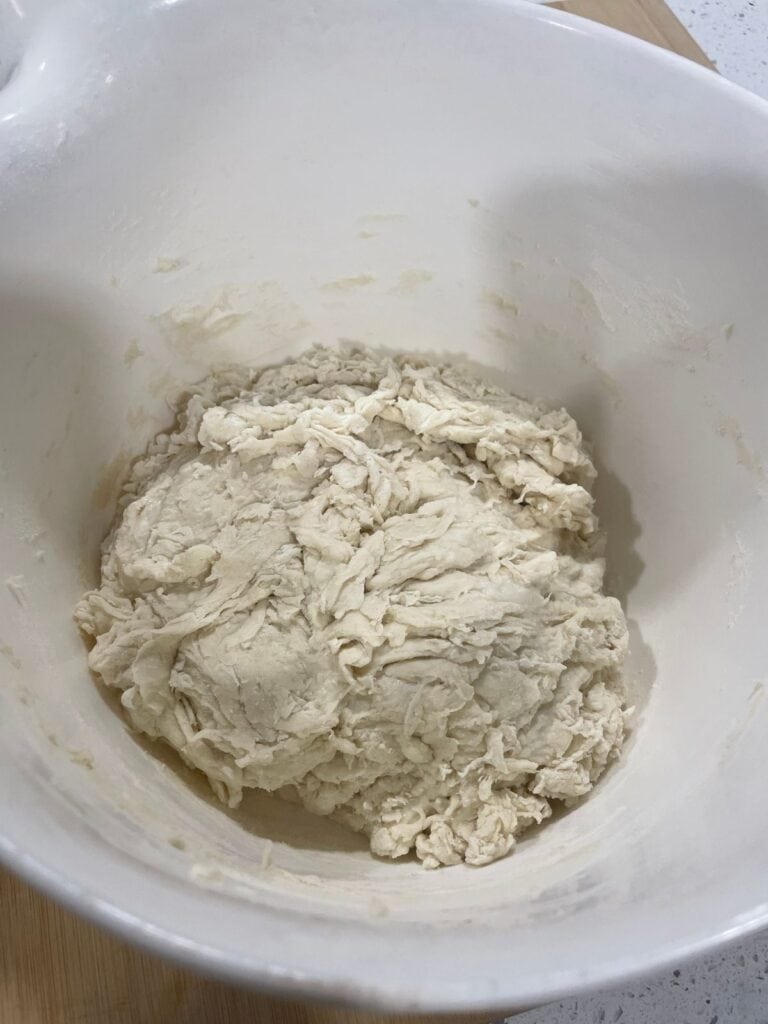
Once your starter has doubled in size, place a large mixing bowl on top of a digital scale to weigh out the ingredients. Add 300 grams of water to the mixing bowl along with 100 grams of the active and risen sourdough starter. (Put the small amount of starter that is remaining in the jar back into the fridge to save it for the next time you want to bake.) Stir the starter and water together to thoroughly dissolve the starter. Then, add 450 grams of bread flour and 10 grams of salt to the liquid ingredients. Stir the salt into the flour to incorporate it, and then mix all of the ingredients together with a spoon to form a shaggy dough without any visible dry clumps of flour. At this point, cover the dough with a kitchen towel and let it rest for 30 minutes.
Stretch and Folds
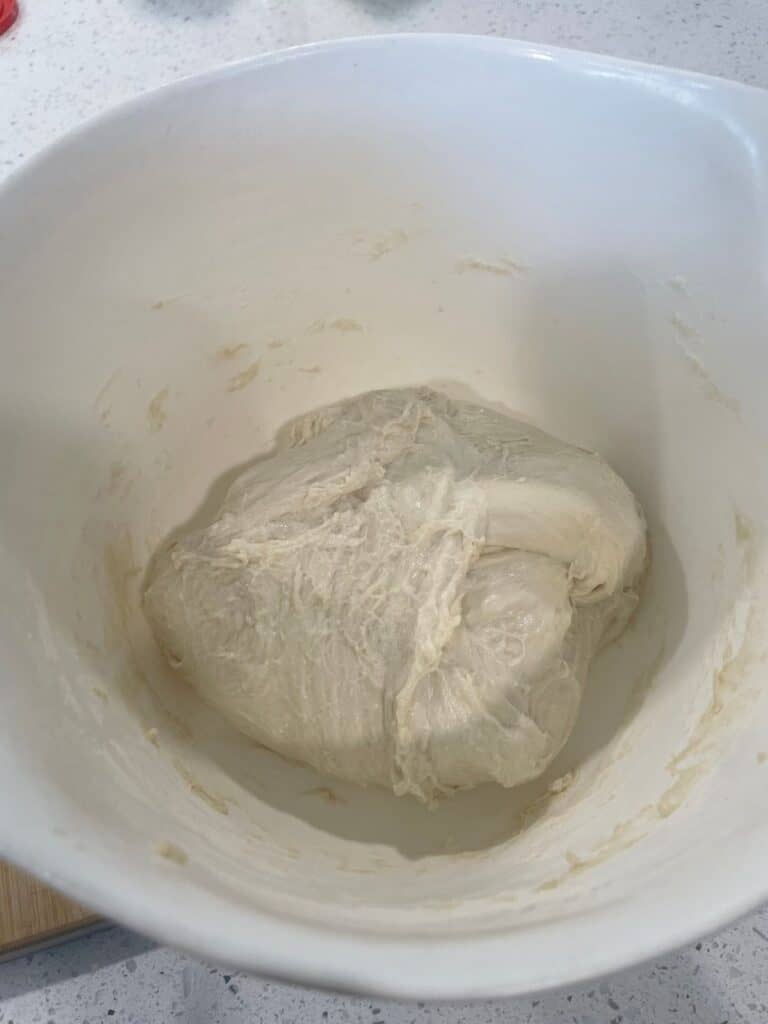
Now, you’re going to be doing three sets of “stretch and folds” with a 30-minute rest in between each set of stretch and folds. (“Stretching and folding” is a gentler alternative to kneading by hand.)
For the first set of folds, uncover the mixing bowl and grab the corner of dough that’s furthest away from you (the “North” end). Stretch the dough up into the air and then fold it back onto top of the dough and stick the dough into itself. Give the mixing bowl a corner turn. Stretch the “West” end of the dough up into the air and fold it back on top of the dough, and then stick the dough into itself. Give the mixing bowl another quarter turn. Stretch the “South” end of the dough up into the air and fold it over the top of the dough. Give the mixing bowl one last quarter turn and then stretch the “East” end of the dough into the air and fold it back on top of the dough. That’s the first set of stretch and folds. Cover the mixing bowl with a kitchen towel and let the dough rest for 30 minutes.
After the thirty minute rest, perform the second set of stretch and folds. Do exactly what you did for the first set of stretch and folds, except now you should notice that the dough is stronger and stretchier than it was the first time. After stretching and folding all four ends of the dough, cover the dough again with a kitchen towel and let the dough rest for 30 minutes.
Thirty minutes later, give the dough its third and final set of stretch and folds. The dough should feel much stronger now that the gluten has been developed through the stretching and folding process.
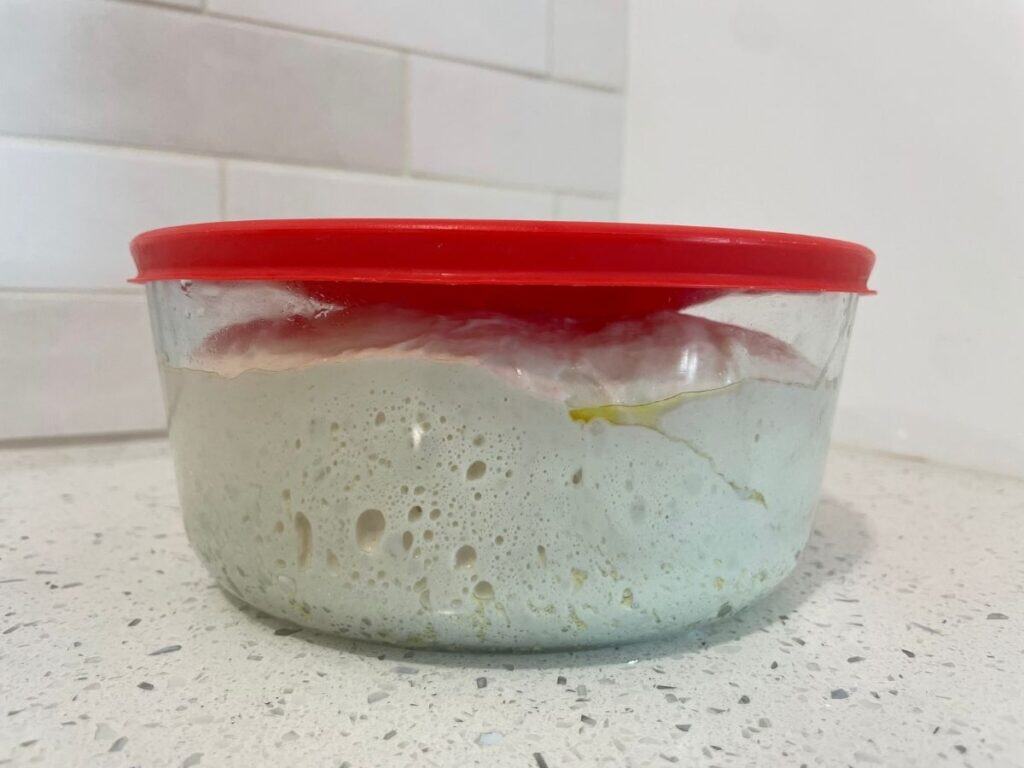
The First Rise (Bulk Fermentation)
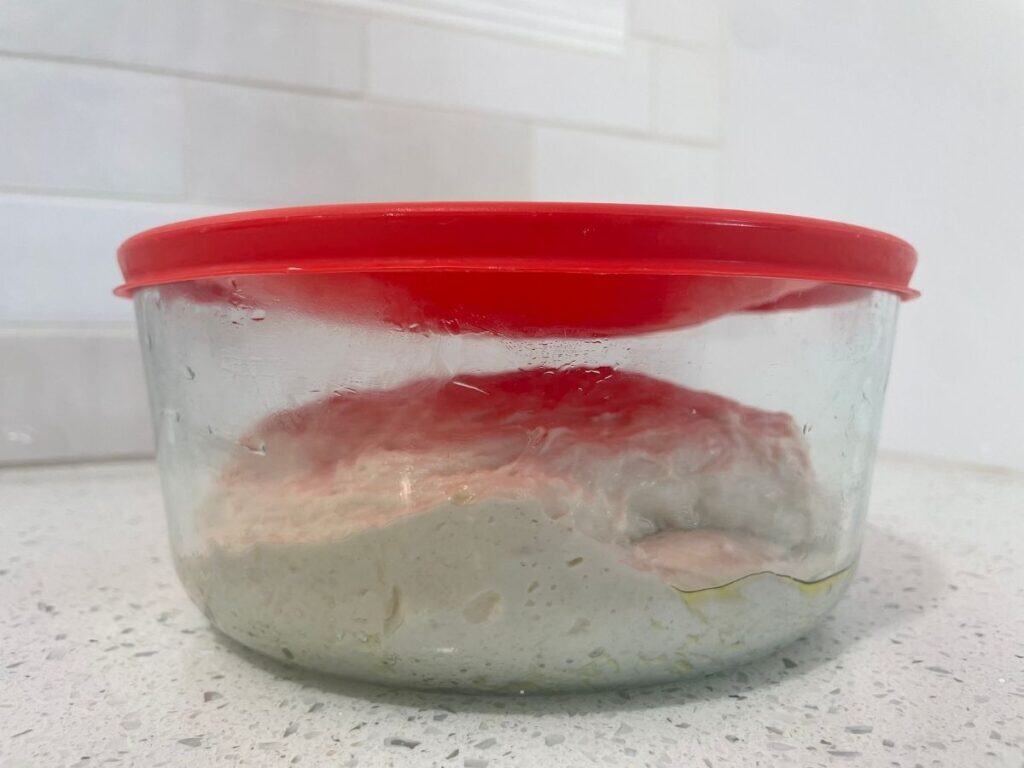
Move the dough into a glass bowl that has been greased with a little bit of olive oil. In the bowl, position the dough so that the smooth side is facing up and the seam side is facing down. Cover the dough with an airtight lid or a sheet of plastic wrap, and then let the dough sit in the glass bowl to rise for 5-8 hours at room temperature. In my kitchen that was around 70°F (21°C), it took the dough exactly five hours to double in size. Once your dough has roughly doubled in size, move on to the preshape step.
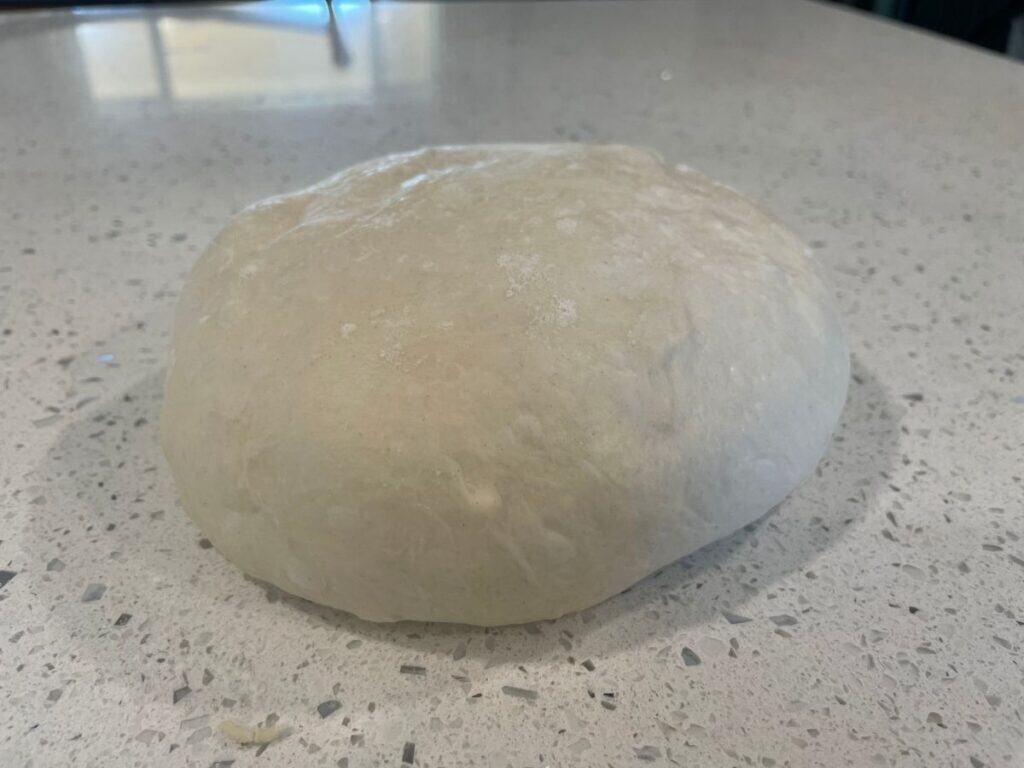
Preshape
Gently take the dough out of the glass bowl and place it on an un-floured surface of your kitchen counter. Keep the smooth side facing up and the seam side facing down. Cup and pull the dough with your hands, moving the dough in a circular motion against the counter to form a tighter ball of dough. This will give the dough a little bit of strength and structure and it will be easier to shape the dough into an oval during the next step. Now, let your dough rest uncovered at room temperature for 30 minutes.

Final Shape
30 minutes later, your ball of dough should be relaxed and you’ll be ready to shape it into an oval. Prepare a 10″ oval banneton basket by dusting the bottom and sides of the basket thoroughly with bread flour (or rice flour if you have it). This dusting of flour will help the dough release from the sides of the basket later after the final proof.
To shape your dough into an oval, dust the top of the dough ball with a small amount of bread flour. This will create an additional non-stick surface on the dough. Flip the dough over so that the floured side is against the counter and the sticky side is facing up. Pull the corners of the dough out so that the dough forms a square shape. Fold the left third of the dough over the middle third, and then fold the right third of the dough over the middle third as well. Then, take the end of dough that is furthest from you and roll the dough over itself until the dough forms a log or an oval shape. Smooth out the edges of the dough with your hands and then the dough is ready to be moved to the banneton basket. (Watch my video tutorial for a visual demonstration of this shaping method.)
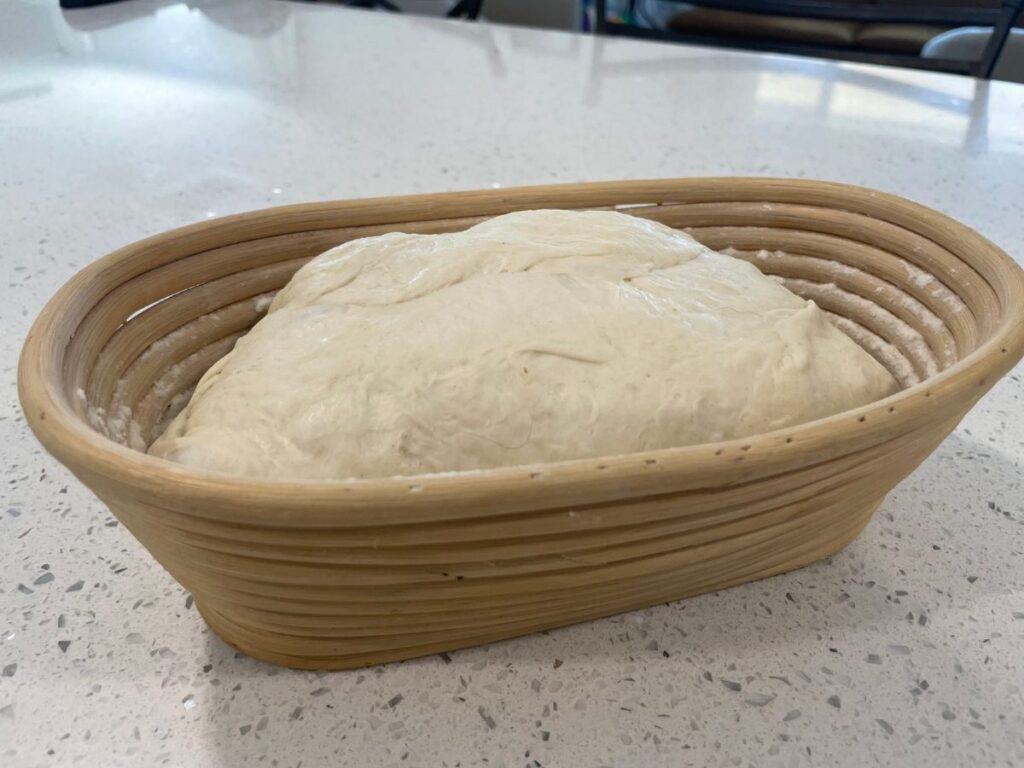
Flip the dough over and gently place it upside down into the banneton basket. Cover the dough with a kitchen towel and now it’s ready for the second rise.
The Second Rise (Final Proof at Room Temperature) – 1 Hour
Let the dough to rise/proof at room temperature on your kitchen counter for one hour. During this hour, the dough will start puffing up and beginning the fermentation process before you move it into the cold fridge. (My room temperature was roughly 70°F [21°C] when I made this recipe.)
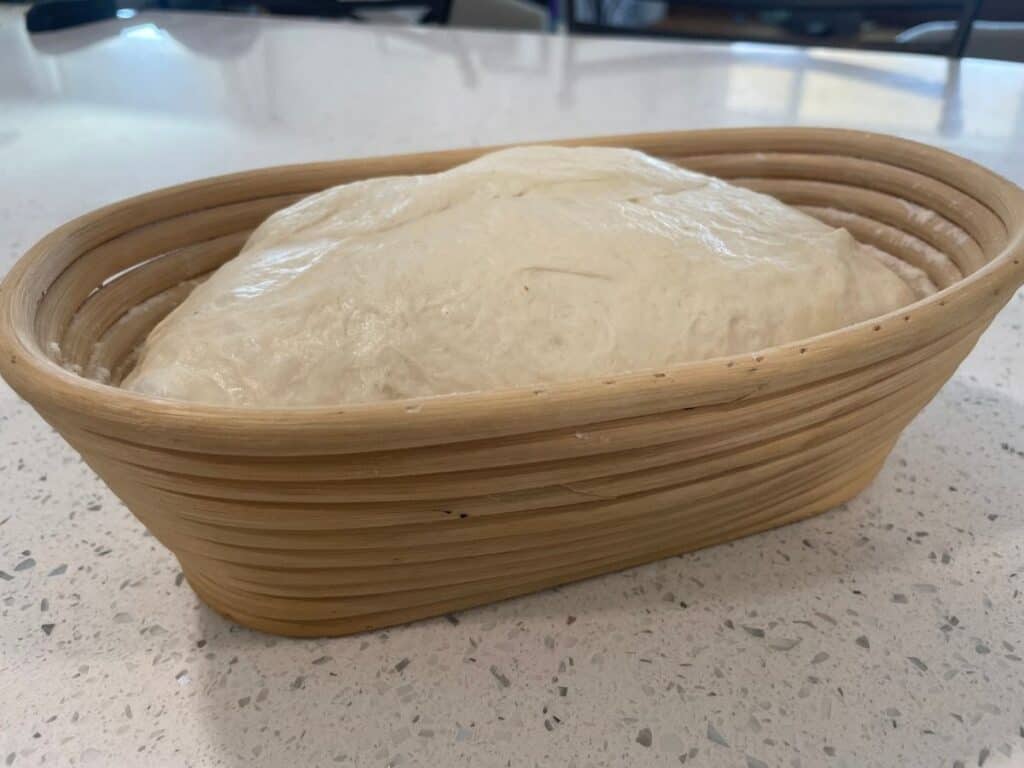
The Second Rise (Final Proof in the Refrigerator) – 8+ Hours
After one hour of rising at room temperature, your dough should look and feel a little bit puffier than before, since the rising process fills the dough with air. At this point, move the dough into the fridge to rest overnight, or for 8-24 hours. This long, cold final proof will give the bread more complex flavor, and it allows you to bake the bread whenever you want the next day. Once it’s in the fridge, the dough is sort of on pause, and you can bake it whenever it fits into your schedule.
Scoring the Dough
The next day, preheat your oven to 450°F (232°C) 30 minutes before you want to bake your bread. Place your Dutch oven inside the oven to preheat on the middle oven rack. Position a metal sheet pan or a pizza stone on one of the lower oven racks to help keep the bottom of your bread from getting too dark.
When your oven is preheated, take your dough out of the refrigerator and cut out a sheet of parchment paper so that it is slightly bigger than your dough. Casually help the dough release from the sides of the banneton basket with your fingertips and then flip out the dough onto the sheet of parchment paper.
Dust off any excess flour from the dough, and then, holding your bread lame/razor blade at a 45° angle, score the dough with one long slash from the farthest end to the nearest end. (Watch my video tutorial for a visual demonstration.) This scoring pattern will cause your dough to burst open along the score mark during the first half of the baking time.
Baking the Beginner Sourdough Bread
Pick up your dough with the parchment paper and all, and place it into the bottom of your hot Dutch oven. Close the Dutch oven lid to trap the steam, and then bake the sourdough bread for 20 minutes with the lid on. After 20 minutes has passed, remove the Dutch oven lid to release the steam. If everything has gone right, your dough should have puffed up and burst open along the score mark revealing a beautiful “ear” on your loaf of beginner sourdough bread.
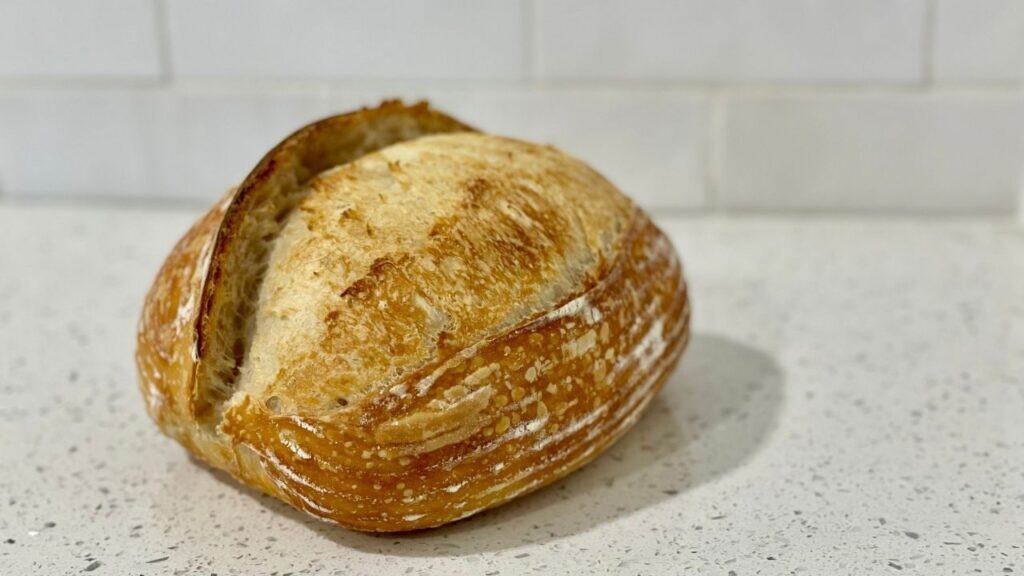
With the lid off, continue baking for another 15-25 minutes. 15 minutes will get you a golden brown loaf, 20 minutes will be darker, and 25 minutes will be a dark brown loaf of bread in most ovens. A golden brown loaf is my preference these days, but many people appreciate darker loaves too, so go with your own preference.
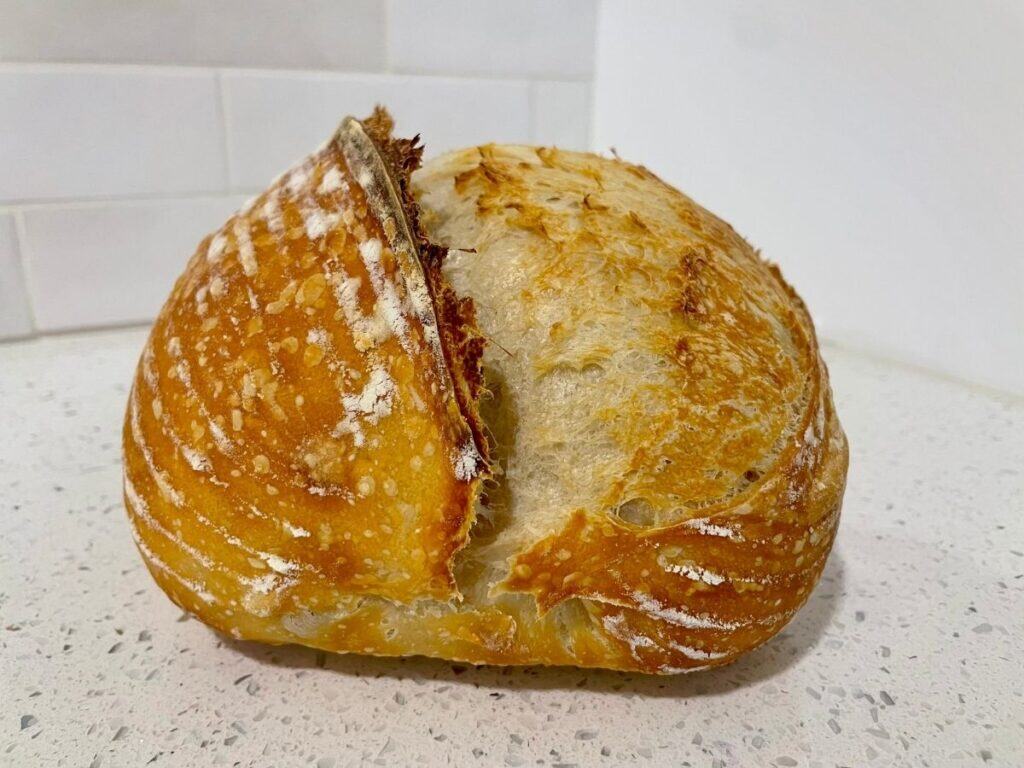
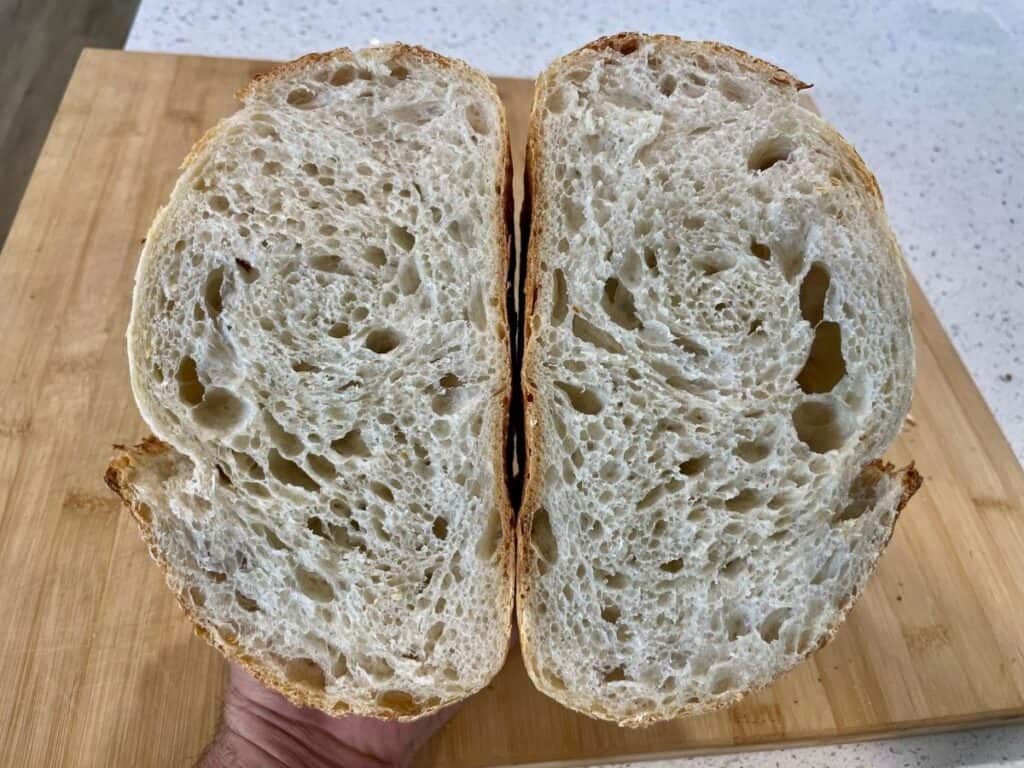
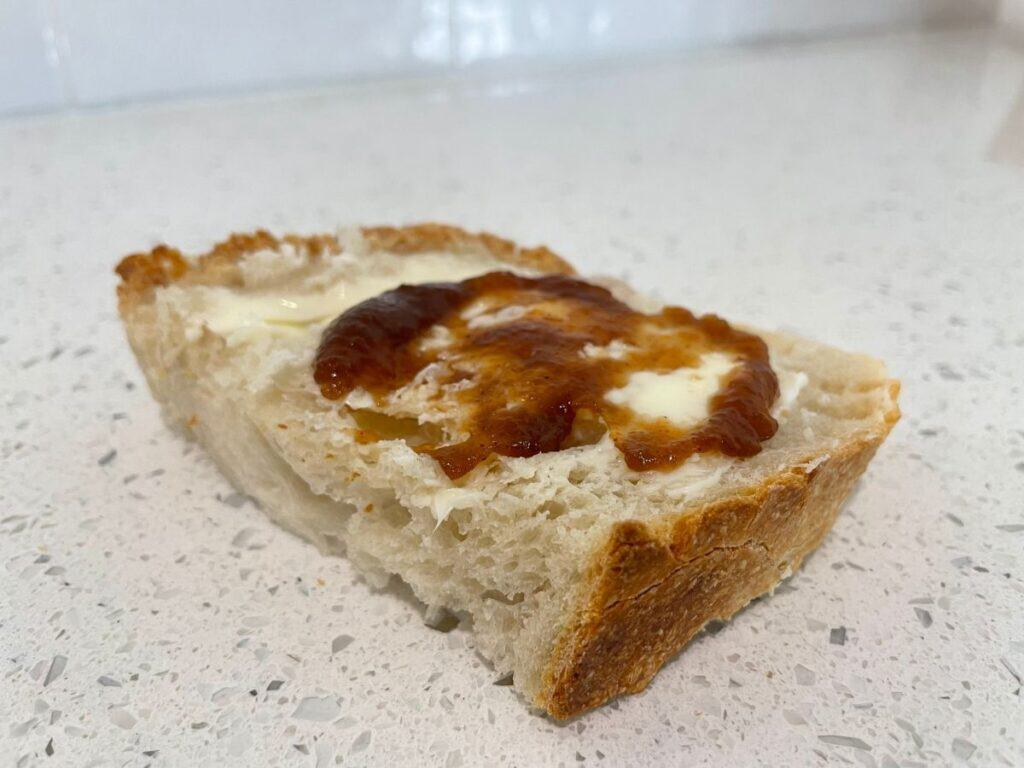
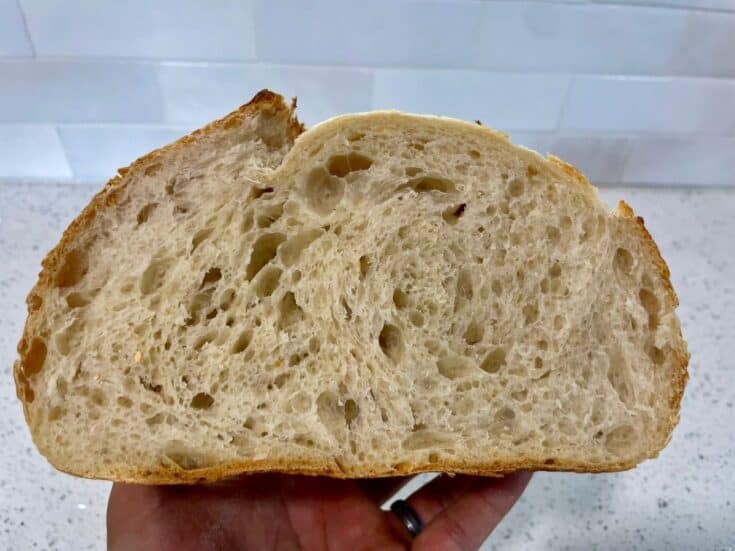
Remove the baked loaf of sourdough bread and place it on a cooling rack to cool for at least one hour. Generally, the cooler the bread is, the easier it will be to slice. Cut into slices with a serrated bread knife and enjoy with butter and your favorite jam or spread.
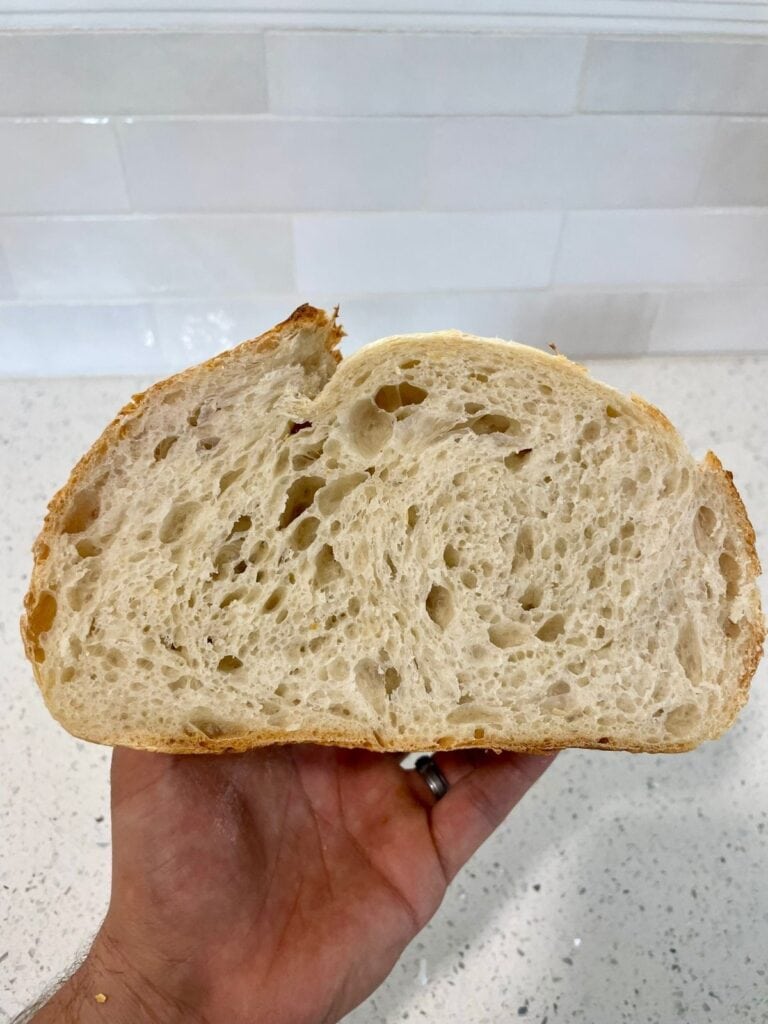
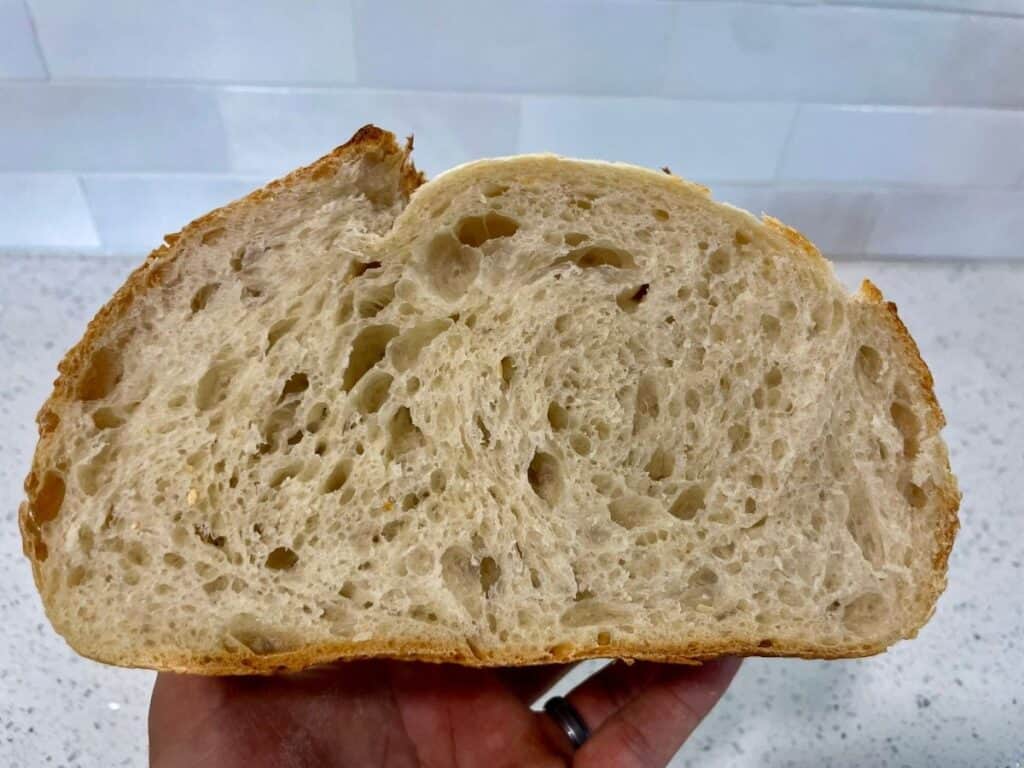
This loaf of sourdough bread is mildly tangy (AKA not too sour), but it has a complex depth of flavor that you won’t find in any store-bought white bread. This is the type of bread you could eat week after week and not get tired of.
Beginner Sourdough Bread
If you’re looking for the best beginner sourdough bread recipe, you have found it. This bread is simple to make with only flour, water, salt, and sourdough starter. I’ve been making a variation of this straightforward recipe for almost six years now and I haven’t gotten tired of it.
Ingredients
Sourdough Starter Feeding
- Sourdough Starter, leftover - 25 grams
- Water - 50 grams
- Bread Flour - 50 grams
Main Dough
- Bread Flour - 450 grams
- Water - 300 grams
- Sourdough Starter, active - 100 grams
- Salt - 10 grams
Instructions
Feeding the Sourdough Starter
Take 25 grams of leftover sourdough starter out of the fridge. Add 50 grams of water to the sourdough starter jar and mix the water and starter together to dissolve. Then, add 50 grams of bread flour to the jar and stir it thoroughly until the sourdough starter mixture has the consistency of a loose pancake batter. Cover the top of the jar loosely with a lid and then mark the top of the starter with a rubber band so you can see how much the starter rises overnight. Place the jar on your kitchen counter and let the starter rise overnight for 6-8 hours, or until it roughly doubles in size.
Mixing the Dough
Once your starter has doubled in size, place a large mixing bowl on top of a digital scale to weigh out the ingredients. Add 300 grams of water to the mixing bowl along with 100 grams of the active and risen sourdough starter. (Put the small amount of starter that is remaining in the jar back into the fridge to save it for the next time you want to bake.) Stir the starter and water together to thoroughly dissolve the starter. Then, add 450 grams of bread flour and 10 grams of salt to the liquid ingredients. Stir the salt into the flour to incorporate it, and then mix all of the ingredients together with a spoon to form a shaggy dough without any visible dry clumps of flour. At this point, cover the dough with a kitchen towel and let it rest for 30 minutes.
Stretch and Folds
Now, you’re going to be doing three sets of “stretch and folds” with a 30-minute rest in between each set of stretch and folds. (“Stretching and folding” is a gentler alternative to kneading by hand.)
For the first set of folds, uncover the mixing bowl and grab the corner of dough that’s furthest away from you (the “North” end). Stretch the dough up into the air and then fold it back onto top of the dough and stick the dough into itself. Give the mixing bowl a corner turn. Stretch the “West” end of the dough up into the air and fold it back on top of the dough, and then stick the dough into itself. Give the mixing bowl another quarter turn. Stretch the “South” end of the dough up into the air and fold it over the top of the dough. Give the mixing bowl one last quarter turn and then stretch the “East” end of the dough into the air and fold it back on top of the dough. That’s the first set of stretch and folds. Cover the mixing bowl with a kitchen towel and let the dough rest for 30 minutes.
After the thirty minute rest, perform the second set of stretch and folds. Do exactly what you did for the first set of stretch and folds, except now you should notice that the dough is stronger and stretchier than it was the first time. After stretching and folding all four ends of the dough, cover the dough again with a kitchen towel and let the dough rest for 30 minutes.
Thirty minutes later, give the dough its third and final set of stretch and folds. The dough should feel much stronger now that the gluten has been developed through the stretching and folding process.
The First Rise (Bulk Fermentation)
Move the dough into a glass bowl that has been greased with a little bit of olive oil. In the bowl, position the dough so that the smooth side is facing up and the seam side is facing down. Cover the dough with an airtight lid or a sheet of plastic wrap, and then let the dough sit in the glass bowl to rise for 5-8 hours at room temperature. In my kitchen that was around 70°F (21°C), it took the dough exactly five hours to double in size. Once your dough has roughly doubled in size, move on to the preshape step.
Preshape
Gently take the dough out of the glass bowl and place it on an un-floured surface of your kitchen counter. Keep the smooth side facing up and the seam side facing down. Cup and pull the dough with your hands, moving the dough in a circular motion against the counter to form a tighter ball of dough. This will give the dough a little bit of strength and structure and it will be easier to shape the dough into an oval during the next step. Now, let your dough rest uncovered at room temperature for 30 minutes.
Final Shape
30 minutes later, your ball of dough should be relaxed and you’ll be ready to shape it into an oval. Prepare a 10″ oval banneton basket by dusting the bottom and sides of the basket thoroughly with bread flour (or rice flour if you have it). This dusting of flour will help the dough release from the sides of the basket later after the final proof.
To shape your dough into an oval, dust the top of the dough ball with a small amount of bread flour. This will create an additional non-stick surface on the dough. Flip the dough over so that the floured side is against the counter and the sticky side is facing up. Pull the corners of the dough out so that the dough forms a square shape. Fold the left third of the dough over the middle third, and then fold the right third of the dough over the middle third as well. Then, take the end of dough that is furthest from you and roll the dough over itself until the dough forms a log or an oval shape. Smooth out the edges of the dough with your hands and then the dough is ready to be moved to the banneton basket. (Watch my video tutorial for a visual demonstration of this shaping method.)
Flip the dough over and gently place it upside down into the banneton basket. Cover the dough with a kitchen towel and now it’s ready for the second rise.
The Second Rise (Final Proof at Room Temperature) - 1 Hour
Let the dough to rise/proof at room temperature on your kitchen counter for one hour. During this hour, the dough will start puffing up and beginning the fermentation process before you move it into the cold fridge. (My room temperature was roughly 70°F [21°C] when I made this recipe.)
The Second Rise (Final Proof in the Refrigerator) - 8+ Hours
After one hour of rising at room temperature, your dough should look and feel a little bit puffier than before, since the rising process fills the dough with air. At this point, move the dough into the fridge to rest overnight, or for 8-24 hours. This long, cold final proof will give the bread more complex flavor, and it allows you to bake the bread whenever you want the next day. Once it’s in the fridge, the dough is sort of on pause, and you can bake it whenever it fits into your schedule.
Scoring the Dough
The next day, preheat your oven to 450°F (232°C) 30 minutes before you want to bake your bread. Place your Dutch oven inside the oven to preheat on the middle oven rack. Position a metal sheet pan or a pizza stone on one of the lower oven racks to help keep the bottom of your bread from getting too dark.
When your oven is preheated, take your dough out of the refrigerator and cut out a sheet of parchment paper so that it is slightly bigger than your dough. Casually help the dough release from the sides of the banneton basket with your fingertips and then flip out the dough onto the sheet of parchment paper.
Dust off any excess flour from the dough, and then, holding your bread lame/razor blade at a 45° angle, score the dough with one long slash from the farthest end to the nearest end. (Watch my video tutorial for a visual demonstration.) This scoring pattern will cause your dough to burst open along the score mark during the first half of the baking time.
Baking the Beginner Sourdough Bread
Pick up your dough with the parchment paper and all, and place it into the bottom of your hot Dutch oven. Close the Dutch oven lid to trap the steam, and then bake the sourdough bread for 20 minutes with the lid on. After 20 minutes has passed, remove the Dutch oven lid to release the steam. If everything has gone right, your dough should have puffed up and burst open along the score mark revealing a beautiful “ear” on your loaf of beginner sourdough bread.
With the lid off, continue baking for another 15-25 minutes. 15 minutes will get you a golden brown loaf, 20 minutes will be darker, and 25 minutes will be a dark brown loaf of bread in most ovens. A golden brown loaf is my preference these days, but many people appreciate darker loaves too, so go with your own preference.
Remove the baked loaf of sourdough bread and place it on a cooling rack to cool for at least one hour. Generally, the cooler the bread is, the easier it will be to slice. Cut into slices with a serrated bread knife and enjoy with butter and your favorite jam or spread.
This loaf of sourdough bread is mildly tangy (AKA not too sour), but it has a complex depth of flavor that you won’t find in any store-bought white bread. This is the type of bread you could eat week after week and not get tired of.