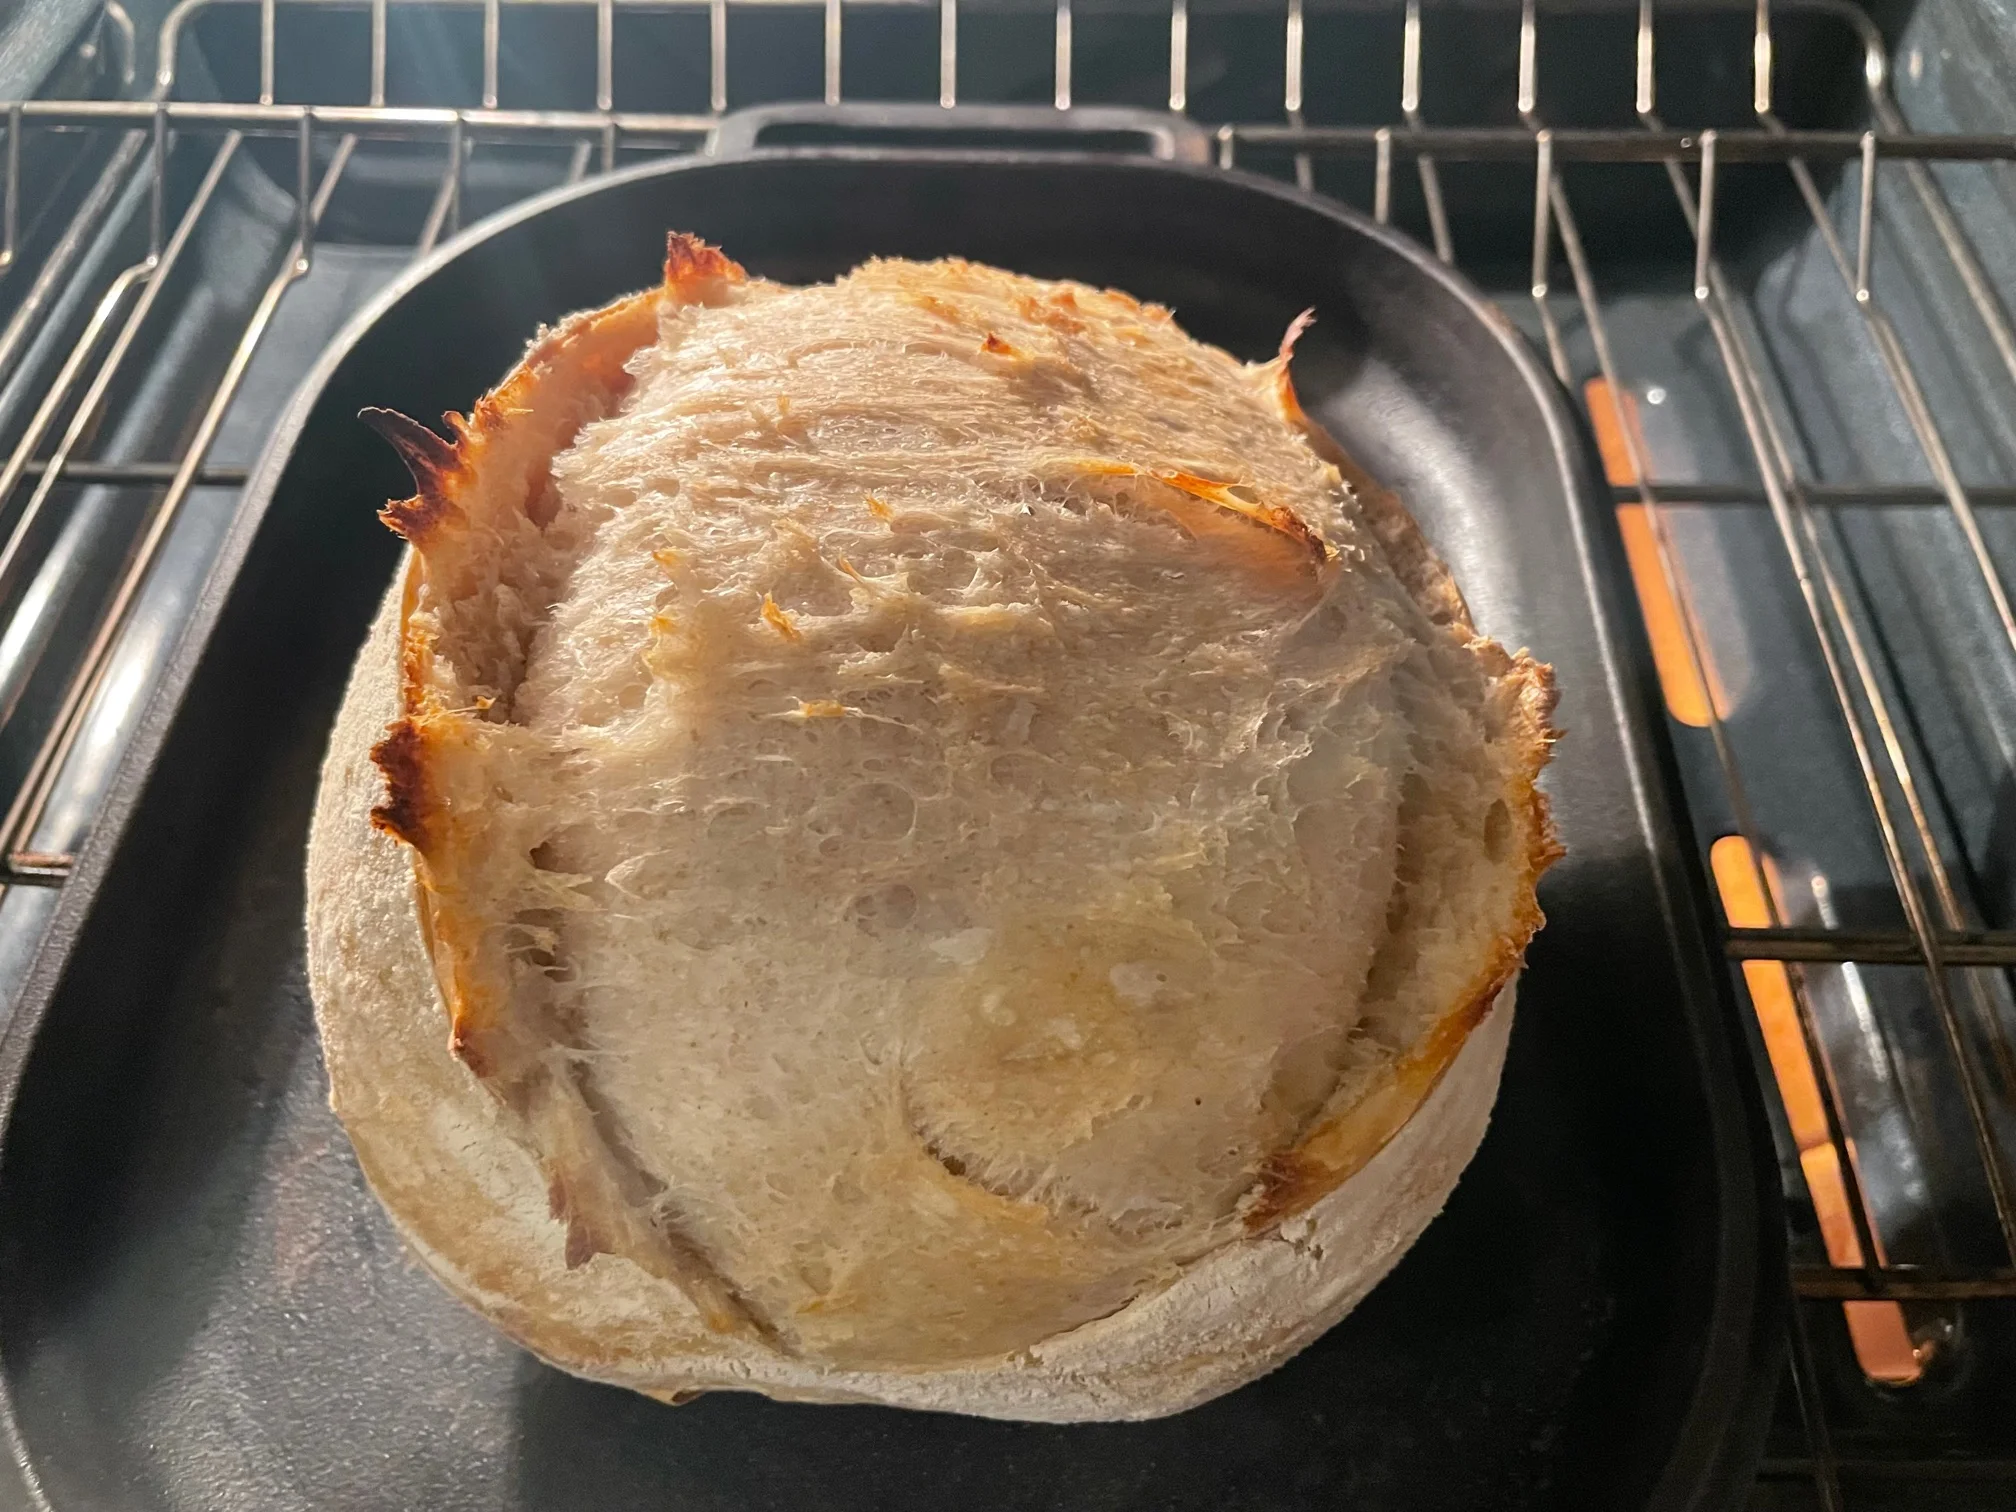
Good “oven spring” is what everyone is hoping for when they make their first loaf of homemade sourdough bread. When you lift off the top of the Dutch oven after the first 20 minutes or so of baking, what you see inside can seriously disappoint or delight you as a new baker. What you want is a nice tall loaf of bread that puffs up significantly during the first half of the bake time. But, unfortunately, many of our first homemade sourdough loaves end up as flat as pancakes, with absolutely zero oven spring. If you want to get great oven spring on your sourdough bread, I’m here to share my secrets with you!
Here are ten steps to get better oven spring on your sourdough bread:
- Use Your Starter When It’s at Its Peak
- Use Mostly White Bread Flour
- Develop Sufficient Gluten in the Dough
- Make Sure Your Dough Passes the “Window-Pane” Test
- Let the Dough Bulk Ferment to 1.5-2x Its Original Size
- Don’t Over-Proof the Dough During the Final Proof
- Give the Dough a Pre-Shape and a Final Shape
- Build Surface Tension During Shaping
- Score the Dough Strategically
- Bake on a Hot Surface
- Bake with Steam
To achieve amazing oven spring in your bread, it’s best to understand what oven spring actually is before you make your next loaf. So, in this article, I’m going to explain what oven spring is, share some of my tips and tricks, and answer some frequently asked questions about oven spring.
I’ll dive deep into my ten tips for better oven spring, providing pictures and videos that help explain what you need to do to get similar results to mine.
So, let’s first talk about what oven spring actually is.
Some of My Favorite Baking Tools (Affiliate Links):
Baker of Seville Bread Lame
Oval Banneton Basket
Non-Stick Bread Pan
Non-Stick Focaccia Pan

What Is Oven Spring?
As a general rule, “oven spring” refers to the final boost, or rise, that a loaf of bread goes through in the oven during the first half of the baking time. Oven spring can cause your dough to increase in size an additional 30% or more, depending on how much it has proofed before baking.
When you slide your dough into the oven, usually in a hot Dutch oven or on a baking stone, the heat from the baking surface will cause the natural yeasts in the dough to start to multiply rapidly. The yeast will begin puffing up the dough with CO2 gas. This yeast is responsible for part of the oven spring.
Steam also is a contributing factor in oven spring. When the moisture in the dough starts heating up, it will turn into steam and try to escape the dough, creating small bubbles and air pockets.
So, the oven spring in your sourdough bread is a product of the natural yeasts and the moisture in the dough rapidly expanding and puffing the dough up with air.
You might wonder why people even want to achieve oven spring in the first place? What’s the big deal with oven spring?
Why Do We Even Want Oven Spring?
In general, when your dough has good oven spring, it is a sign that you fermented your dough properly, scored it strategically, and baked it well. Oven spring also makes the final loaf of bread look attractive and have a light and airy interior crumb.

So, good oven spring points to your skills as a baker and gives your bread a better texture. But, is oven spring actually necessary for good sourdough bread?
Is Oven Spring Necessary For Good Sourdough Bread?
Oven spring isn’t actually necessary for good sourdough bread. If you accidentally proof your dough a little bit too long during the final rise, it won’t have as much oven spring when you bake it. But, as long as you didn’t over-proof the dough too much, it will still taste great and make a good loaf of bread.
There are some downsides to doing this. If you proof your dough too long, you’ll run the risk of accidentally deflating the dough when you score it. This is why, even though over-proofed bread can turn out well, it’s still not ideal. It’s much better to stop the proofing process at the right time. This will also lead to your bread having more oven spring.
So, even though oven spring isn’t necessary to make good sourdough bread, it’s still the ideal when you’re trying to make free-from, artisan-style sourdough bread at home.
Note: When I bake sourdough sandwich loaves in a loaf pan, I purposefully don’t try to get as much oven spring as with a free-form loaf. Learn more about my sourdough-in-a-loaf-pan process here.
11 Tips to Get Better Oven Spring on Your Sourdough Bread
1. Use Your Starter When It’s at Its Peak

To get amazing oven spring in your sourdough bread, it’s best to use your sourdough starter right when it reaches its peak. This will bring the natural yeasts in the starter to the point that they are most active. So, it’s the perfect time to add the starter to your dough.
If you use a weak starter, one that hasn’t reached its peak yet, the natural yeasts in the starter will be moving a little more slowly. This will slow down the whole sourdough bread process for you and will result in the bread not springing up as much in the oven.
FAQ: What does it mean for a sourdough starter to “reach its peak?”
Generally, four to eight hours after feeding your starter, it will double or even triple in size. Then, it will start to fall back down again. Right before the starter begins to fall is the perfect time to add the starter to your dough. This top point where the starter rises to is referred to as the “peak.” When your starter hits that point, it has reached its peak.
Depending on your particular starter and maintenance routine, your starter may take 3-4, or even 6-8 hours to reach its peak. It’s completely fine if your starter works differently than someone else’s. The most important thing is that you are familiar with your starter and know when it’s going to reach its peak.
Read more about my standard no-waste sourdough maintenance routine here.
FAQ: What do I do if my sourdough starter is sluggish?
If your starter is unusually sluggish (i.e. it takes longer than expected to reach its peak), you should probably give it an extra feeding before baking with it to get maximum oven spring from your loaf. Feed your starter, then wait until it reaches its peak once. Then discard all but half of the starter, and feed it again. When it reaches its peak a second time, it should be more active and ready to use!
Now that you understand the importance of using a strong starter, let’s talk about how the flour that you use can affect your sourdough bread’s oven spring.
2. Use Mostly White Bread Flour

Photo by wuestenigel is licensed under CC BY 2.0
Since white bread flour is very “strong” (high in gluten), and gluten is good for oven spring, to get better oven spring in your sourdough bread, most of the flour in your dough should be strong white bread flour.
To achieve maximum oven spring, your dough needs to puff up with air during the rising and baking process. But, in order for air to become trapped in the dough, you first need to develop a strong gluten network within the dough. For that, you’ll need a flour that is relatively high in gluten, or protein.
FAQ: What type of flour should I use to get good oven spring?
To get good oven spring, you should use a flour that has between 12-14% protein content. Most commercial flours marketed as “bread flour” or “strong flour” should show the protein content on the side of the package. In the USA, King Arthur Bread Flour is a good flour to start with, as it is widely available, and it contains 12.7% protein.
King Arthur Bread Flour is the flour that I usually, but another good one is Bob’s Red Mill Artisan Bread Flour. Although I haven’t used any flours from the UK, I have heard good things about Cotswold’s Strong White Bread Flour.
FAQ: What about adding whole grain flour to the dough?
If you want to use some whole grain flour in your dough, make sure it’s less than 10% of the total flour weight to achieve maximum oven spring. Whole grain flour is high in protein, but the bran and germ that are in the flour tend to make tiny tears in the gluten network. So, the more whole grain flour you use, the harder it will be to get good oven spring.
As a quick example, if there are 500 total grams of flour in your dough, only 50 grams should be from whole grain flours, like whole wheat, rye, or spelt. 50 divided by 500 equals 0.10, or 10%.
3. Develop Sufficient Gluten in the Dough

You need to develop a strong gluten network in your dough in order to trap the gasses that will result in great oven spring. If you’re not getting good oven spring in your sourdough bread, insufficient gluten development could be to blame!
Even if you are using a strong, high-protein bread flour, you still need to put in some work to make sure that your dough becomes strong. There are plenty of ways to develop gluten in your sourdough bread – traditional kneading, slap and folds, and coil folds are all great options, but my go-to technique is using “stretch and folds.”
Below I’ll explain how I typically do stretch and folds for my master sourdough bread recipe.

How to Do Stretch and Folds to Develop Gluten
- Mix your dough together thoroughly – flour, water, salt, and starter – until no dry bits of flour remain. Your dough will be shaggy and it won’t hold together very well at this point. Then cover up the dough and let it rest for 30 minutes. This half hour rest will give the gluten a head start in developing even before you start the stretch and folds.
- Thirty minutes later, grab the far side of the dough (the “North” side) and stretch it up over top the dough and stick it against the middle. Then grab the south side of the dough, stretch it up over the top and stick it against the middle. Then do the same with the east and west sides of the dough until each edge of the dough is stuck into the middle.
- You should feel how the dough holds together a lot better now compared to when you first mixed it. The gluten is getting stronger and the dough is getting smoother.
- Now, cover up the dough again, and let it rest another 30 minutes. You’re going to perform two more sets of stretch and folds on the dough, with 30 minutes of rest in between each one. Each time you do another set of folds, you’ll feel the dough getting smoother and smoother and gaining stretch.
- Once you’ve completed the third set of stretch and folds, the gluten should be sufficiently developed to give you great oven spring!

But, before moving on to the bulk fermentation, there’s actually something you can do to check the state of your dough’s gluten development. It’s called the window-pane test. Here’s how to do it!
4. Make Sure Your Dough Passes the “Windowpane” Test
To get the best oven spring possible in your sourdough bread, you should perform the windowpane test on your dough to make sure you’ve built up a strong gluten network in the dough.
How to Do the Windowpane Test for Maximum Oven Spring
1. Let your dough rest for at least five minutes after handling or kneading it. This will give the gluten enough time to relax so you can better judge the actual state of the gluten. If you do the windowpane test too soon after handling the dough, the dough will be unnaturally stiff and you won’t get an accurate result. So, don’t skip this quick rest.
2. After your dough has rested, cut off a piece of the dough and stretch it out between your fingers. Try to stretch the dough out into a very thin layer without ripping the dough. If your dough can stretch into an almost see-through layer (like a windowpane) before it tears, then the gluten is sufficiently developed!
3. If the dough rips before you can get a see-through layer, just try the windowpane test again with a different piece of the dough. Then, if it still doesn’t work, and your dough keeps ripping, the gluten probably needs a little more development. So, cover up the dough and let it rest for 30 more minutes, then give it one more set of stretch and folds.
Eventually your dough should pass the windowpane test and it will be ready to trap a bunch of air inside of the dough, leading you to some wonderful oven spring!
Video – Windowpane Test
Here’s a video from Bake with Jack on how to properly do the windowpane test on a piece of dough.
Now, let’s talk about the next most important aspect of getting better oven spring, the bulk fermentation.
5. Let the Dough Bulk Ferment to 1.5-2x Its Original Size
As a general rule, to get better oven spring in your sourdough bread, you should let your dough bulk ferment until it reaches 1.5-2x its original size. You don’t want to under or over-proof your dough. You need to get it exactly right to achieve good oven spring.
When you’re done with your stretch and folds, take note of the size of your dough. Let it rise at room temperature until it’s roughly 1.5x or 2x its original size.


First, let’s talk about why you don’t want to under-proof your dough.
How Under-Proofed Dough Negatively Effects Oven Spring
If you don’t let your sourdough bread ferment long enough during bulk fermentation, the dough won’t have enough power to spring up nice and big in the oven. Under-proofed dough can lead to pancake-like sourdough breads that rise up very little, or not at all in the oven.
The goal with bulk fermentation is to let the sourdough starter fully ferment the rest of the dough so that the natural yeasts are nice and active within the dough. If you cut the bulk fermentation too short, the dough will feel kind of dense, not very puffy, and you won’t feel very many bubbles throughout the dough. If you notice that your dough feels like this, let it continue bulk fermenting for another hour or so, and check it again. Once your dough is 1.5x to 2x its original size, it’s ready to shape.
You also want to avoid letting your sourdough bread rise too much during bulk fermentation. This can lead to over-proofed dough, which isn’t good for oven spring either.
How Over-Proofed Dough Negatively Effects Oven Spring
If your sourdough bread grows larger than 2x its original size during bulk fermentation, you might exhaust the strength of the natural yeasts in the dough. This can also lead to the dough not puffing up very much in the oven (i.e. no oven spring).
In the case of over-proofed dough, your dough will already have gone through the most of the rising process during fermentation, so it won’t have much room to grow in the oven. Over-proofed dough can lead to a very well-fermented bread that also ends up being flat and pancake-like. The bread might taste fine, but it won’t be very tall or lofty.
To avoid over-proofed dough, make sure your dough only grows to 1.5x or 2x its original size during bulk fermentation. You’ll get better at judging the end of bulk fermentation the more loaves of bread you bake.
6. Give the Dough a Pre-Shape and a Final Shape

To get better oven spring on your sourdough bread, you should shape your dough twice. Giving the dough a pre-shape and a final shape will build extra strength and structure into the dough, which will cause it to rise higher in the oven when it bakes, giving you better oven spring.
It is possible to skip the pre-shape step and make good bread. In fact, I made a whole video a while back about how you can skip the pre-shape step. But the pre-shape definitely does something to the structure of the dough. If you want your bread to get maximum oven spring, you’ll want to do both a pre-shape and a final shape.
7. Build Surface Tension During Shaping
One of the most important steps in getting good oven spring in your sourdough bread is building surface tension. When you shape your dough to build surface tension, this will force your dough to rise upward in the oven, nice and tall, instead of outward and downward like a pancake.
Here’s how you can shape a sourdough batard with more surface tension.
The Pre-Shape

For the pre-shape, sprinkle a little bit of flour onto your counter, and stretch and fold your dough on top of the counter. Flip the dough over so the smooth side is on top and the side with the seams is on the bottom.
Then cup and pull the dough with your hands, or use a bench scraper, to form a tight ball of dough. This tightness that you feel is surface tension forming across the top of the dough. Cup and pull the dough a few times, but don’t do it too much. You don’t want the skin across the top of the dough to break.
Once you’ve got a tight ball of dough, let the dough rest, covered or uncovered, for 30 minutes. All of this will set the dough up for a successful final shape.
The Final Shape

A half hour after the pre-shape, sprinkle the top of the dough with a little bit of flour and spread it around the top. Then flip the dough over so the seam-side is facing up. Stretch the dough out lightly into a rectangle. Fold the right side of the dough over the middle and press it down. Then, fold the left side over the middle so that the two sides meet.
Now, take the far side of the dough and tuck and roll the dough towards you, rolling the dough into a log. If you roll the dough relatively tightly, you’ll create surface tension that goes from left to right across the top of the loaf.
Once your dough is well shaped, it’s ready to proof, which brings me to the next tip.
8. Don’t Over-Proof the Dough During the Final Proof

For great oven spring in your sourdough bread, make sure you don’t over-proof your dough during the final proof. Either let the shaped dough rise at room temperature for 1.5 to 2 hours, or let the shaped dough rise in a cold refrigerator for 8-12 hours.
Room Temperature Proofing for Maximum Oven Spring
To proof your sourdough bread correctly for good oven spring, make sure you proof the dough until it passes the “poke test.” To do the poke test, poke the dough lightly with your finger. If your finger’s indentation bounces back slowly and doesn’t totally disappear, your dough is perfectly proofed and you should get great oven spring when you bake it. Generally, this takes about 1.5 to 2 hours of proofing at room temperature.
If your finger’s indentation bounces back quickly and the indent disappears, the dough needs to proof longer. It’s under-proofed. On the other hand, if your finger’s indentation doesn’t bounce back much at all, the dough has proofed a little too long. It’s likely a little bit over-proofed and won’t spring up as much as you want it to in the oven.
With a final proof at room temperature, things are a little bit tricky. You have to test the dough quite a bit to make sure it’s just right. That’s why I prefer to do an overnight final proof in the fridge. It’s really easy, and hard to mess up.
Cold Proof in the Fridge for Maximum Oven Spring
As a general rule, letting your sourdough bread do it’s final proof in the fridge will give you great oven spring. The cold environment of the fridge will allow the dough to rise slowly, so there’s less risk of over-proofing. The 8-12 hour proofing time will also ensure that the dough isn’t under-proofed. When you take the dough out of the fridge the next day, it should be ready to bake, and spring up nice and tall in the oven.
To do a final proof in the fridge, simply shape your dough how you would normally shape it after the bulk fermentation. Then, when your dough is snuggly inside a banneton basket, cover it up and slide the basket into the fridge. Let the dough proof overnight before baking – generally 8-12 hours. Your dough will come out perfectly ready to bake.
FAQ: What temperature should my fridge be for cold proofing sourdough bread?
As a general rule, your fridge should be set to around 39-40°F (3-4°C) for cold proofing sourdough bread. At these temperatures your bread will ferment properly in 8-12 hours, but it won’t visibly rise very much at all. If your fridge is set to a higher temperature than this, you may notice your dough increase in size slightly in a period of 8-12 hours.
9. Score the Dough Strategically

A lot of people think that proper scoring is the one and only key to getting good oven spring, but that is incorrect. Good scoring is just one of multiple contributing factors to good oven spring. Nevertheless, you’ll need to score (or cut) the top of your dough strategically in order to get great oven spring.
No matter what type of score you’re doing, you should use a sharp razor blade, preferably one that is held in a purpose-built holder known as a bread lame or grignette.
Get any of my favorite bread lames at the affiliate links below:
UFO Lame (My all-time favorite lame. This is great for basic and intricate designs.)
ARC Lame (A super small curved lame. This is great for basic and intricate designs.)
Baker of Seville Bread Lame (My choice if I could only have one lame. You can use it curved or straight!)
Below, I’ll explain a few simple ways you can score your dough to get good oven spring. Simple is usually better when it comes to this stuff.
Simple Batard Scoring Technique for Maximum Oven Spring
To get great oven spring on your sourdough batard (oval-shaped loaf), score the dough with one straight, long slash across the top of the dough. The slash should ideally be at at 45 degree angle, or even shallower. This slash will allow the bread to open up beautifully in the oven, and ideally, it will produce a nice ear on the loaf as well.

Click here to read more about how to get an nice ear on your sourdough bread.

Simple Boule Scoring Technique for Maximum Oven Spring

To get good oven spring on a sourdough boule (round-shaped loaf), score the dough across the top in two perpendicular lines, creating a cross, or plus sign (+) on top of the dough. Hold the dough lame at a 90 degree angle as you score, since the goal is to let the bread open up evenly in both directions at each of those lines.
10. Bake on a Hot Surface

To get optimal oven spring in your sourdough bread, you should be baking on a hot surface, such as a pre-heated Dutch oven, a pizza stone, or a baking stone. The hot surface will give your dough an immediate boost right when you start baking it. The dough will spring up faster, giving you a better oven spring on your bread.
This tip is a little controversial, because some people believe that you can get good oven spring without baking on a hot surface. However, in my tests baking sourdough in a glass Pyrex dish (see my video here), I found that pre-heating the glass dish produced a better looking loaf of bread than when I didn’t pre-heat the dish. This confirmed my suspicion that it’s better to bake on a hot surface if you’re looking for an impressive oven spring.
So, no matter what baking surface you use – a Dutch oven, Challenger Bread Pan, or a baking stone, make sure you pre-heat the vessel inside your oven for at least 30 minutes before you bake your bread. This will allow the material to hold in the heat and transfer that heat into the bottom of your loaf of bread.
11. Bake with Steam
Baking with steam is extremely important for achieving oven spring in bread baking. You should bake with steam in your oven for at least the first half of the baking time to get better oven spring on your sourdough bread.

During the first half of the baking time, while the bread is rapidly rising and expanding, steam will prevent a hard crust from forming on the outside of the loaf. If you don’t bake with steam, the hard crust will form and keep the bread from fully expanding. This will create a denser crustier loaf. For a lighter, fluffier, taller loaf of bread, bake with steam!
Baking with Steam in a Dutch Oven
If you’re following my master sourdough bread recipe, just bake in your Dutch oven with the lid on for 20 minutes. This will trap in the moisture from the dough and create a steamy environment around your bread. Then, remove the lid and continue baking for another 15-20 minutes.
Baking with Steam on a Baking Stone
If you’re planning to bake on a baking stone or baking steel, you’ll want to add some ice cubes or boiling water into a cake pan at the bottom of your oven when you put the bread in. You can watch my video on this technique on YouTube here.
This ice cube method will create a consistent jet of steam that will fill your oven while you bake. After 20 minutes of baking, remove the steam tray and continue baking for the additional 15-20 minutes.
Video – Sourdough Oven Spring: 5 Tips
I explained the first five tips from this list in depth in the following video that I’ll show you below. But first, let’s review my ten tips for getting better oven spring:
- Use Your Starter When It’s at Its Peak
- Use Mostly White Bread Flour
- Develop Sufficient Gluten in the Dough
- Make Sure Your Dough Passes the “Window-Pane” Test
- Let the Dough Bulk Ferment to 1.5-2x Its Original Size
- Don’t Over-Proof the Dough During the Final Proof
- Give the Dough a Pre-Shape and a Final Shape
- Build Surface Tension During Shaping
- Score the Dough Strategically
- Bake on a Hot Surface
- Bake with Steam
Here’s are the first five tips explained:
Conclusion: How to Get Better Oven Spring on Your Sourdough Bread
As you can see, there are a lot of factors that go into getting great oven spring on your sourdough bread. It takes baking knowledge and skill, but it is definitely possible! Once you understand the basics of using a strong starter, the benefits of a proper bulk fermentation, and how to shape, proof, score, and bake properly, you’ll be turning out loaf after loaf of sourdough bread with amazing oven spring.
When you’re ready to give these tips a try, the best place to start is with my Master Recipe Sourdough Bread. This recipe is made with mostly white bread flour, so is perfect for getting a great, lofty rise on your loaf. Follow the video tutorial and steps on the recipe page, and I’m sure you’ll get great oven spring!