One of my most popular recipes on both my YouTube channel and website has been my “Good Sourdough Bread” recipe. Part of the success of that recipe is that it makes a 70% hydration dough. That is on the medium-to-low side for most sourdough recipes. The dough in that recipe is very easy to handle and it’s perfect for beginners who are making sourdough for the first time.
However, some people want to start upping their sourdough skills. They’re begging to work with higher hydration doughs! Is that you too? Do you want to level-up your sourdough bread game and make a higher hydration sourdough bread that’s still really easy to manage? In this post, I’ll show you how you can make a successful medium hydration sourdough bread.
For this medium hydration sourdough bread, the dough will contain 375 grams of water and 500 grams of flour in total. That comes out to a 75% hydration dough (where the water weight is 75% of that of the flour weight). The extra liquid in this recipe will make the dough a little more challenging to handle, but it will also increase the keeping qualities of the loaf and give the bread a more bubbly crumb structure.
Some of My Favorite Baking Tools (Affiliate Links):
Baker of Seville Bread Lame
Oval Banneton Basket
Non-Stick Bread Pan
Non-Stick Focaccia Pan

3 Benefits of Medium Hydration Sourdough Bread
1. The dough is easier to handle than high hydration dough
Thanks to the book Tartine Bread (which is a great book, by the way), people love to idealize making high hydration sourdough. Unfortunately though, high hydration doughs are not easy for beginners. They’re very sticky, and they require a lot of different kneading techniques to get the gluten development right. Even intermediate bakers can struggle with them half of the time.
That’s why I usually stick with medium hydration sourdoughs (between 70-75% hydration). When you get closer to 80% hydration and above, that’s when doughs become very difficult to manage.
2. The even crumb structure is great for toast and sandwiches
When they are made well, hydration sourdough breads are usually full of irregularly-sized holes scattered throughout the interior of the loaf. While these holes are a sign of proper fermentation and skilled dough handling, the holes aren’t great for holding in sandwich fillings!
Medium hydration sourdough breads tend to have a more even crumb structure than high hydration sourdough breads. This is perfect for toast and sandwiches since your butter, jam, jelly, or mayonnaise won’t slip through the holes and fall onto your lap!
3. The dough holds its shape better than wetter doughs
My biggest problem as a beginning baker was than my high hydration sourdough breads would end up flat as a pancake. Even when I used a banneton basket, and did the best that I could at shaping, all these breads would flatten out on the counter and in the oven. It was really dissappointing.
It is possible to make high hydration doughs that hold their shape and raise up nice and tall in the oven, but it’s difficult for beginners, requiring a lot of learned skills. Why not just use a medium hydration recipe and get some of the benefits without all the hassle?
Video Tutorial: Medium Hydration Sourdough Bread
Medium Hydration Sourdough Bread

This 75% hydration sourdough bread is the perfect medium hydration loaf for beginners. You get all the benefits of a high hydration dough without all the hassle. No autolyse, bassinage, or crazy techniques are required. Just mix, ferment, shape, proof, score, and bake!
Ingredients
- Bread Flour - 400 grams
- Whole Wheat Flour - 50 grams
- Water - 325 grams
- Sourdough Starter - 100 grams
- Salt - 10 grams
Instructions
Feeding your starter
- The night before you want to make bread, take 25 grams of sourdough starter out of the fridge. Mix the starter with 50 grams of water and 50 grams of bread flour. Mark the top of the starter with a rubber band to mark how much it grows. 6-12 hours later, the starter should have doubled in size.
Mixing the dough
- The following day, your starter should have grown to double in size. When this happens, it's ready to use for your dough. Put a mixing bowl on a digital scale so that you can weigh out your ingredients.
- Weigh in 325 grams of water and 100 grams of active sourdough starter. Mix the starter to dissolve. Add 10 grams of salt and stir the salt in to dissolve. Then, add the 50 grams of whole wheat flour and 400 grams of bread flour. Mix everything to combine. When there aren't many dry bits of flour left, cover up the dough and let it rest for 30 minutes on the counter.
Bulk Fermentation
- Bulk fermentation refers to the period of time starting from when you mix your dough, all the way up until you shape your dough. For this recipe, the bulk fermentation period should last about 6-8 hours depending on the temperature of your kitchen. (Colder kitchens will take longer and warmer kitchens will make the dough move faster.)
- During this 6-8 hour period, leave your dough covered and resting in a slighly warm or room-termperature spot on your counter. Your dough should grow to about double in size. During the first part of bulk fermentation, give your dough three sets of stretch and folds, with thirty minute rests in between.
Stretch and Folds
- After the first 30 minute rest, perform the first set of stretch and folds. Grab an edge of the dough and stretch it up into the air without tearing it and fold it over the top of the dough. Turn the bowl 90 degrees and stretch and fold the next edge of the dough. Keep dough this with each of the "four corners" of the dough - the north side, west side, south side, and east side.
- Once you've stretched each of the four corners of the bowl, go around the bowl a few more times, stretching and folding the dough over itself until the dough becomes a little more smooth and cohesive. Once you've got a smooth ball of dough, cover up the dough again and let it rest on your counter for another 30 minutes.
- After the 30 minute rest, perform the second set of stretch and folds. Just stretch and fold the four corners of the dough this time. The dough should feel a little bit smoother and softer now than it did the last time. Cover up the dough again and let it rest for 30 more minutes.
- After the 30 minute rest, it's time for the third and final set of stretch and folds. Just stretch and fold the four corners of the dough again this time. The dough will really have transformed by now and should feel smooth, soft, and elastic.
- Prepare a clear glass bowl that's about twice the size of your dough with a little bit of oil. Transfer your dough, seam-side-down and smooth-side-up, into the prepared glass bowl. Cover the dough with a lid or a kitchen towel and let it bulk ferment for the remaining 5-6 hours. During this time, you should be able to see the dough growing through the sides of the glass bowl. When the dough increases to about double in size, it's ready to shape.
The Preshape
- Carefully remove the dough from the bowl with a plastic dough scraper. Arrange the dough so that it is seam-side-down on your counter. Then, pre-shape the dough into a round ball with your hands or with the help of a metal bench scraper. Forming the dough into a round ball now will help give the dough better structure now, even if we want to form it into a different shape later.
- Let the dough rest, uncovered, in a draft-free spot on your counter for 30 minutes. If there are drafts in your kitchen, cover up the dough with a kitchen towel so that it doesn't form a hard crust on top.
The Final Shape
- Prepare an oval-shaped banneton basket with a little bit of rice flour so that it's ready to go when your dough is shaped. Sprinkle a little bit of bread flour or rice flour on top of the dough and flip the dough over so that it is sticky-side-up and smooth-side-down.
- Now, arrange the dough gently into a large square. Take the right third of the square and fold it up and over the middle third of the square, Then, take the left third of the square and fold it up and over the middle third. Now, roll the dough in towards yourself into a tight cylinder. It should end up in a nice oval loaf shape. Optionally, you can pull the flaps on the ends of the dough and tuck them under the dough to create smooth sides. I usually do this because I find that the final loaf ends up looking more attractive.
- Flip the dough over carefully into the banneton proofing basket. It should end up upside-down in the basket with the seam-side-up.
Proofing
- Move your basket to the fridge where the dough can proof for 8-12 hours in the cold environment. I usually just let it proof until whenever I'm ready to bake it the next day. While it's in the fridge, you can cover the dough up with a plastic bag if you want to, but I usually just leave my dough uncovered. It's just less fuss.
Baking
- 30 minutes before you're ready to bake, pre-heat your oven to 500°F with a Dutch oven inside. Once the oven is pre-heated, take your dough out of the fridge and transfer it from the banneton basket onto a sheet of parchment paper.
- Score the dough with one long slash with a razor blade from the far end to the near end (see video). Transfer the dough into your hot Dutch oven and put the lid back on.
- Bake for 20 minutes with the lid on, then remove the lid. Keep baking for another 15 minutes with the lid off.
Cooling
- Remove your dough from the oven and let it rest on a wire rack for at least one hour, or until it's completely cool. Slice in and enjoy!
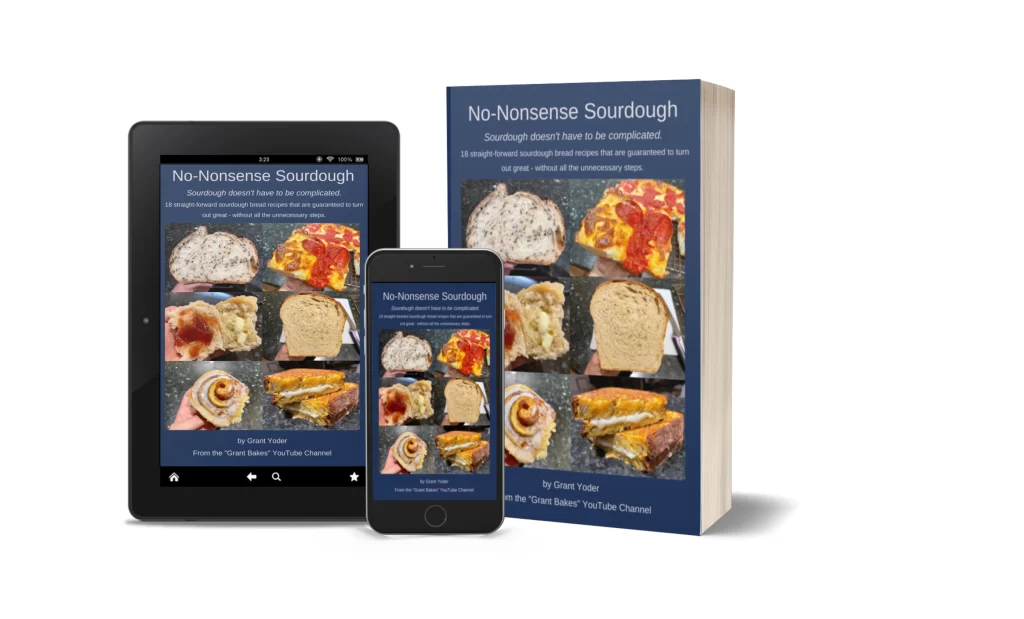
For more recipes like this one, check out my ebook, No-Nonsense Sourdough. I have 18 creative sourdough bread recipes that I can’t wait to share with you – Sourdough focaccia, cinnamon rolls, dinner rolls, sandwich bread, and so many more amazing recipes. Find out all about the ebook here!